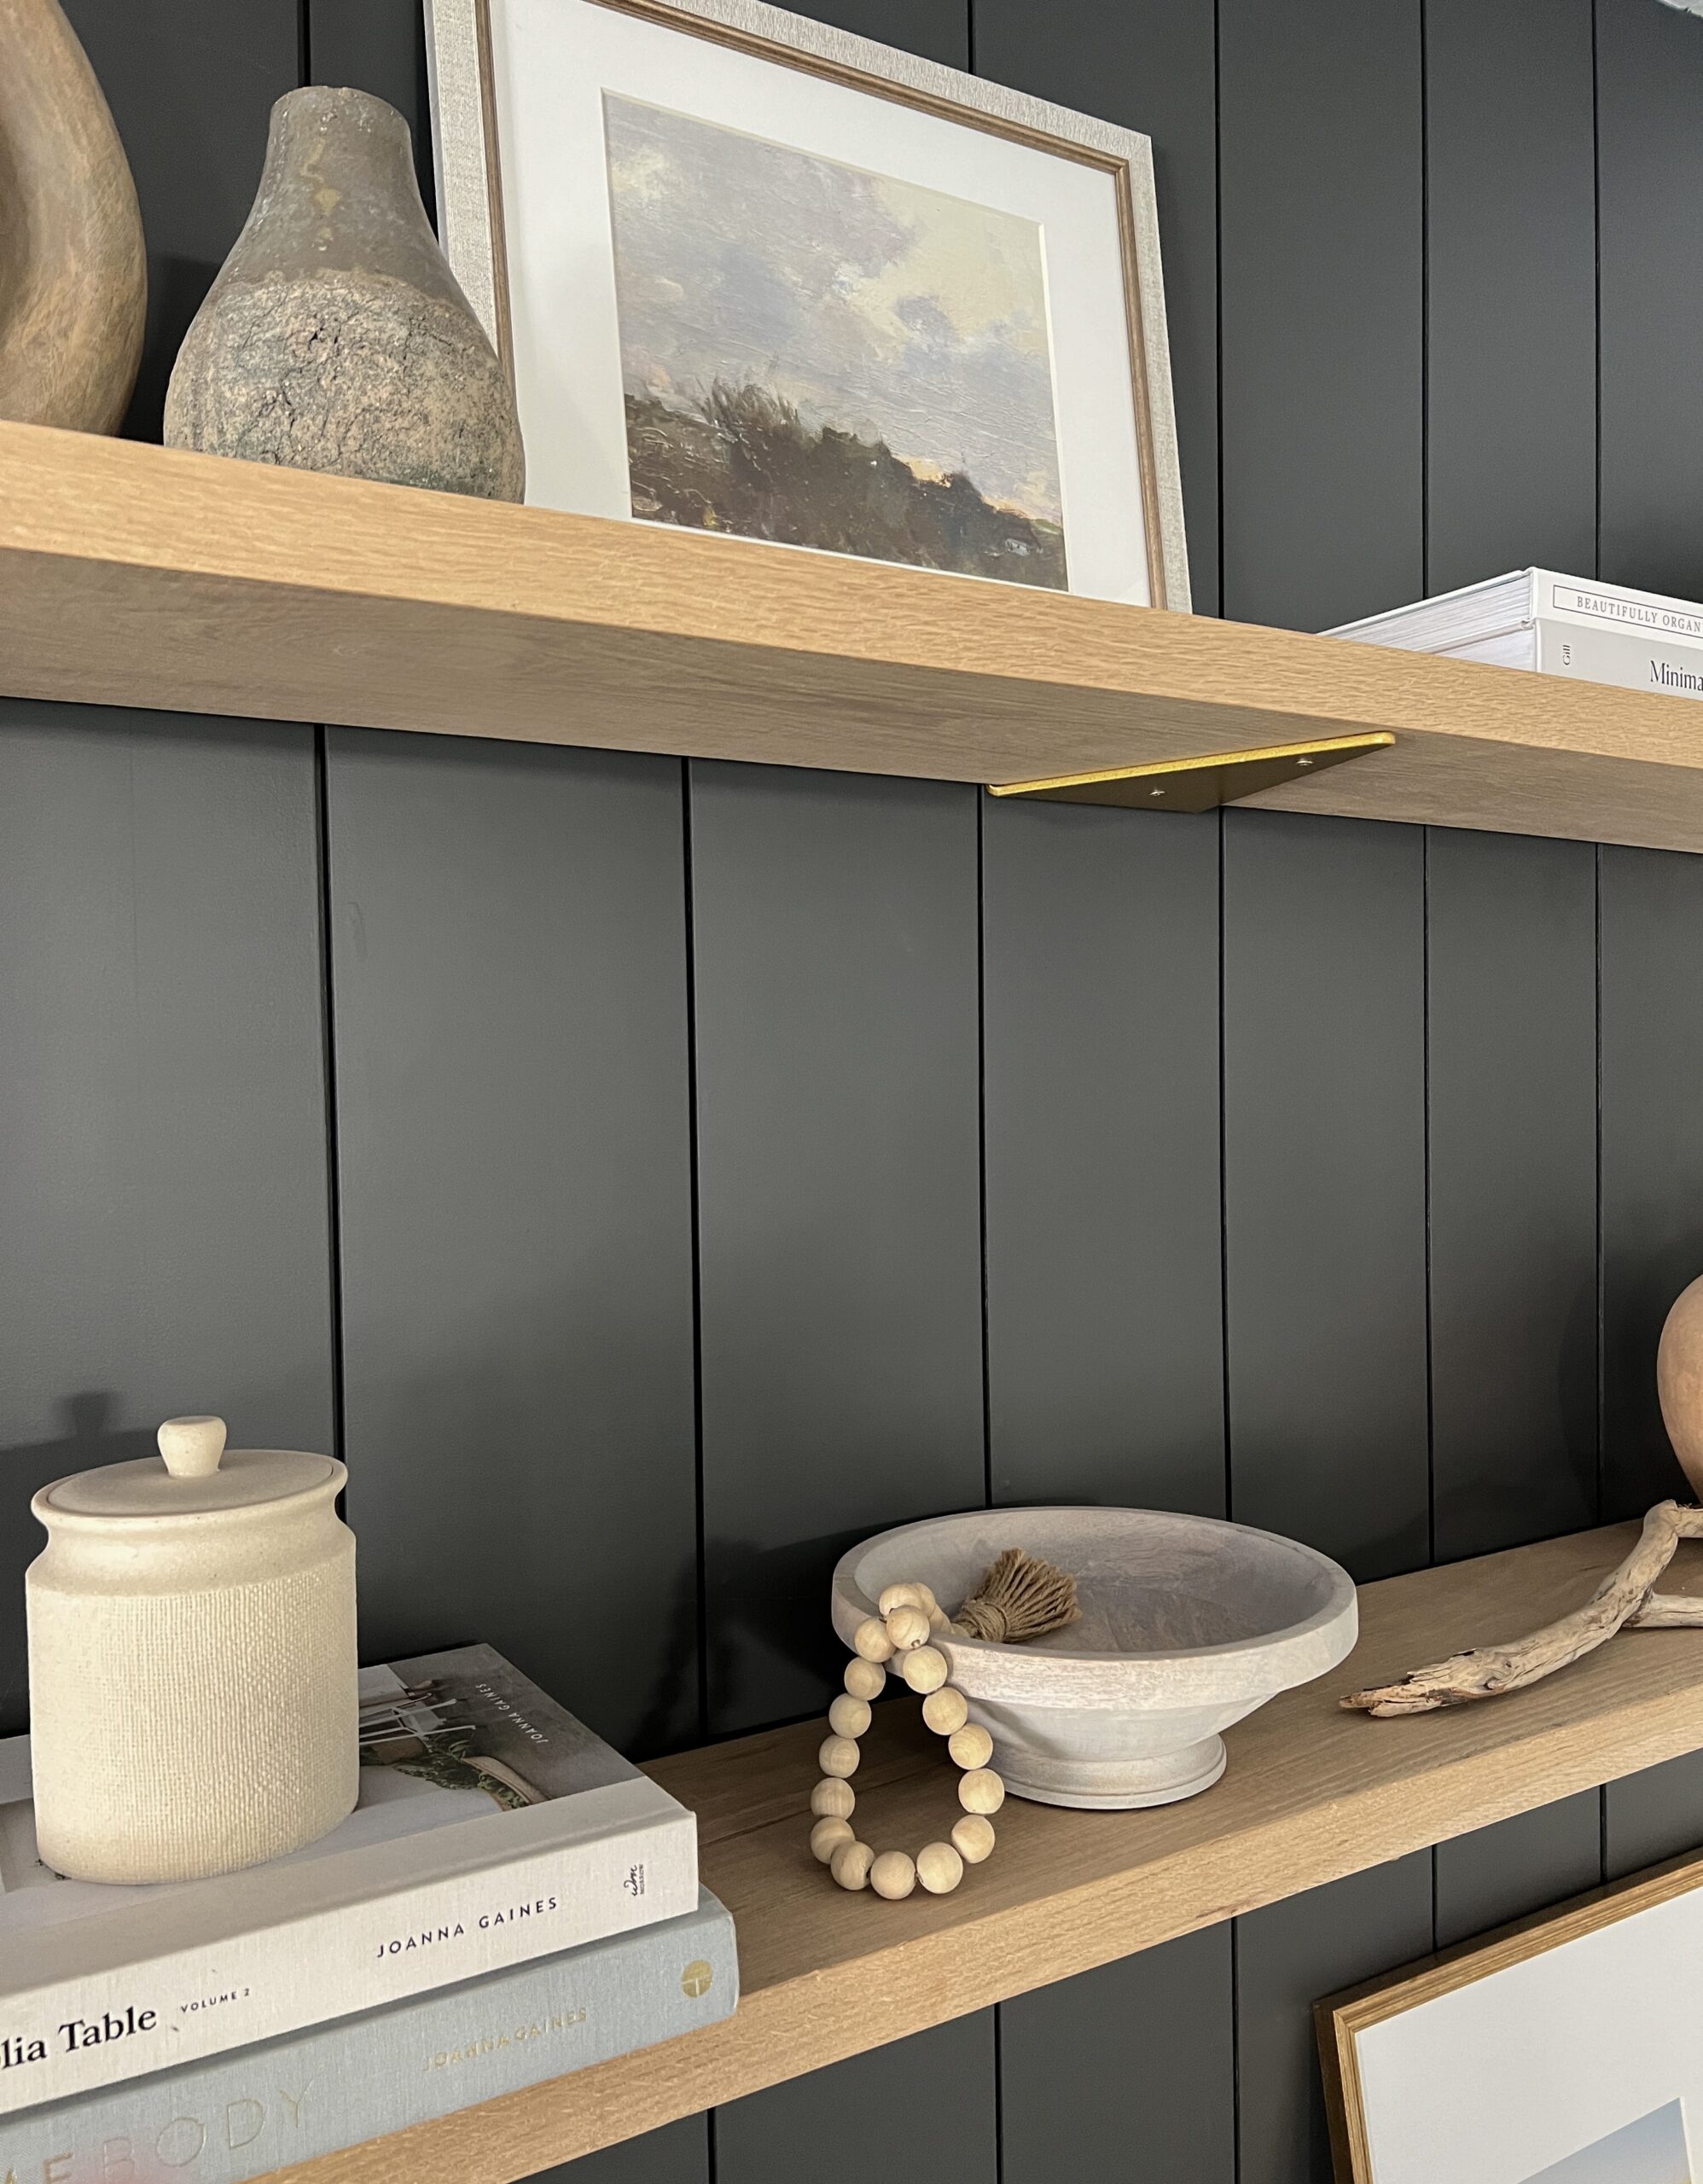
by Kelly | Jan 23, 2024 | DIY, DIY Projects
I know I’m not the only one who loves white oak. Its the perfect wood tone, that warms up the space without needing any staining or adjusting to the coloring. Neutral and beautiful. In the past, I have purchased different types of woods, and stained them to try...
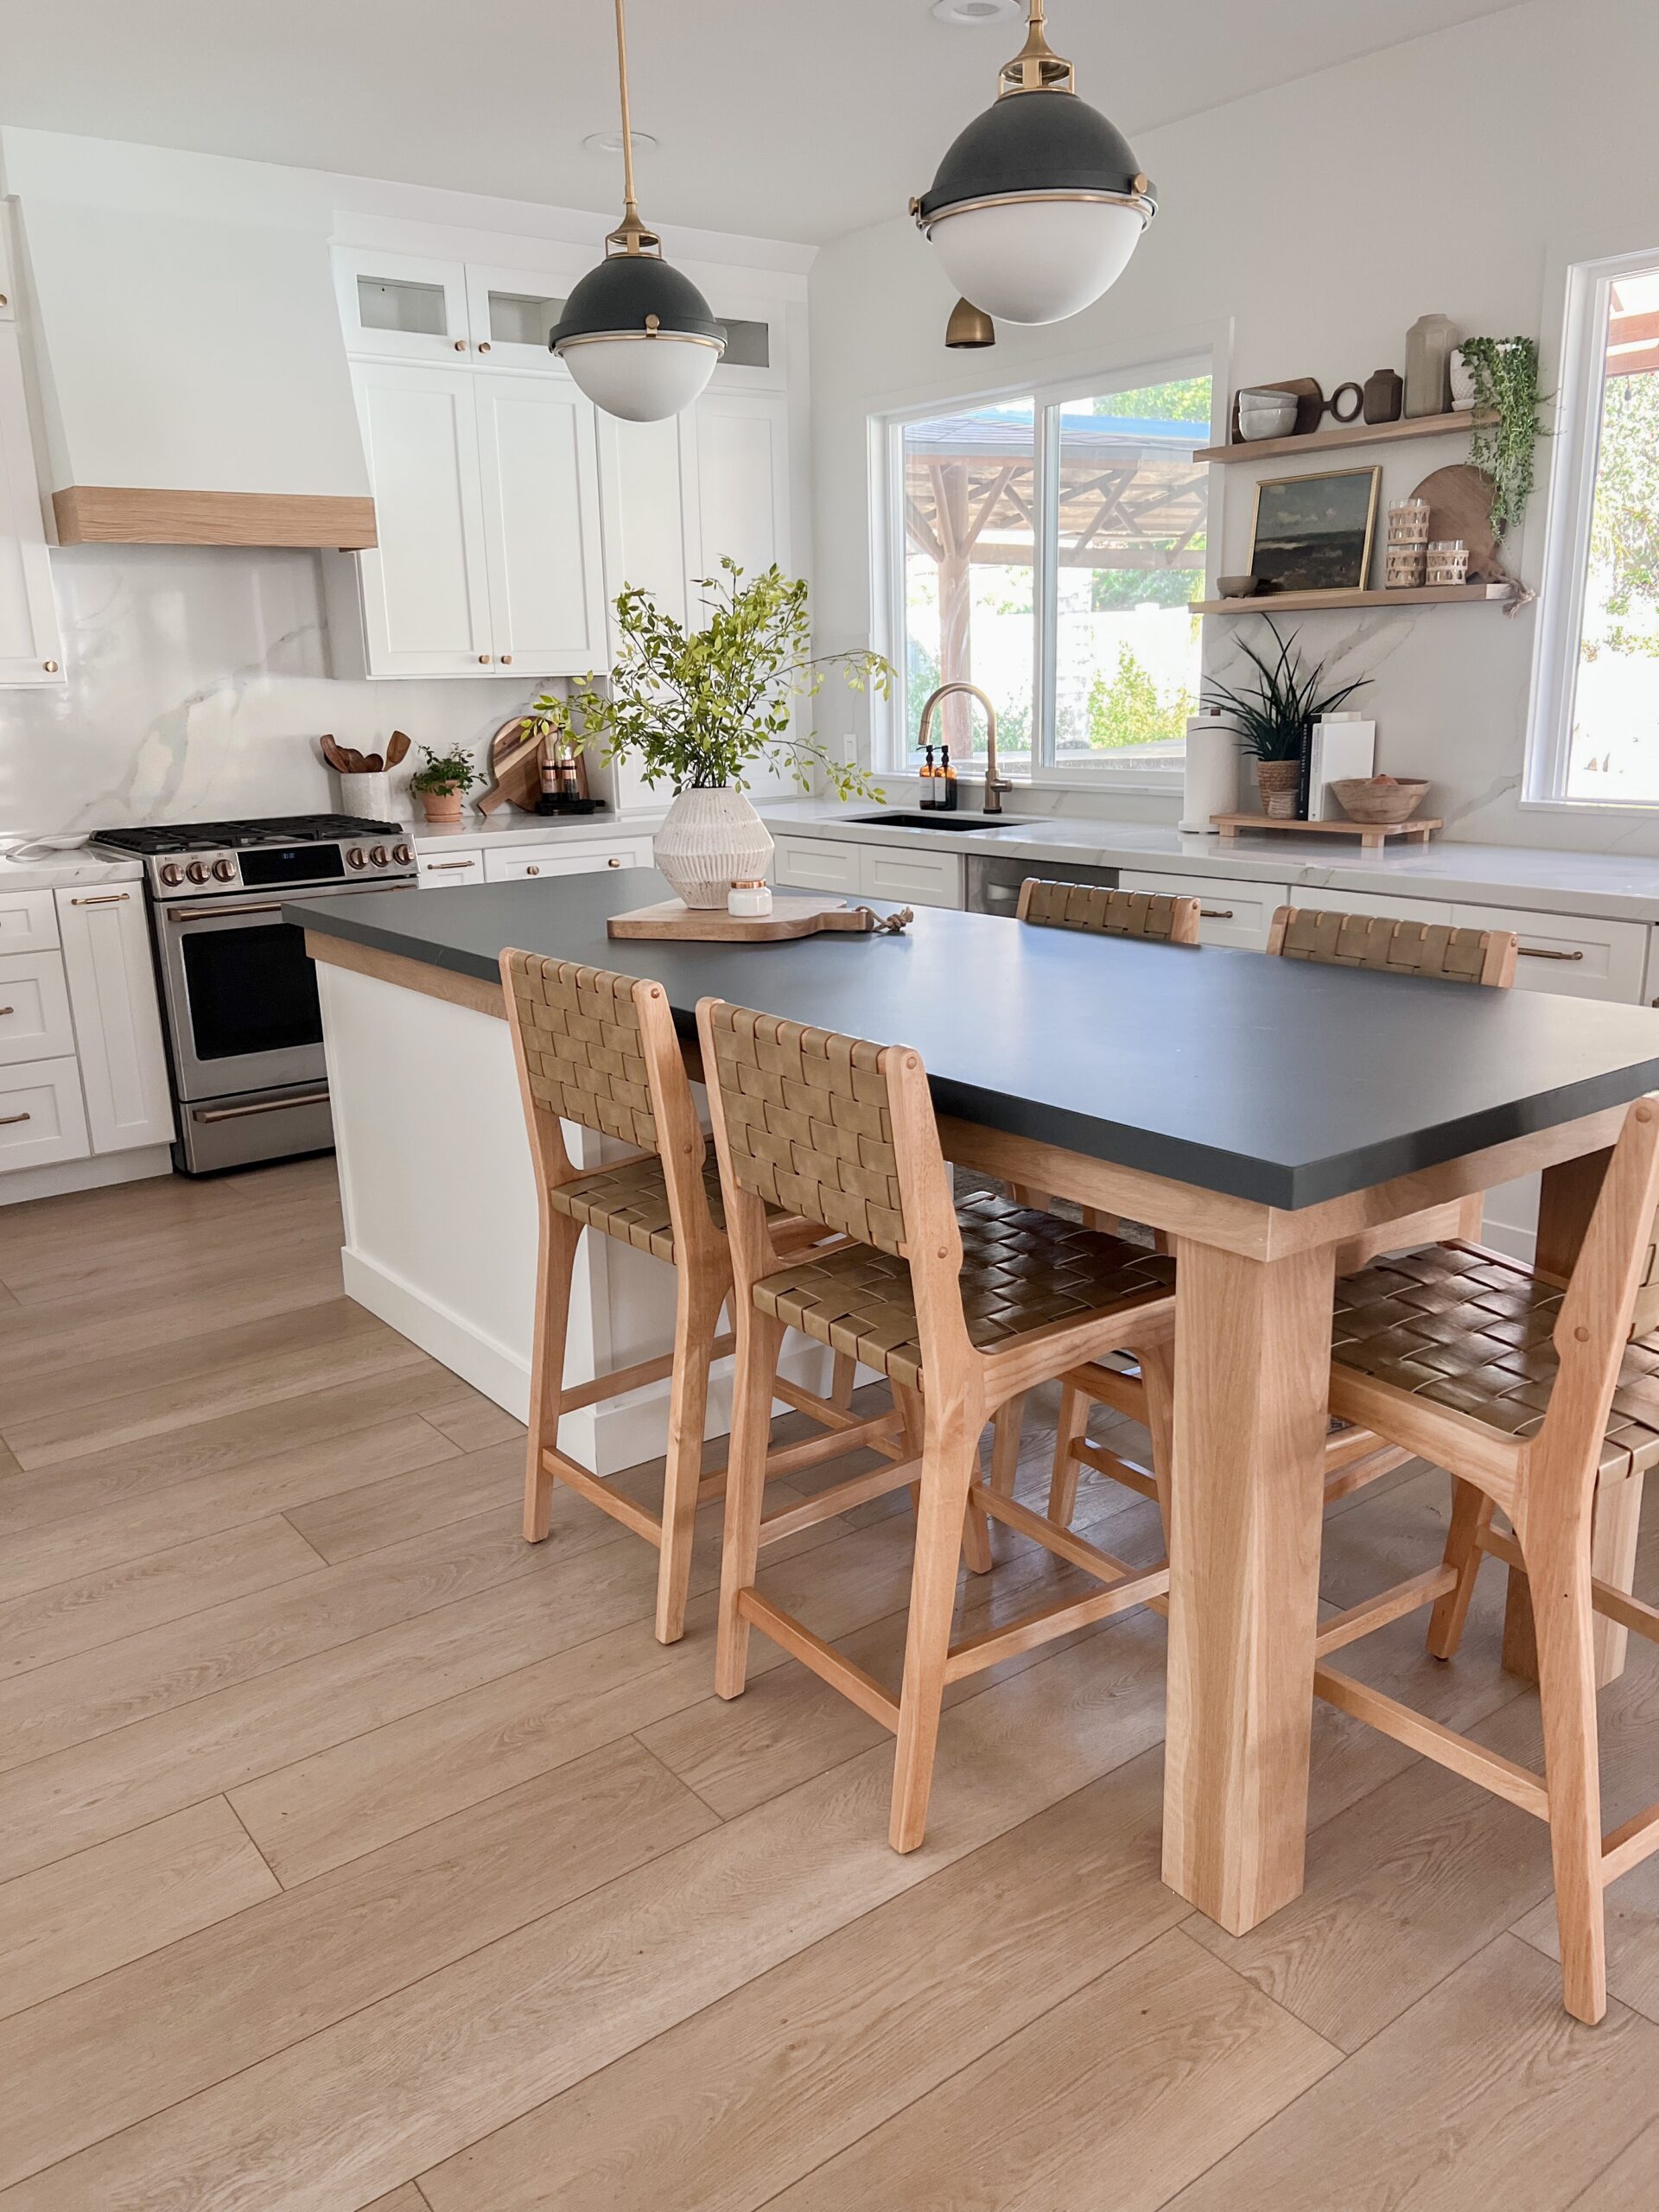
by Kelly | Feb 1, 2023 | DIY, Kitchen Projects, Uncategorized
A few years back, I created a diy kitchen island for our home. You can find that island design HERE. It saved us a ton of money! And we were able to design it to fit our needs. When we purchased our new home back in July, I knew I would be updating the kitchen right...

by Kelly | Dec 15, 2020 | DIY, DIY Projects
I had so much fun wrapping presents this year! I decided to take it up a notch and add some fun touches to the gifts for the fam with some personalized wrapping paper. If you haven’t been to JOANN’s Craft and Fabric Stores yet, you are missing out! They...
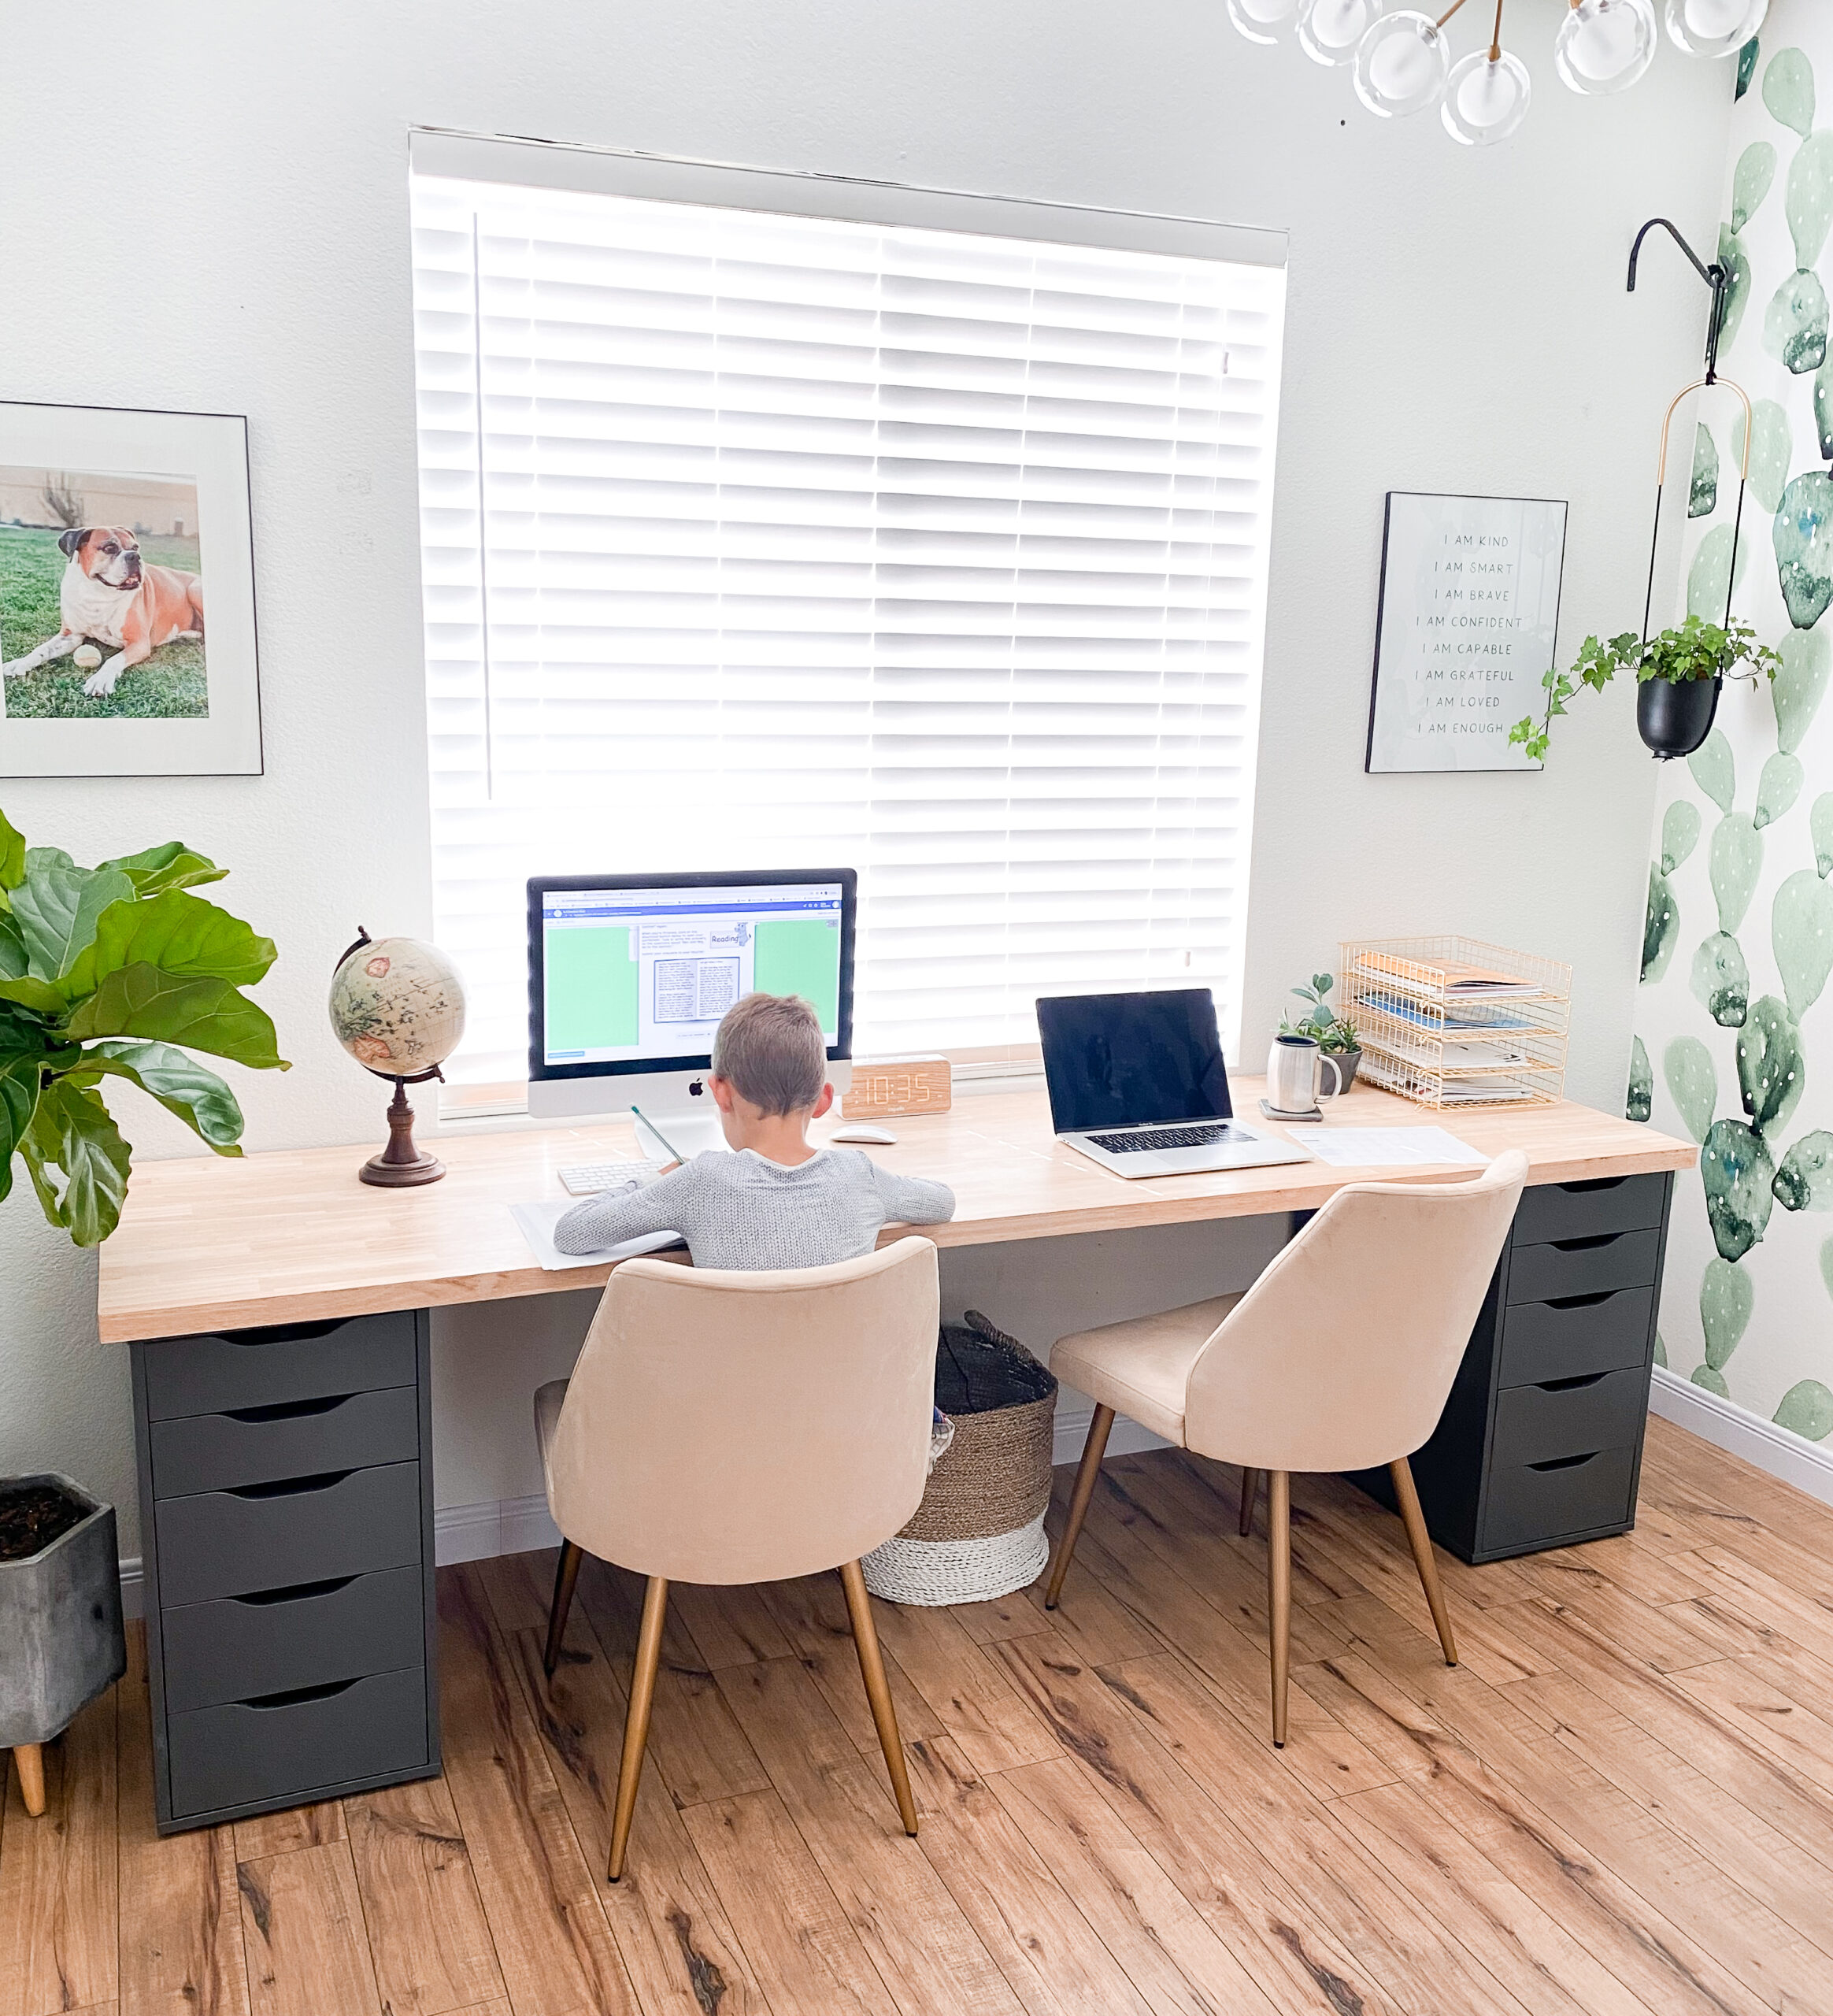
by Kelly | Nov 21, 2020 | DIY, DIY Projects, Home Office
I never imagined I would be a homeschool Mom, but here I am! 2020 has thrown as all for a loop. Am I right? So many things happening that we never saw comin. Yikes! When I made the decision that I was going to homeschool my 2nd grader this year, while the dust...
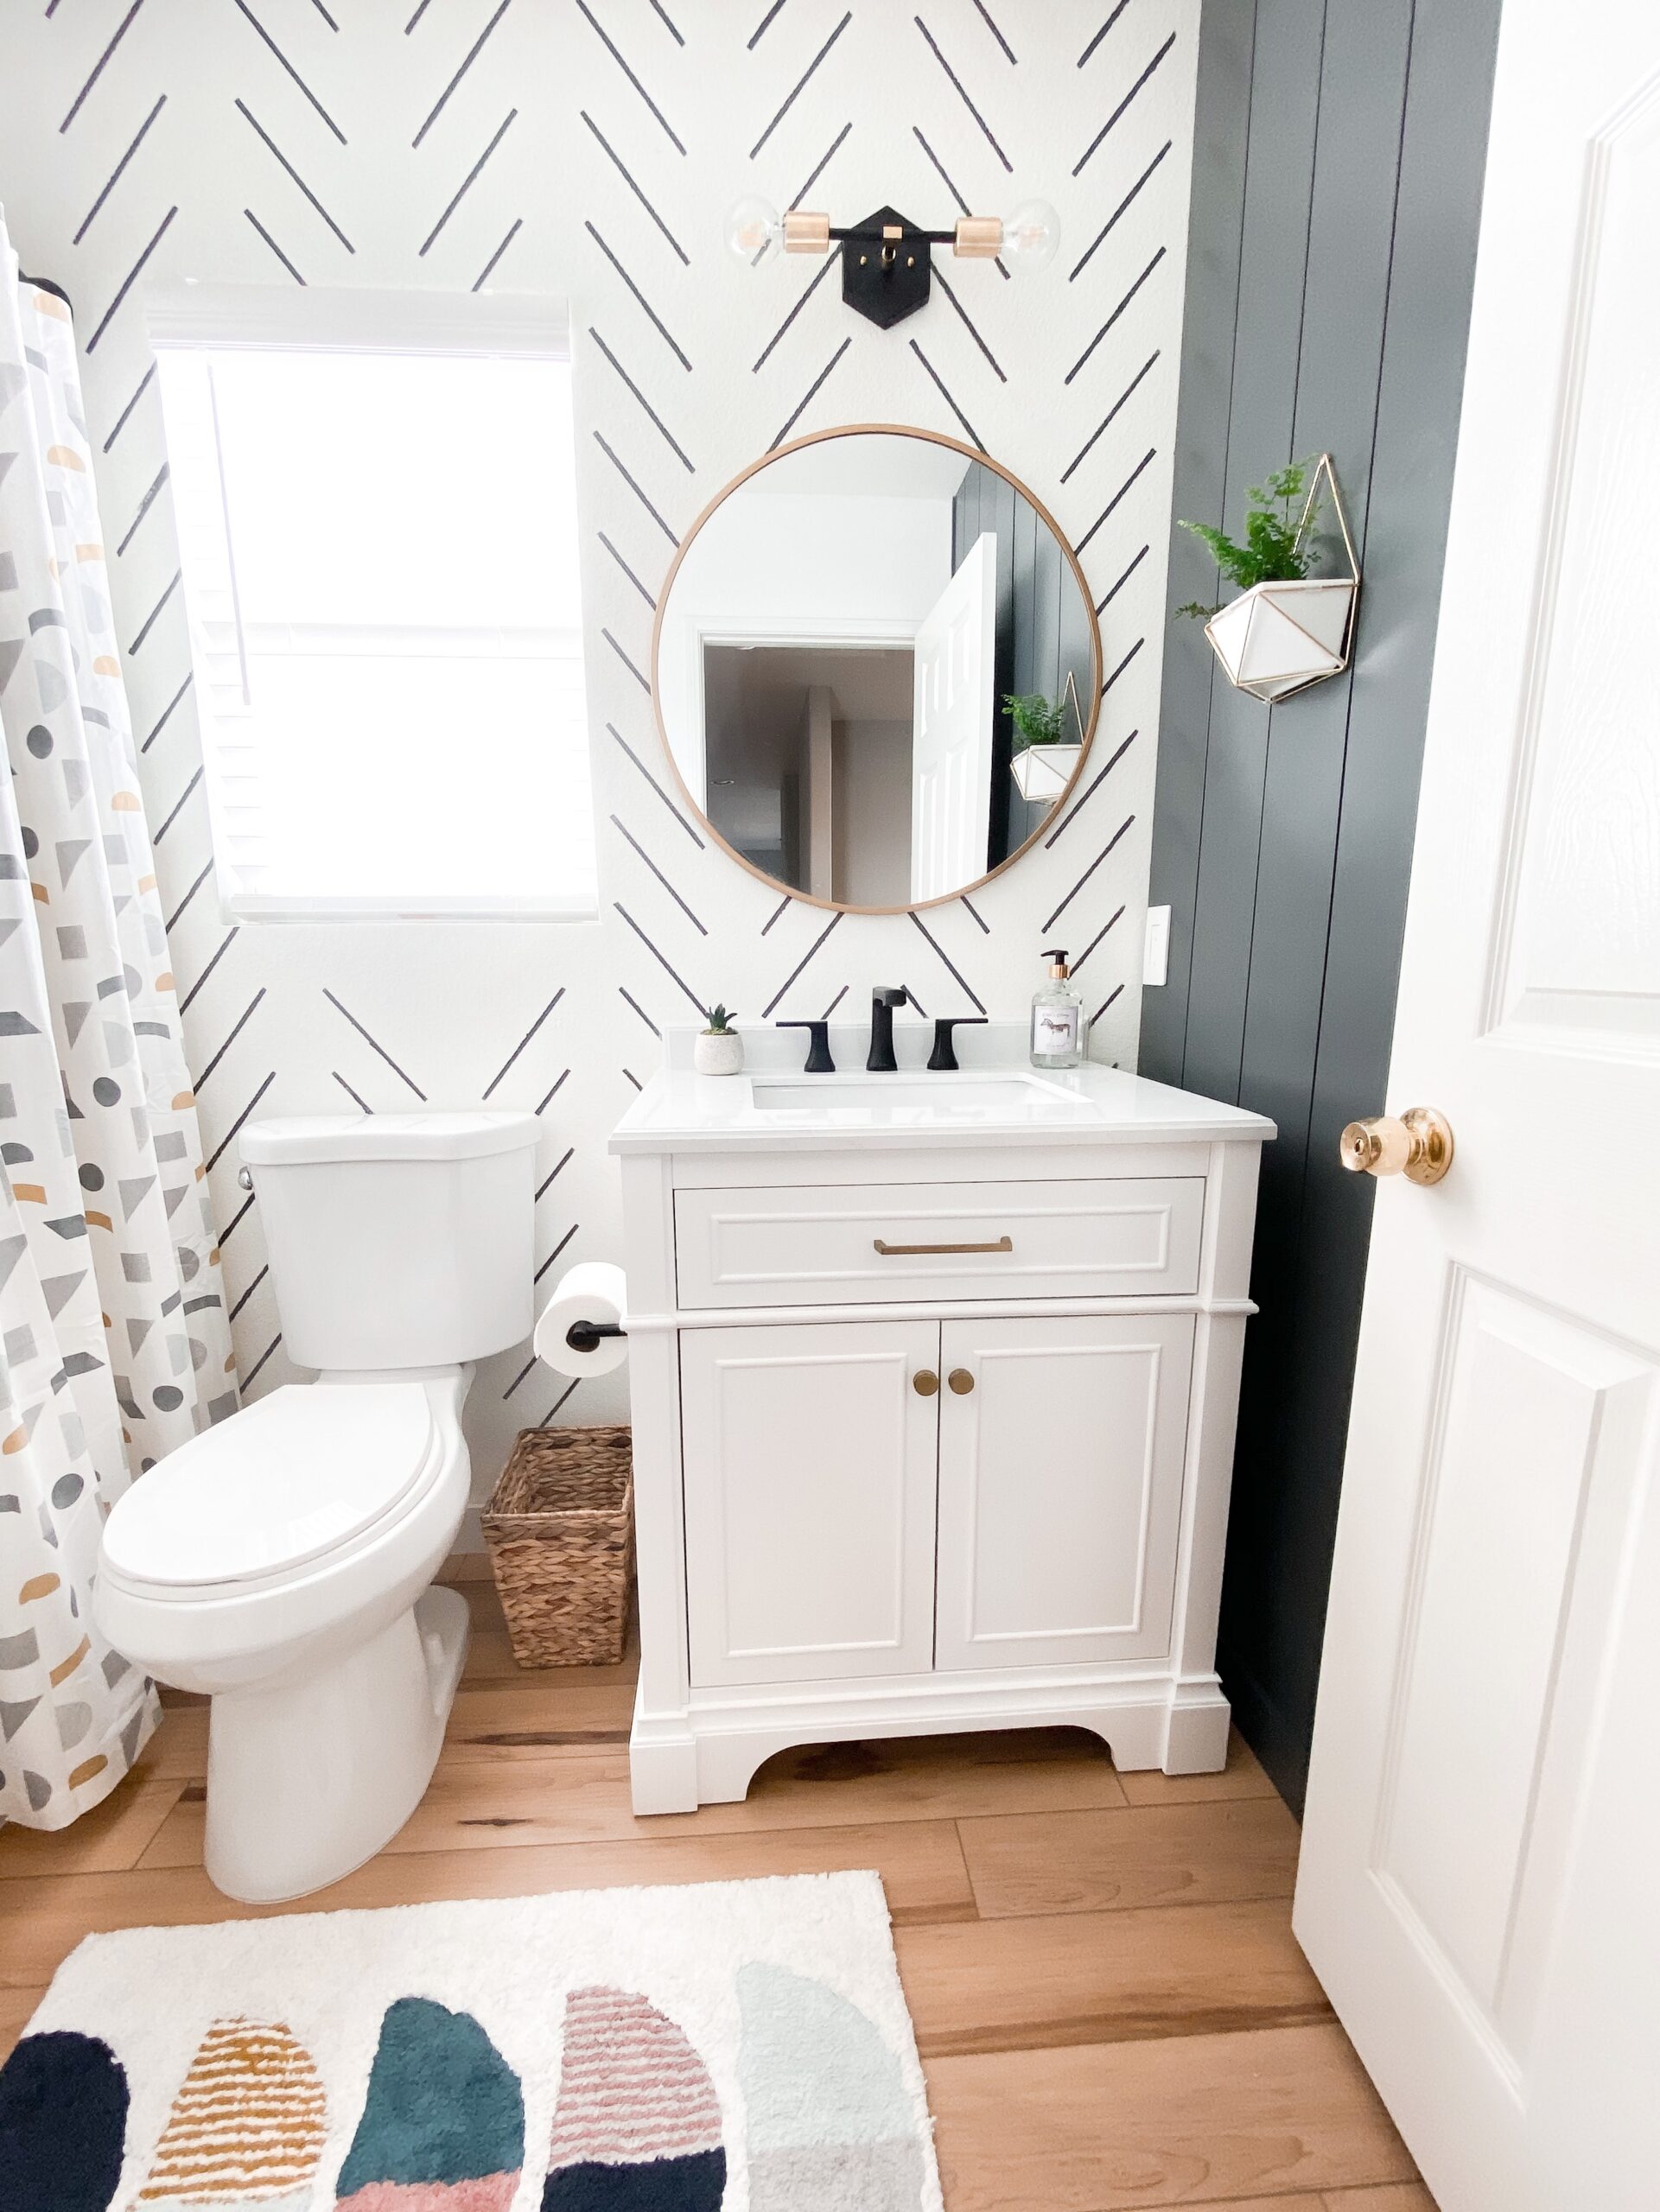
by Kelly | Oct 17, 2020 | bathroom projects, DIY, DIY Projects
This sad, sad kids bathroom has been staring at me for years. I just put it on the back burner while finishing other projects throughout the house, and decided it was time to give it a little update. Yes! So excited for this one! Here is the bathroom before I started...
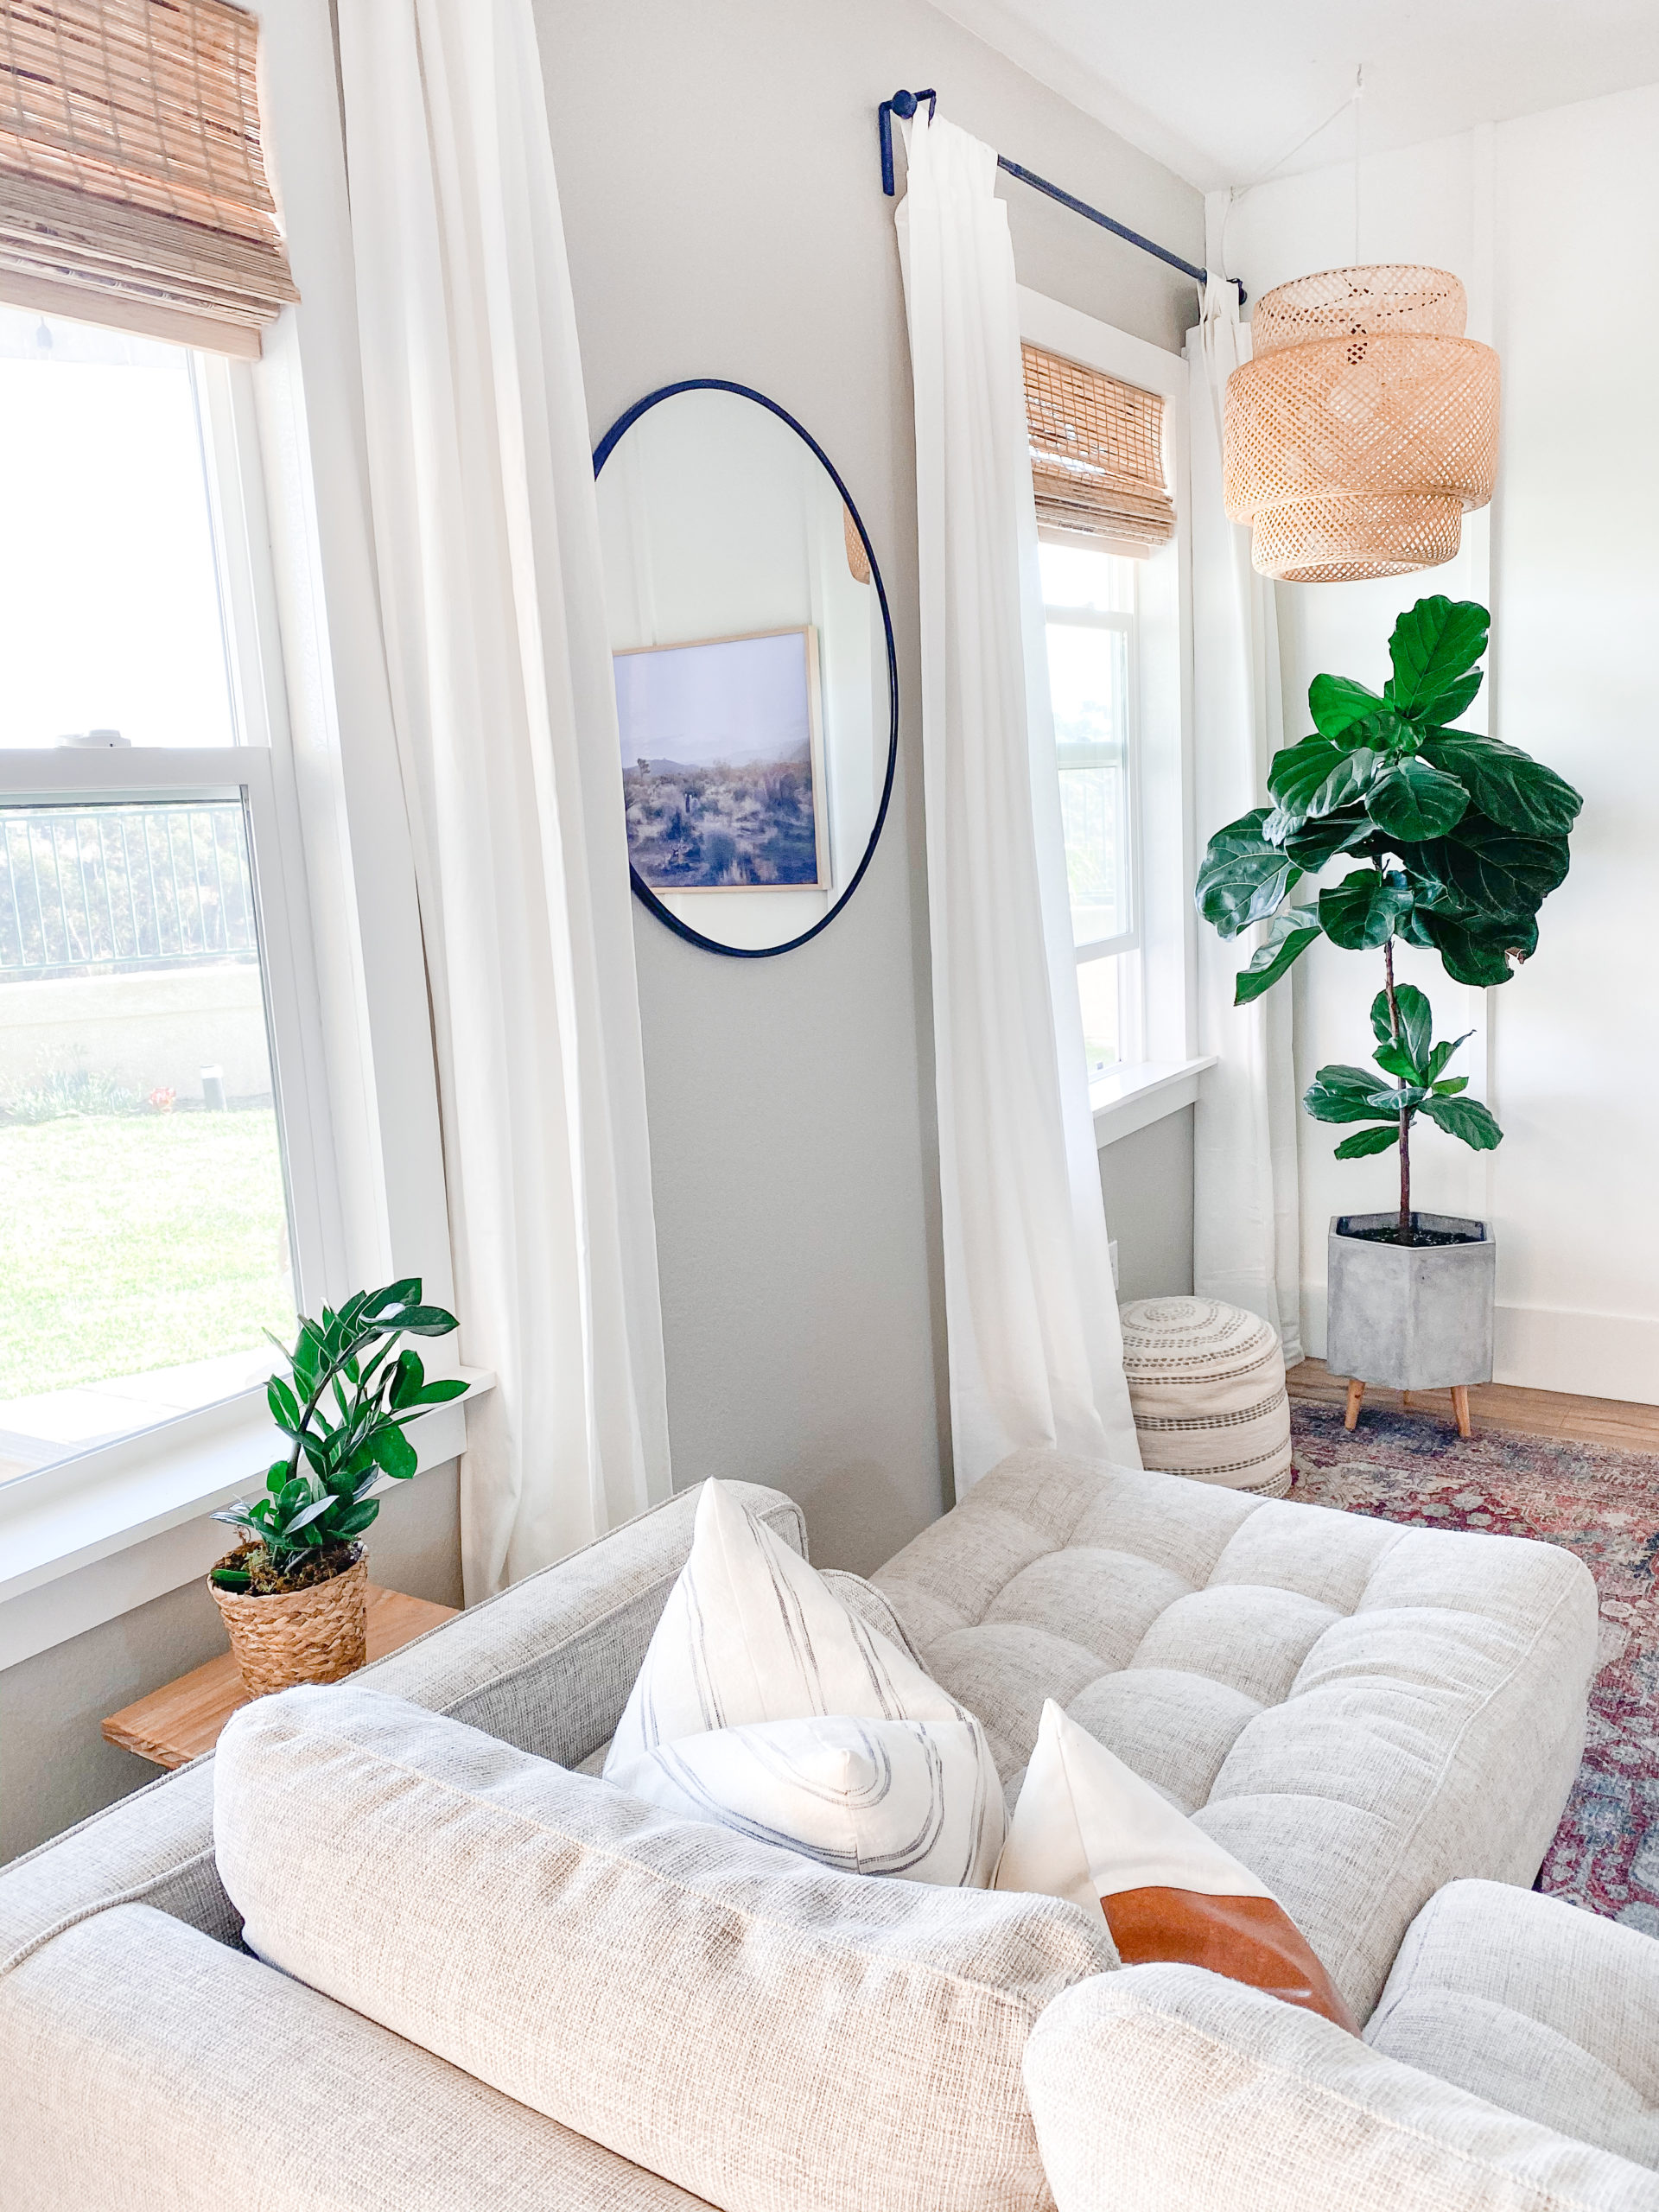
by Kelly | Sep 10, 2020 | DIY, DIY Projects, Living Spaces
You’ve got a boring room, and you want to give it some depth and make it feel cozier? A simple change like a DIY window frame project, can make such a big difference. This is a DIY upgrade for your space that can be done so easily! I’m going to give you...
