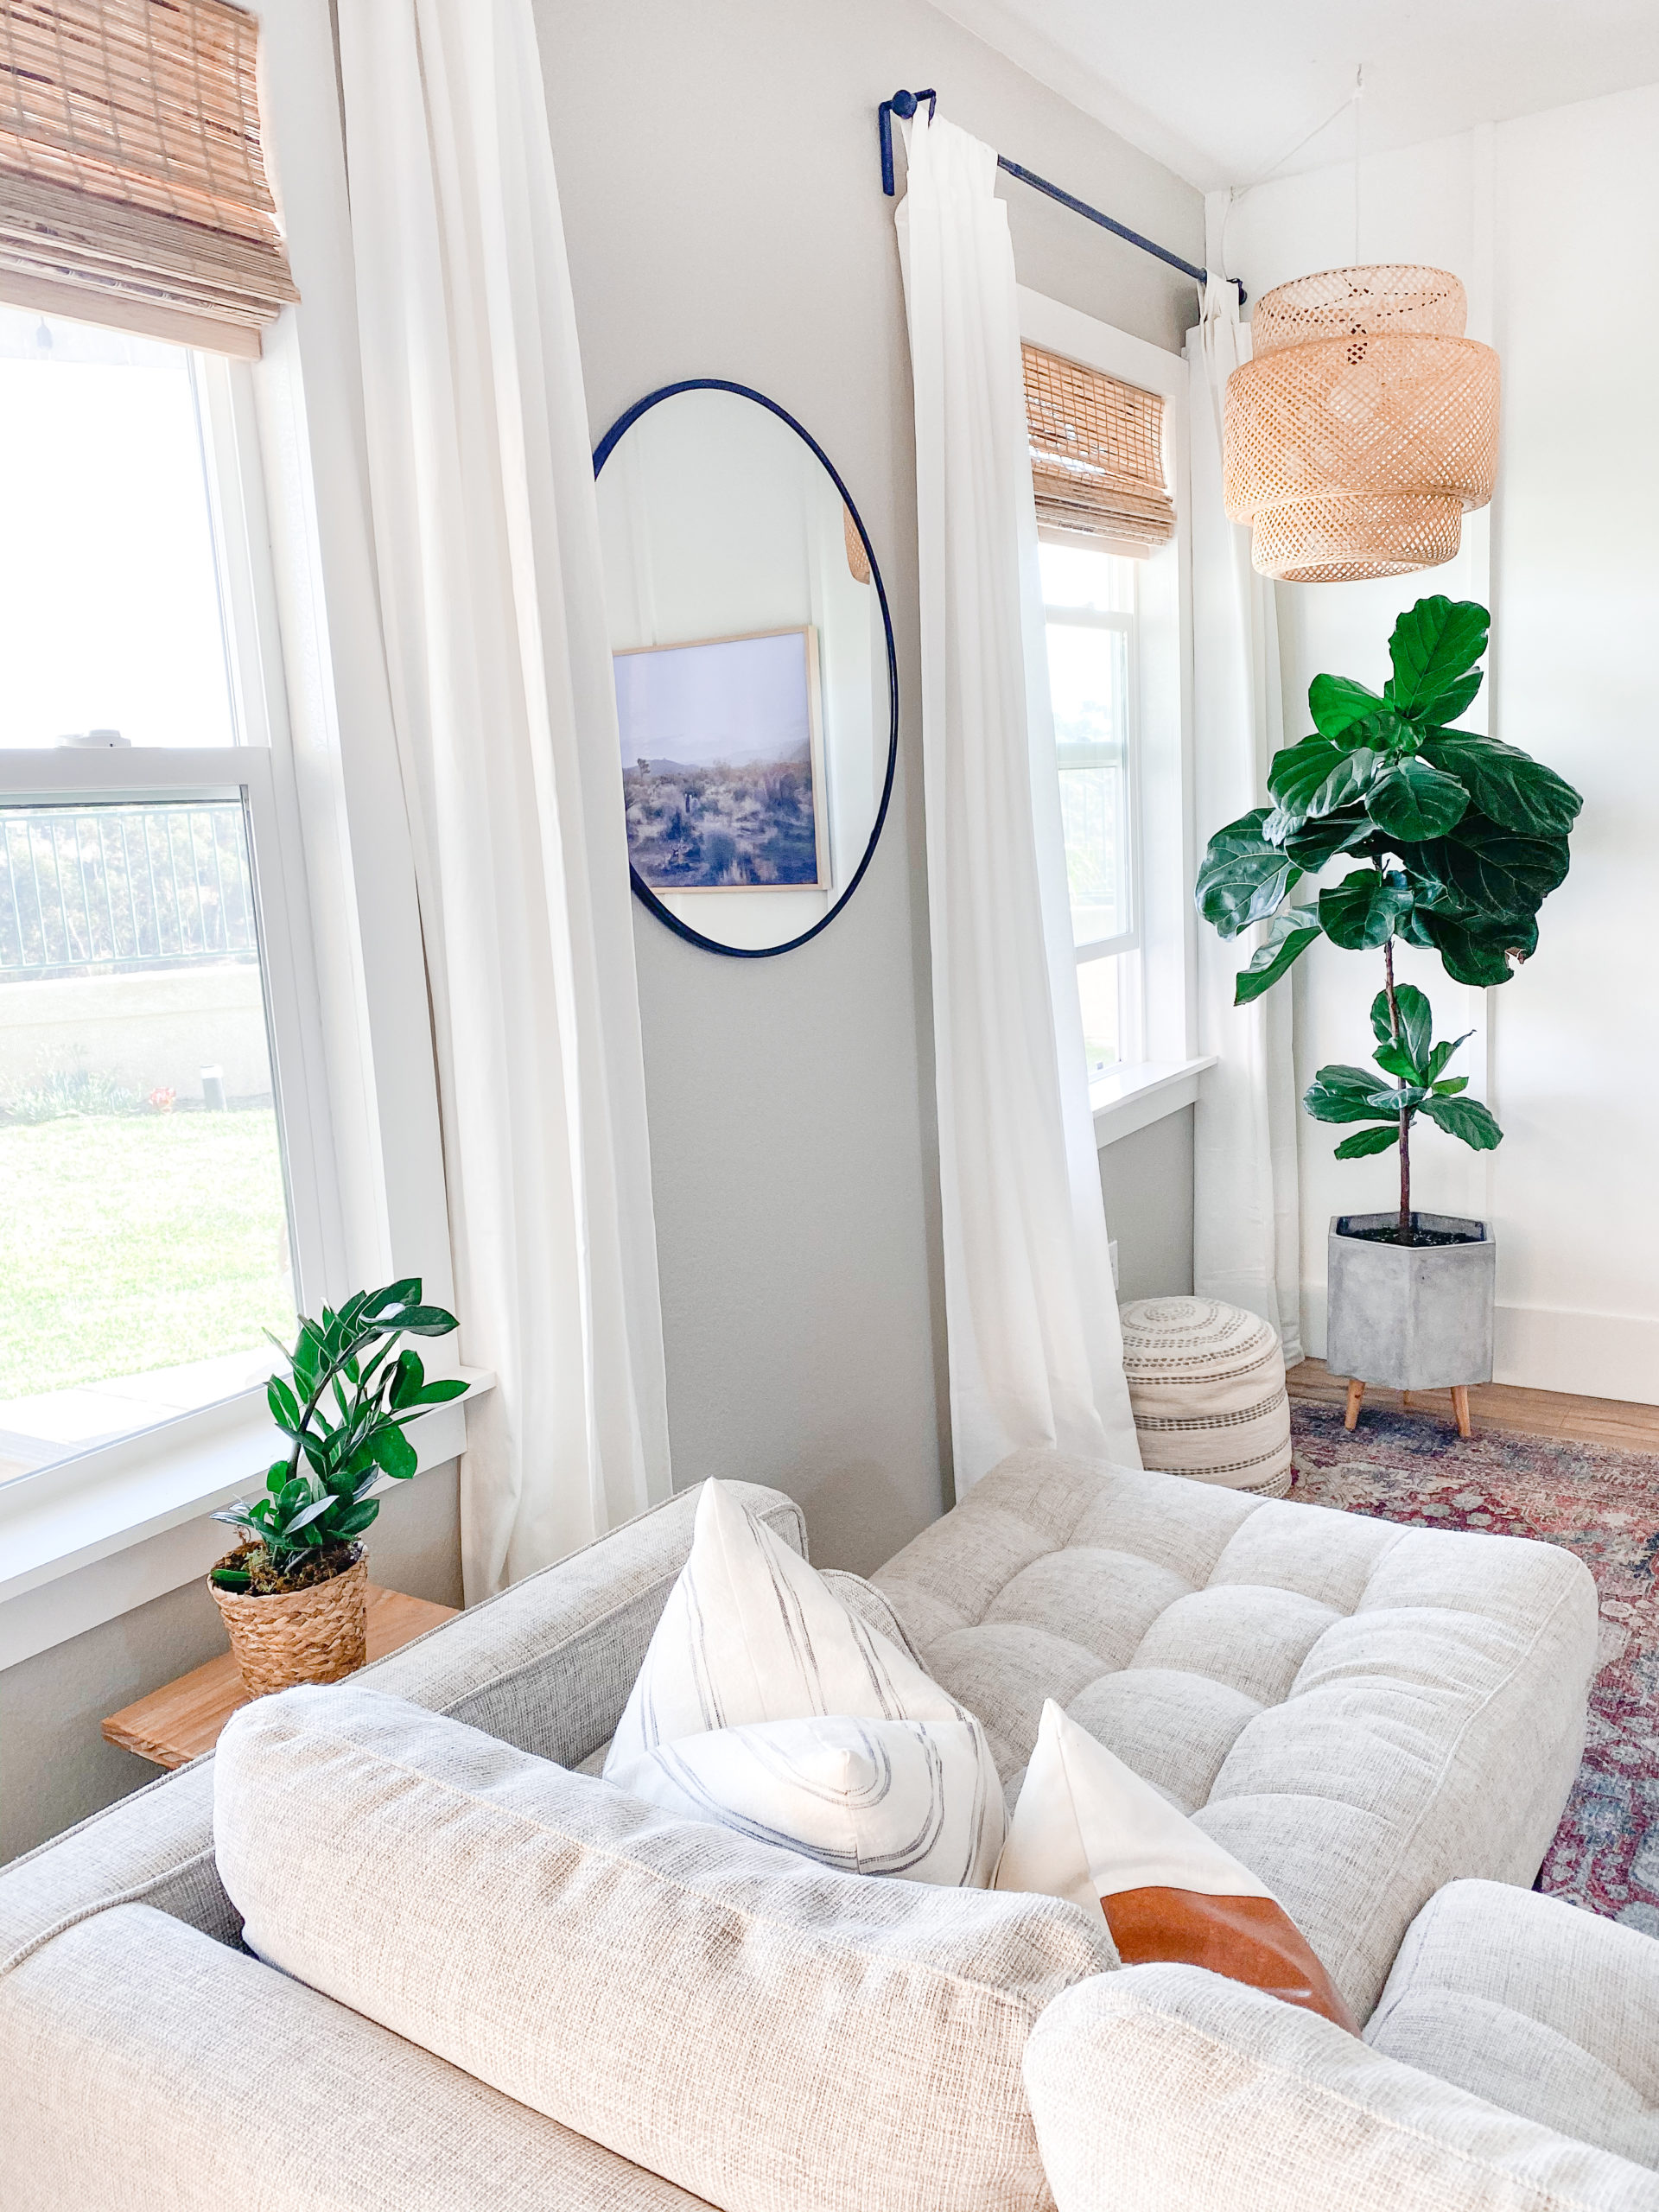
by Kelly | Sep 10, 2020 | DIY, DIY Projects, Living Spaces
You’ve got a boring room, and you want to give it some depth and make it feel cozier? A simple change like a DIY window frame project, can make such a big difference. This is a DIY upgrade for your space that can be done so easily! I’m going to give you...
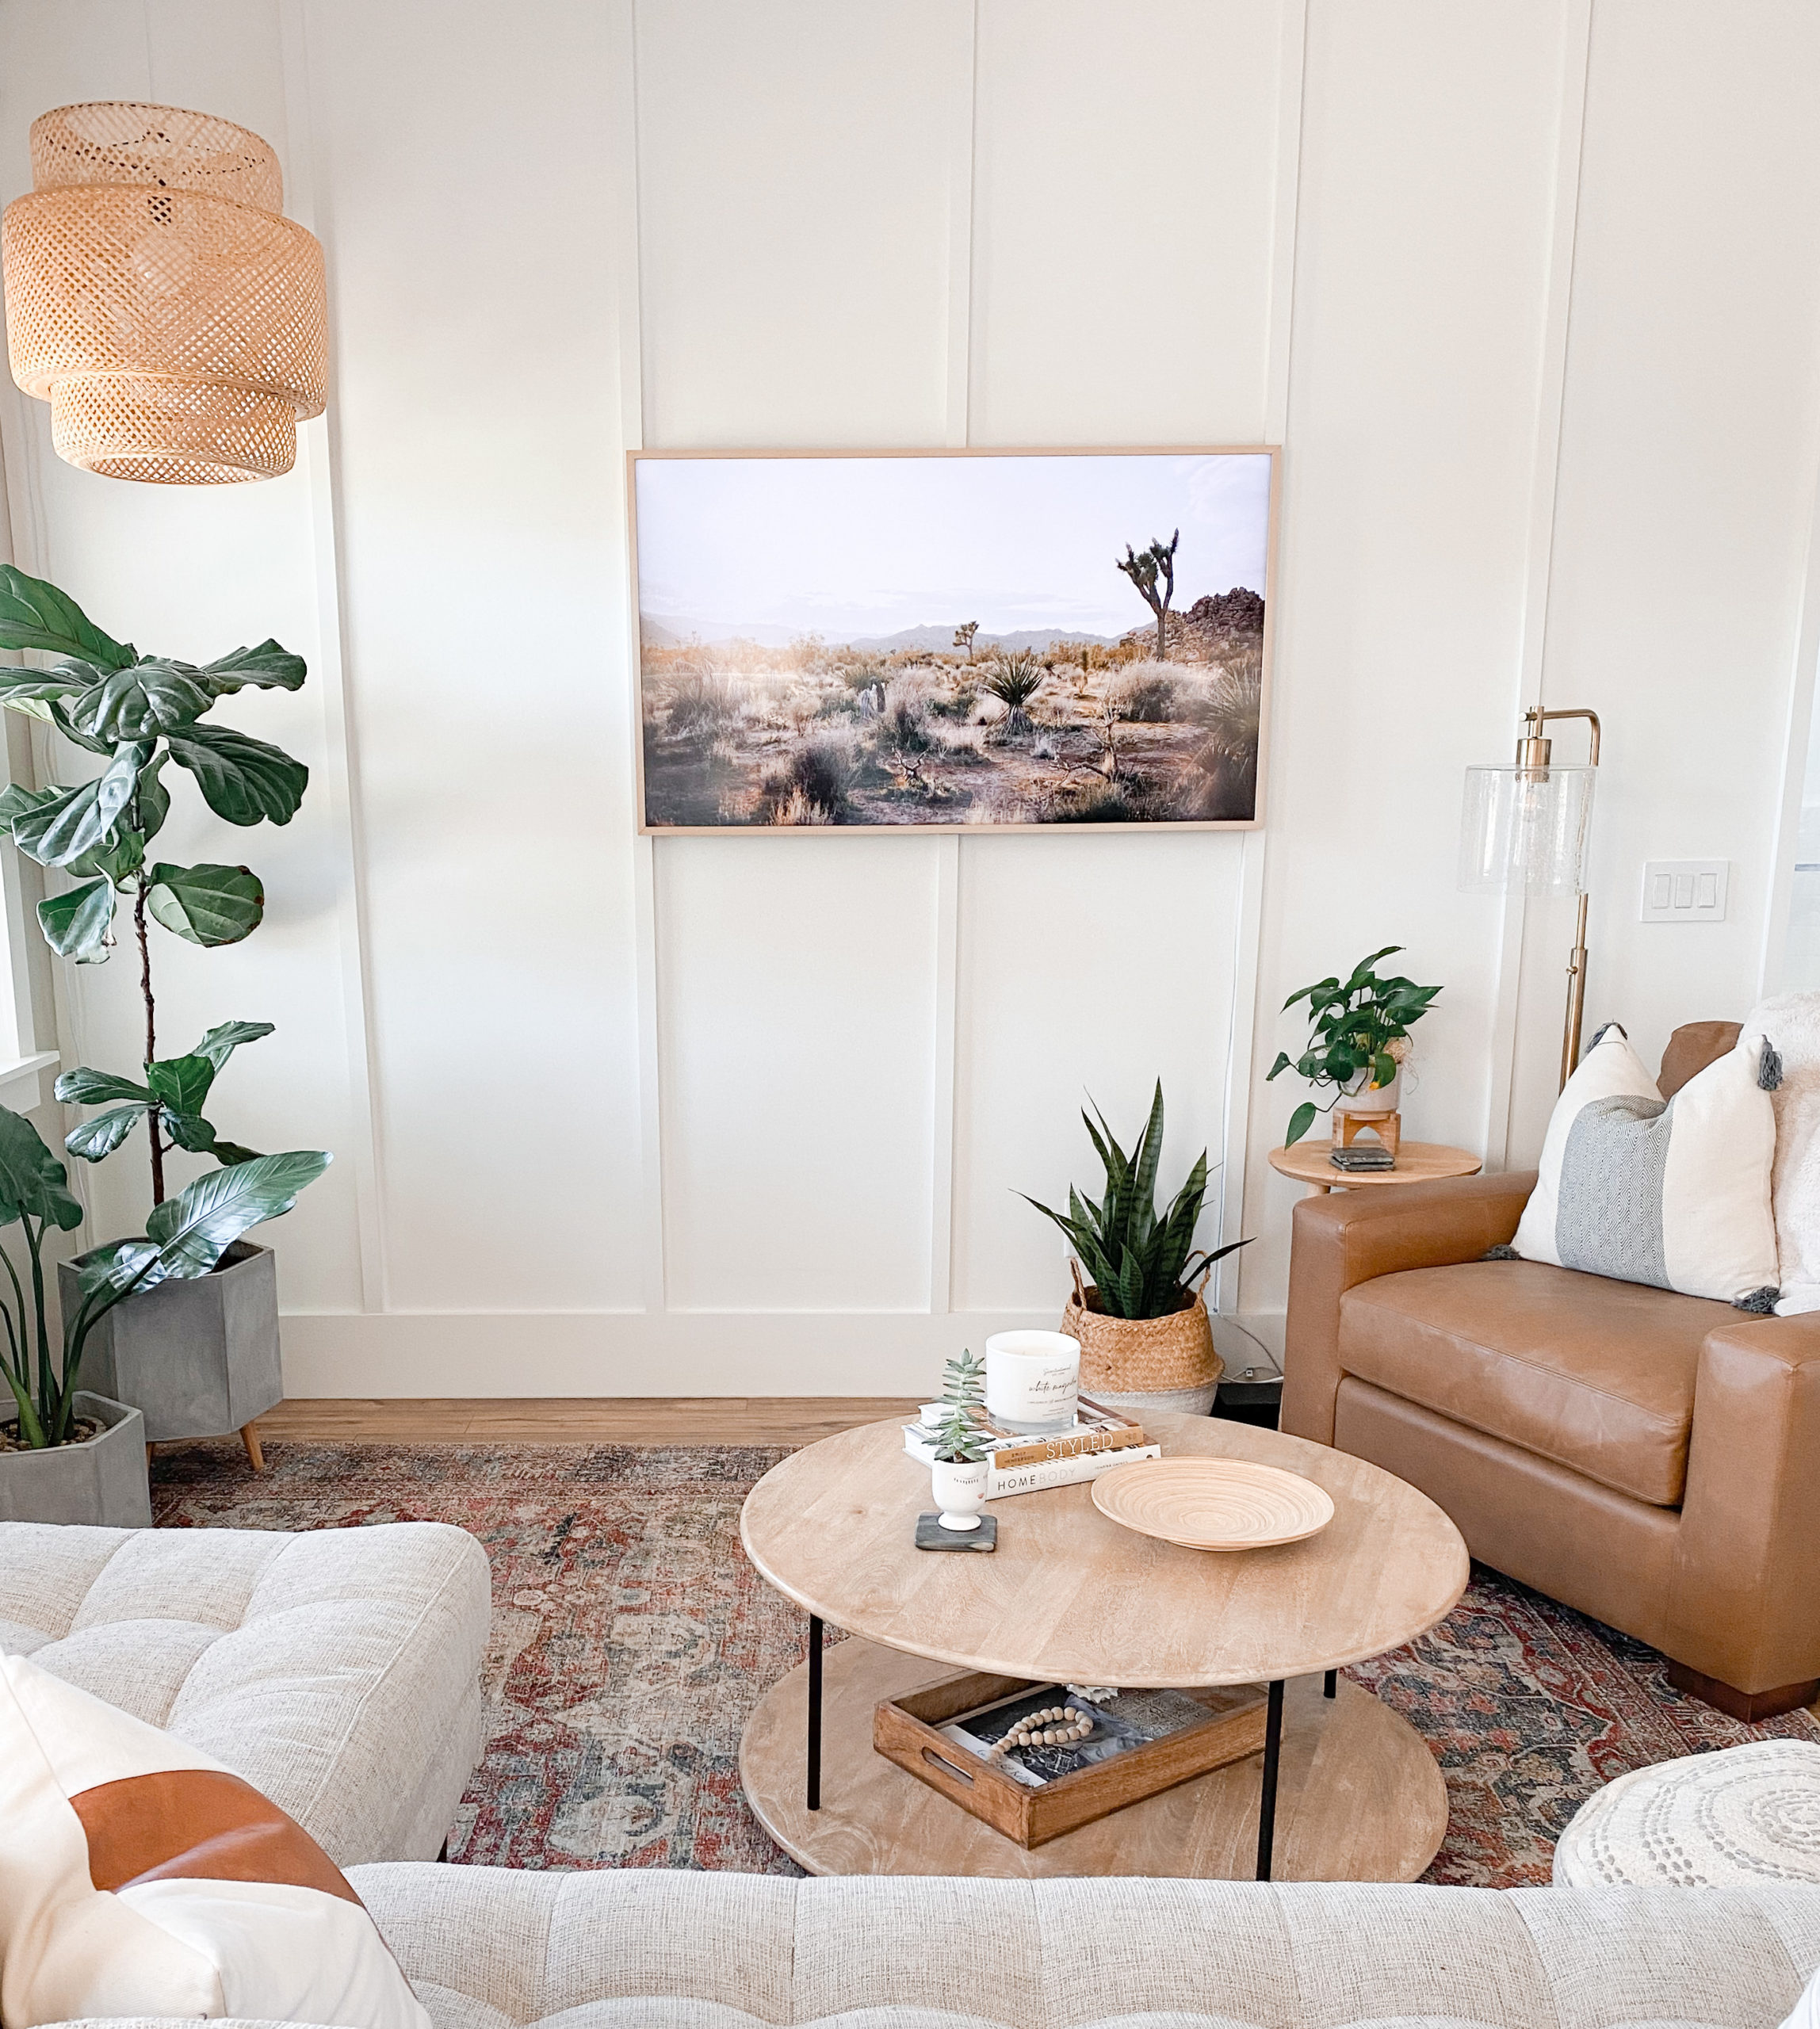
by Kelly | Jun 13, 2020 | DIY, DIY Projects, Living Spaces
How can some little boards from the lumber yard turn into something so pretty?? I always think that to myself when I finish a project. It can be so fun to see the result of your ideas when it finally comes to life. Especially when you’re doing a board and batten...
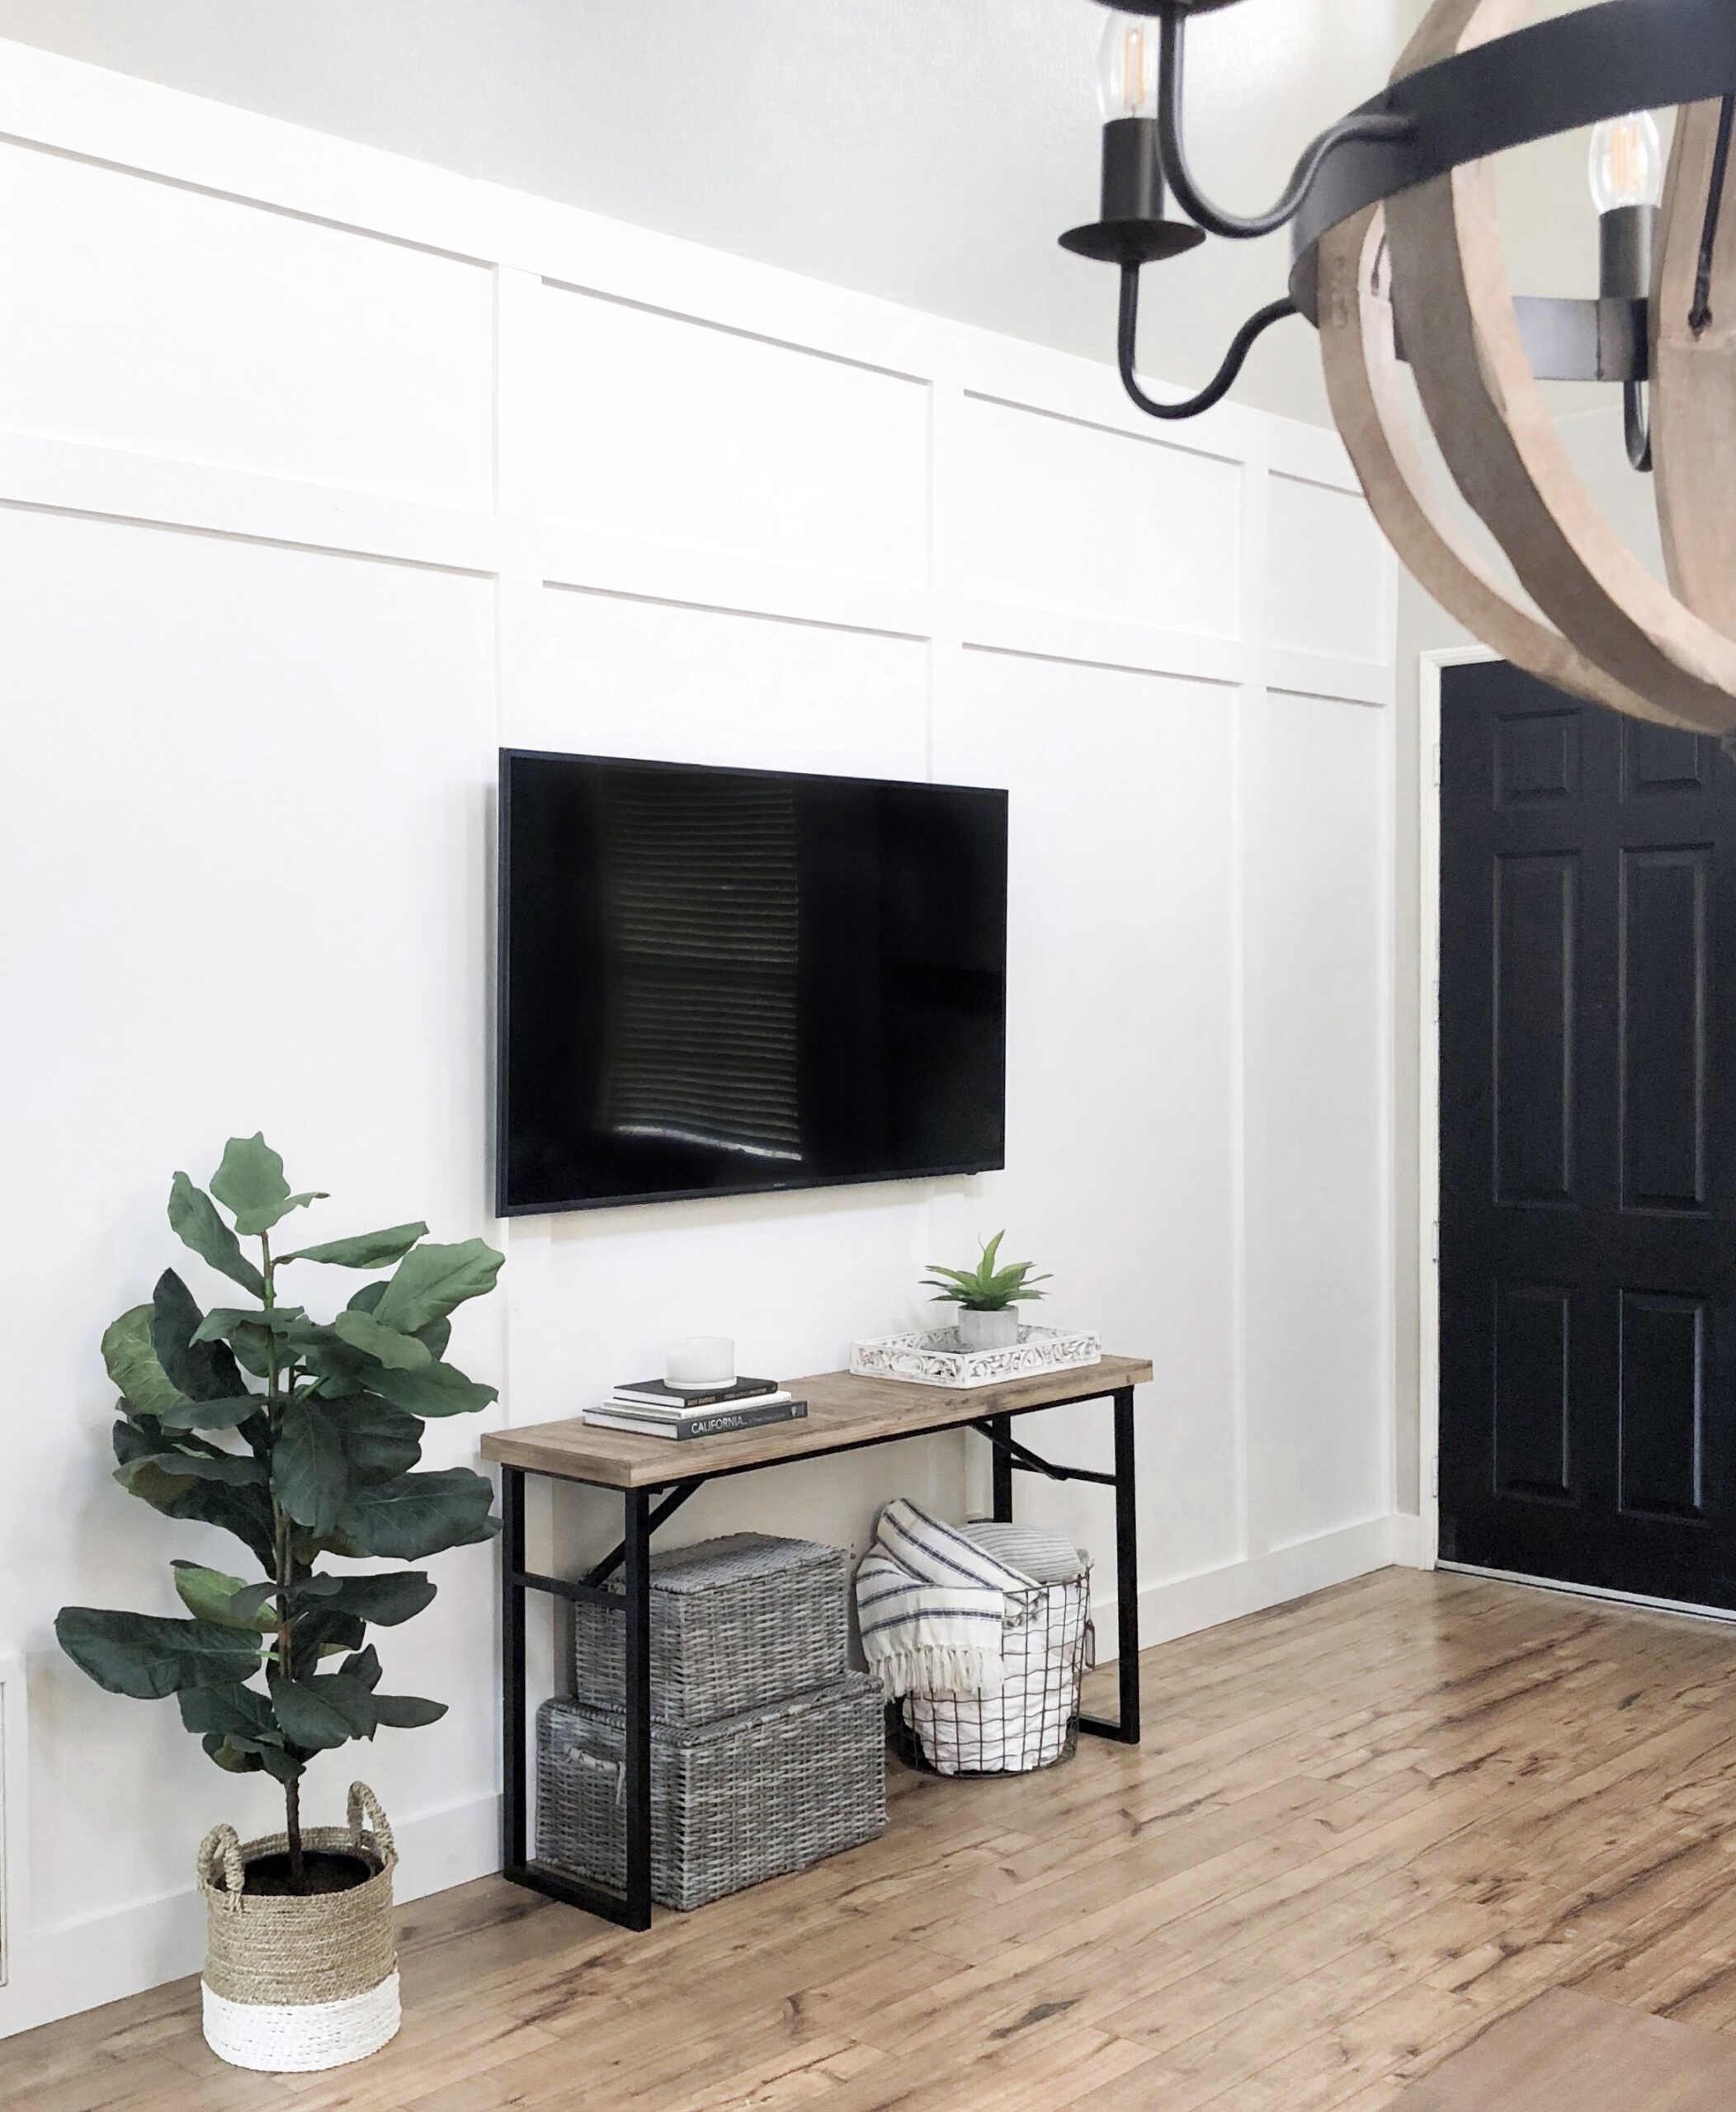
by Kelly | Sep 3, 2018 | DIY, DIY Projects, Living Spaces
This large, blank wall has been staring at me for the last five years that we have been in our home. I originally just threw some family photos up and called it a day. I think very high walls intimidate me when it comes to decor. Once I really started thinking about...
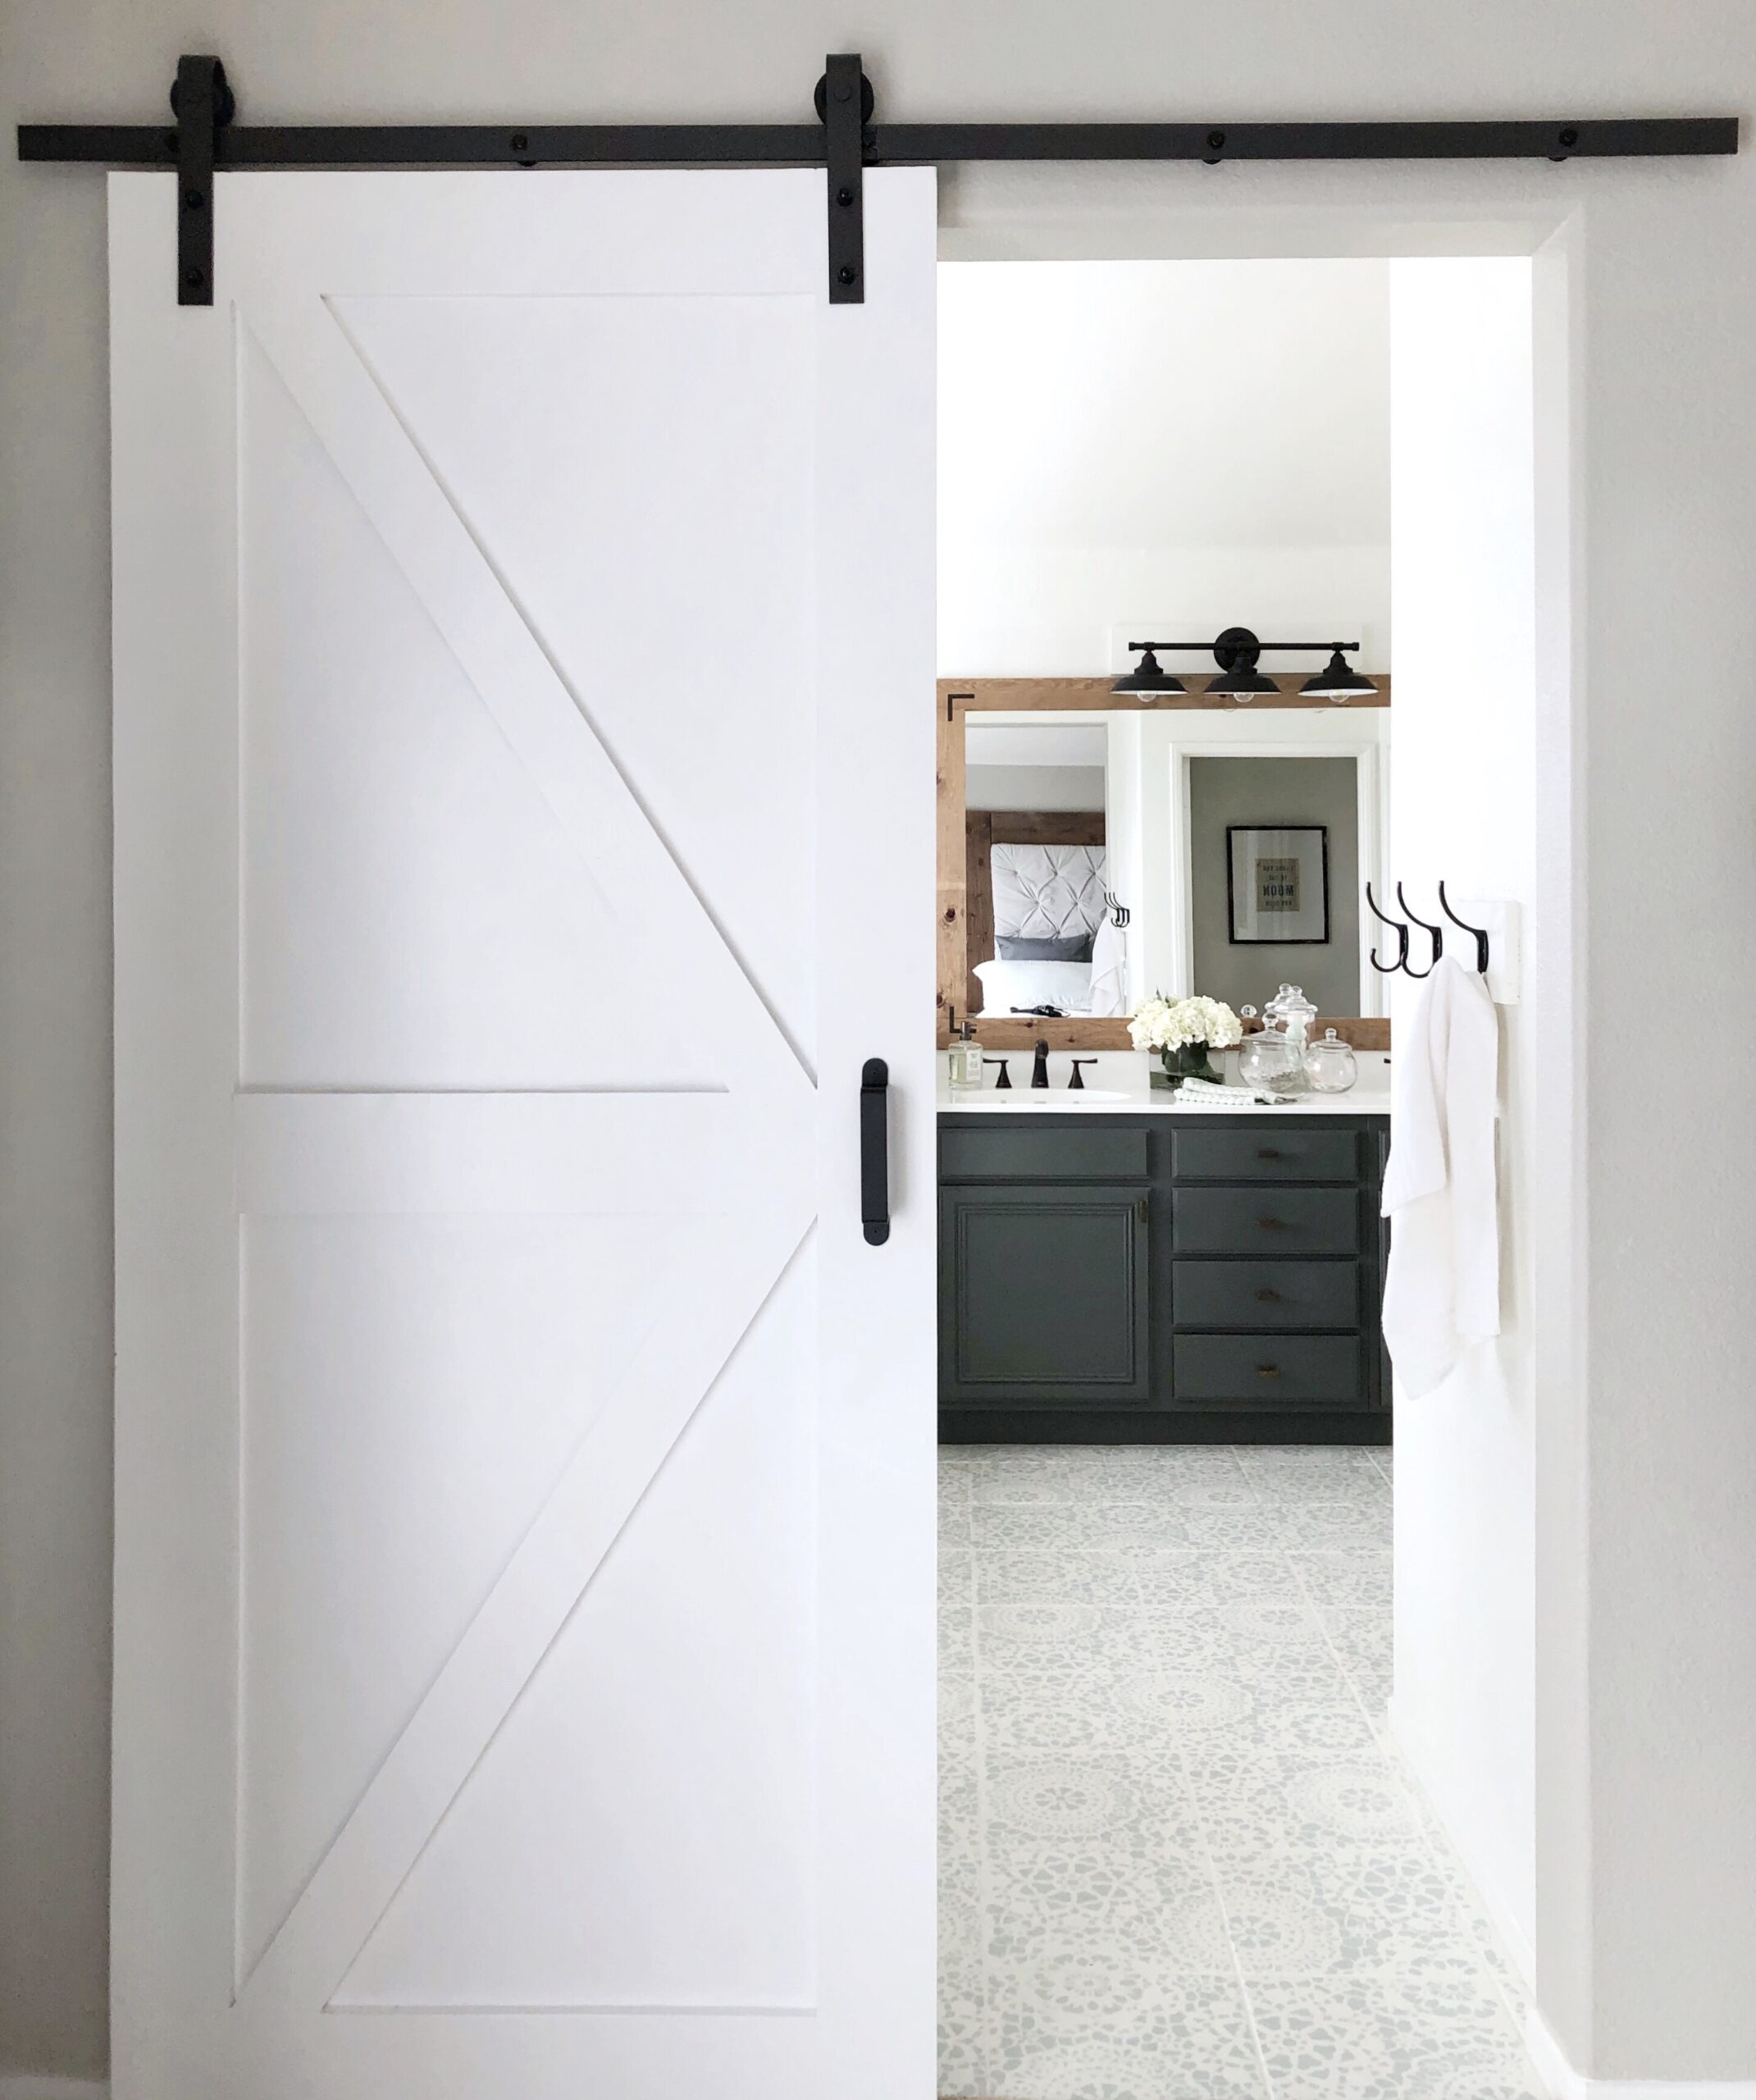
by Kelly | Nov 12, 2017 | DIY, DIY Projects, Living Spaces
Who doesn’t love a barn door? Well, the answer is EVERYONE loves a barn door. Not only are they the perfect decor for any space, but they are functional too… And guess what? You can easily make this door for your own home. I am going to give you the...
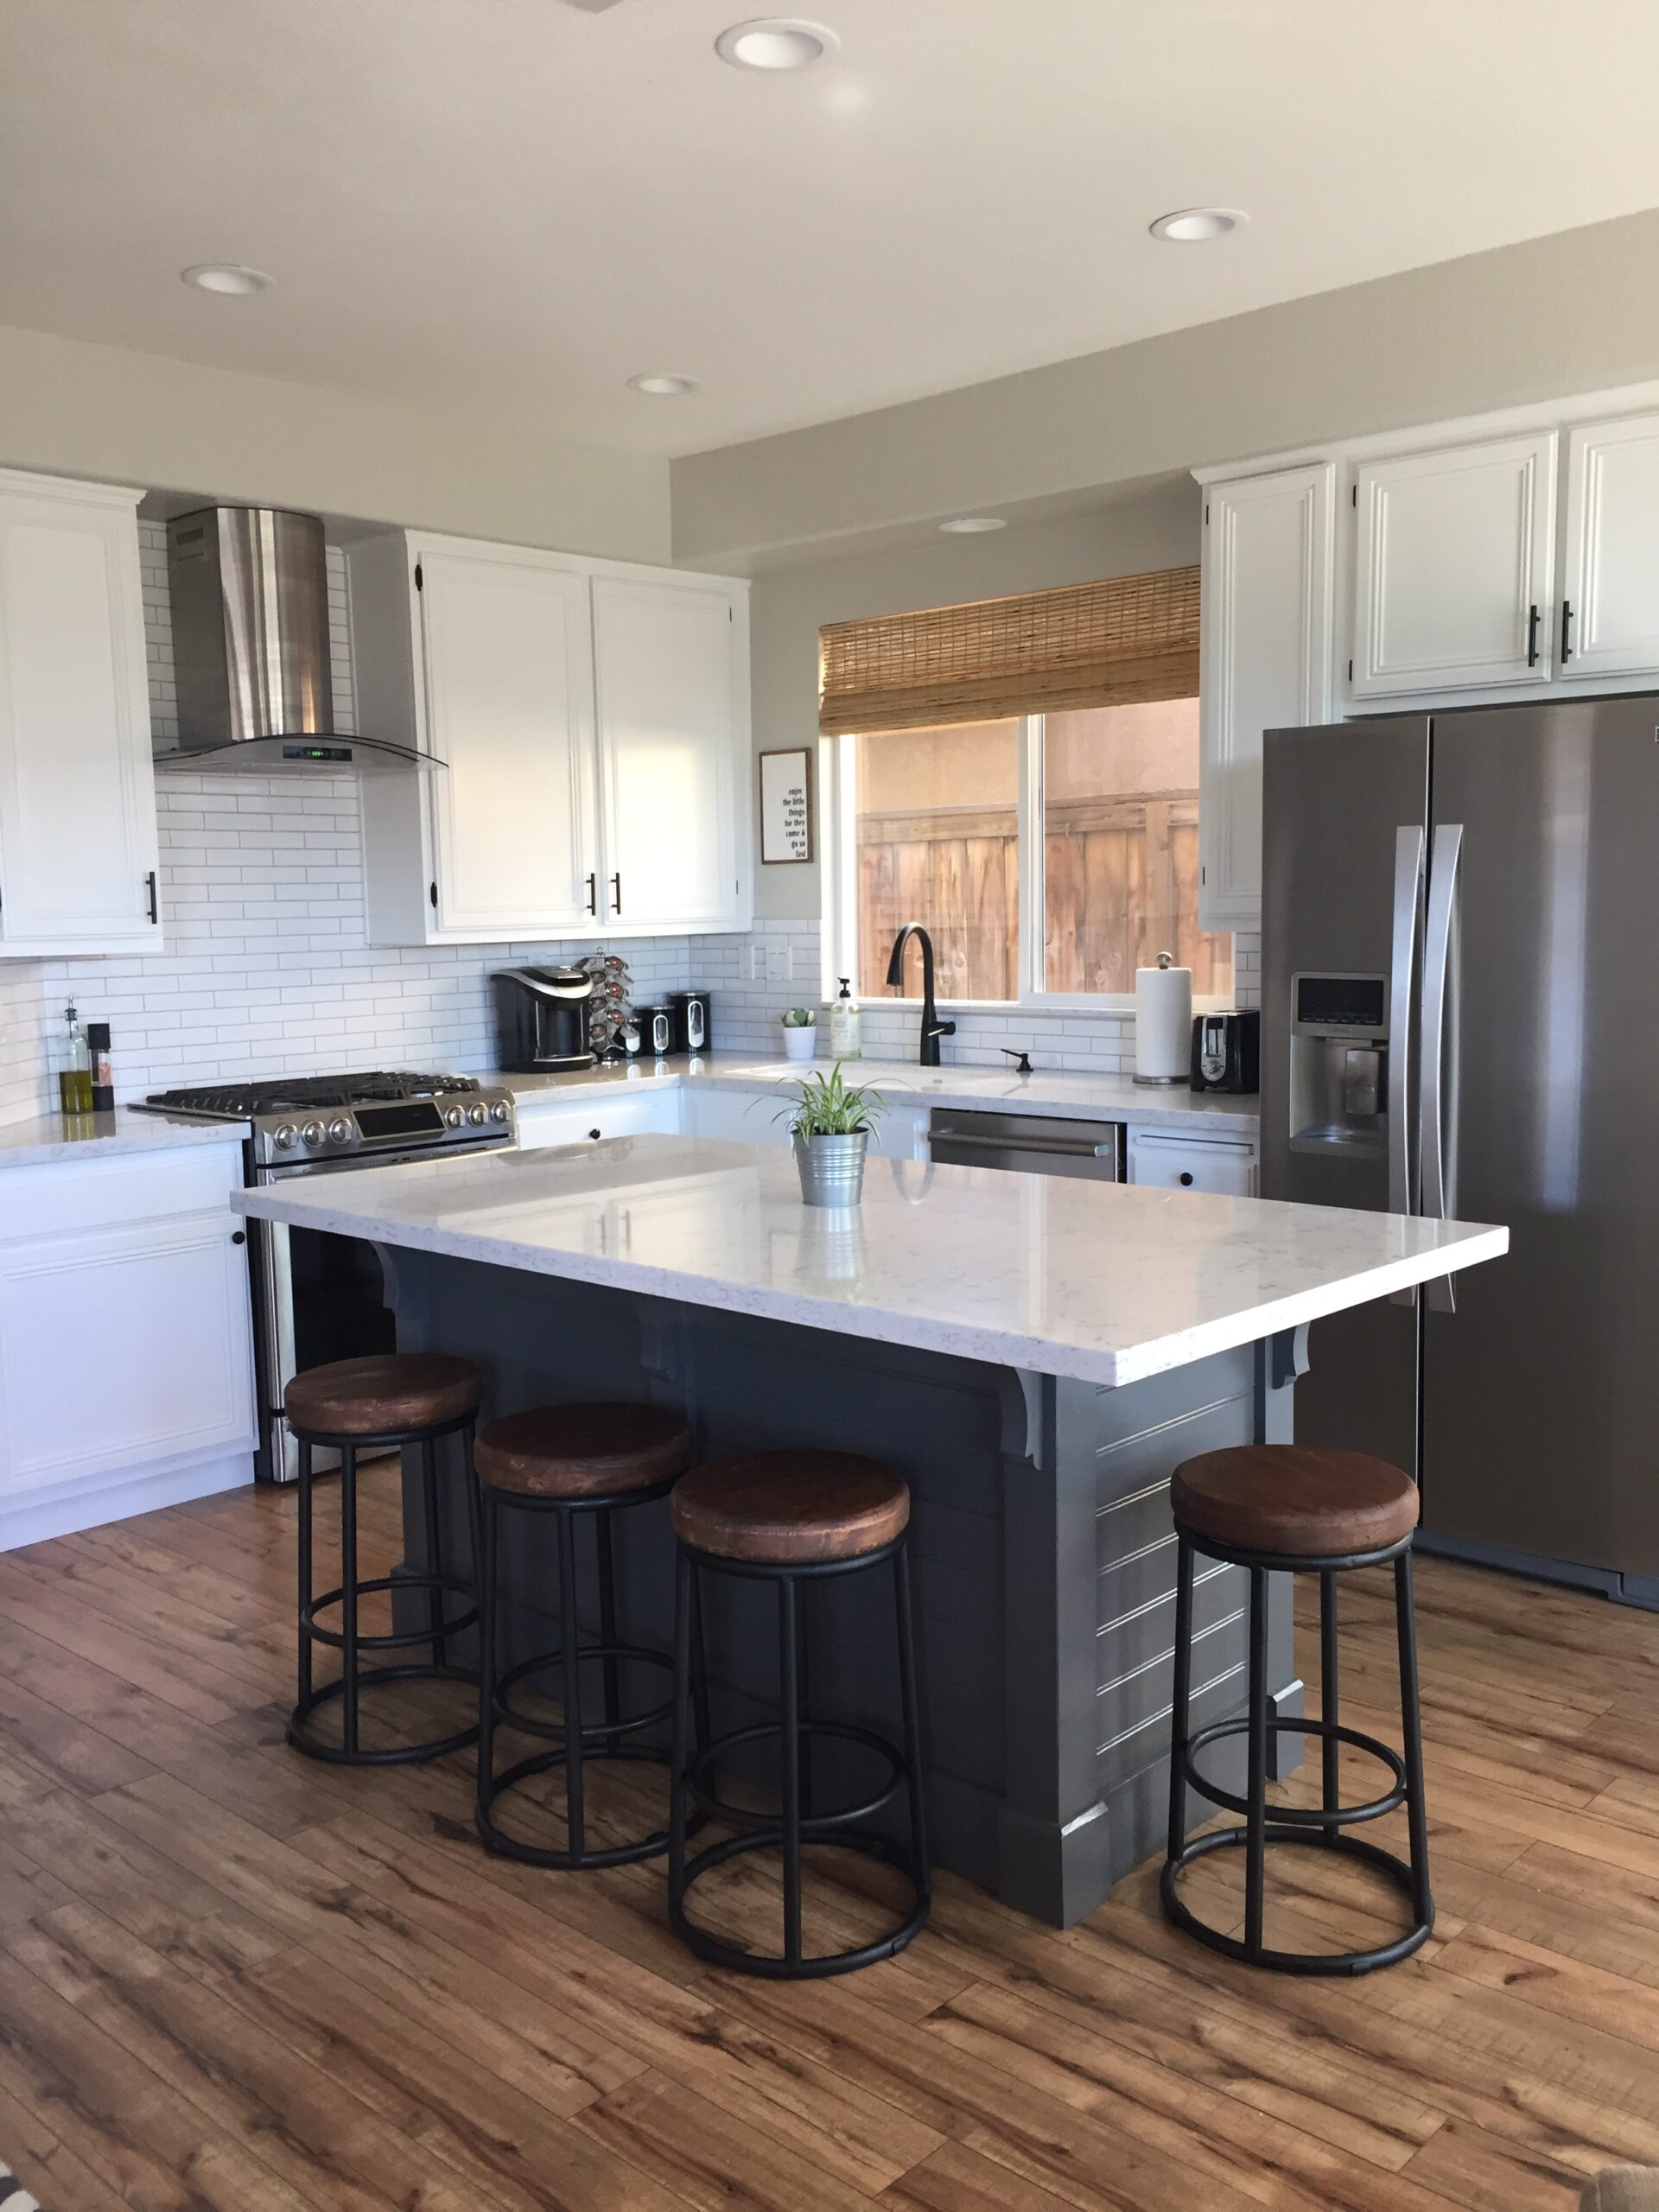
by Kelly | Feb 1, 2017 | DIY, DIY Projects, Kitchen Projects, Living Spaces
I am super excited to share with you all my new obsession and sanctuary… our DIY kitchen remodel. There is something about a new kitchen that gives a woman goose bumps all over, and butterflies in her belly. I cannot explain to you my love for this room…...
