
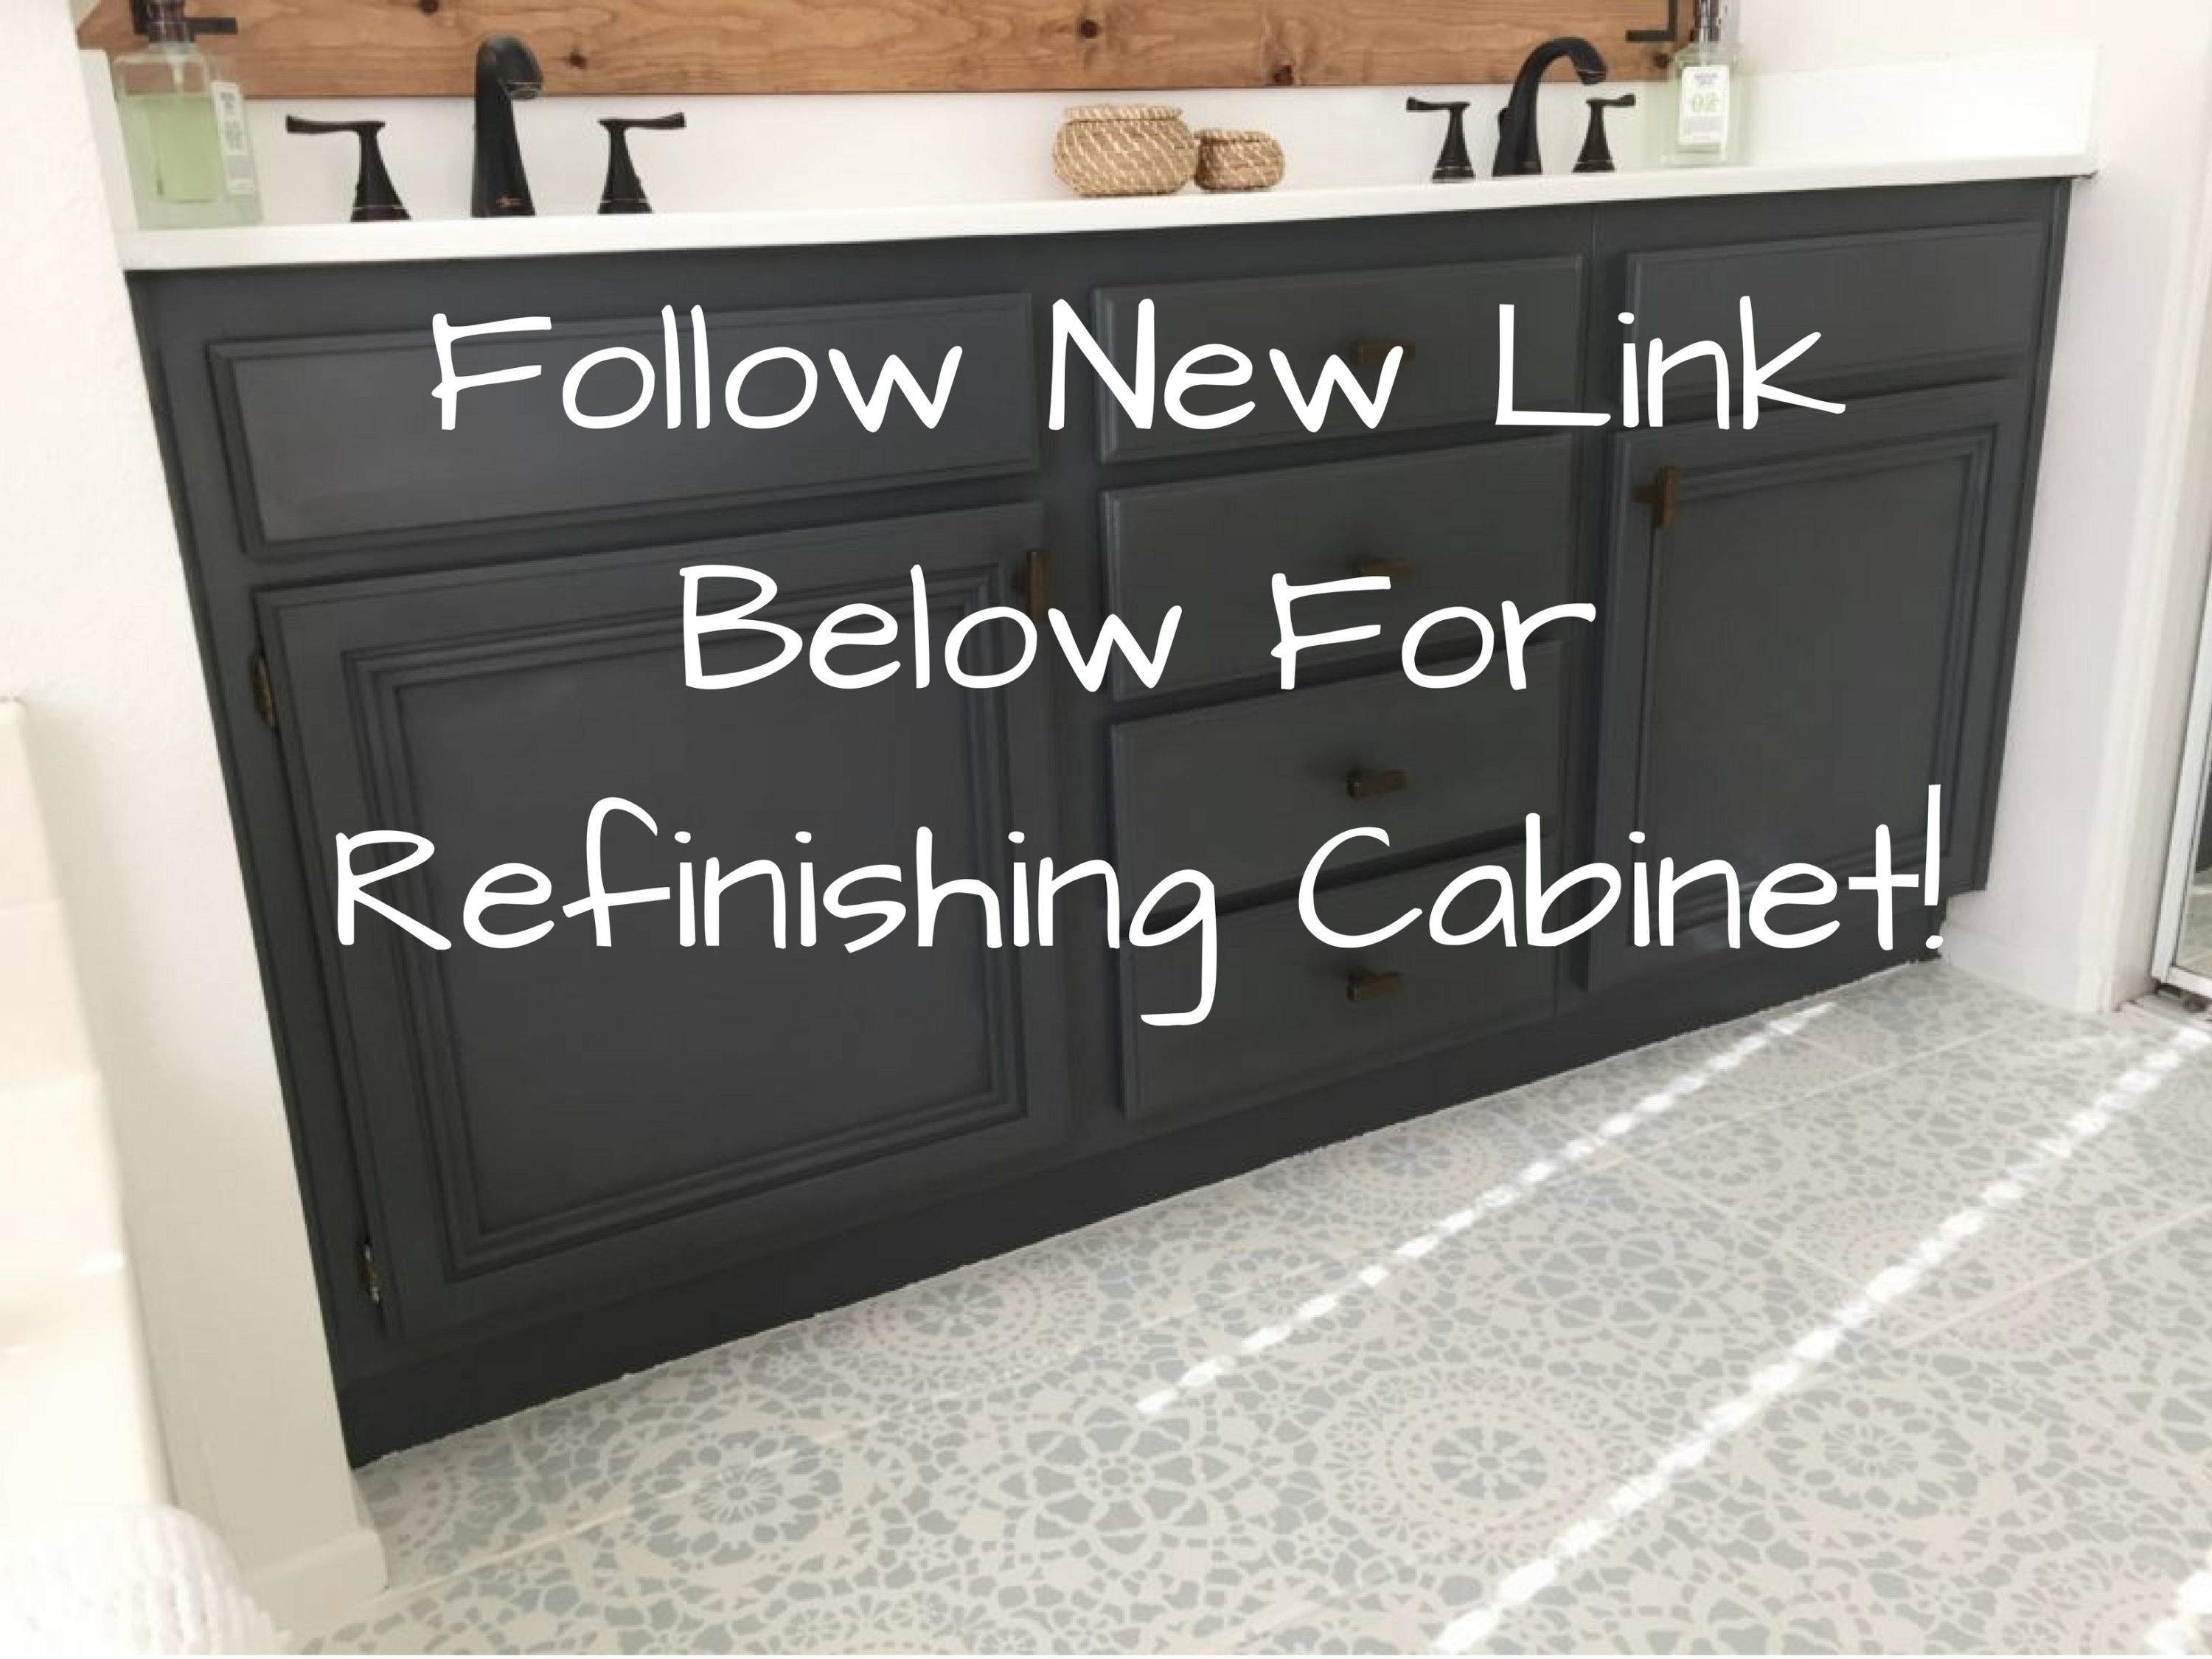
********* UPDATE! I have updated my method for refinishing bathroom cabinets. Please go to new post for tutorial!–> HERE
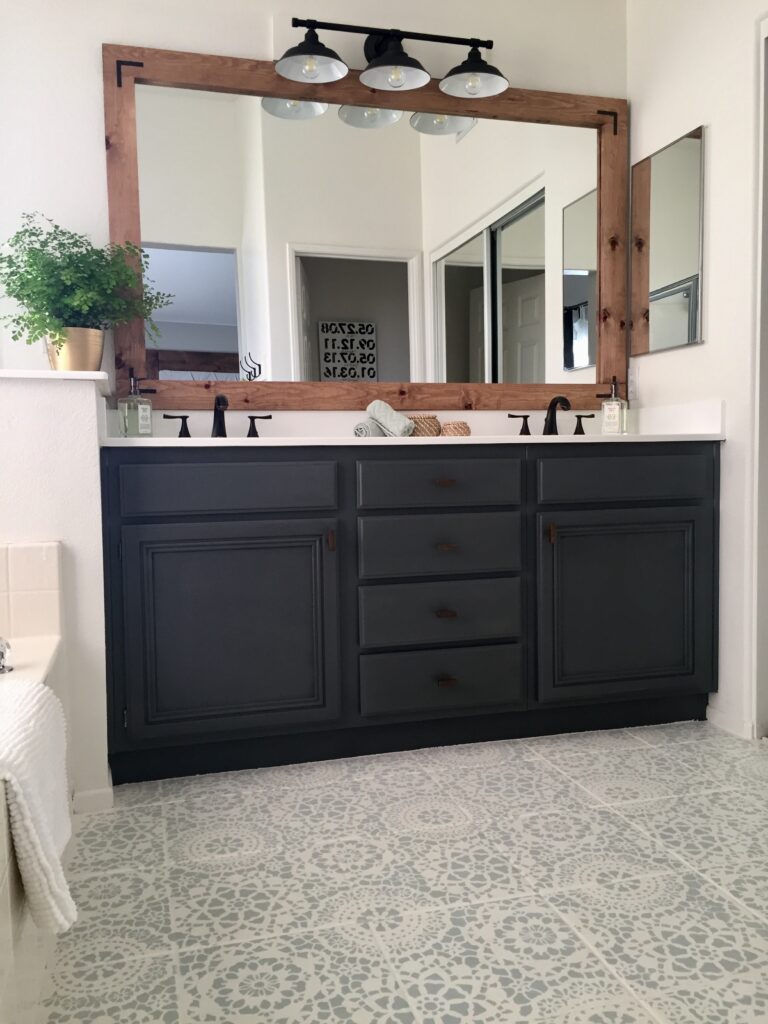
How could I leave behind the bathroom cabinet transformation?? I can’t move on with life until I write a post about how I took this old, faded, worn out cabinet and changed it into a little piece of art. And, I must add, WITHOUT a paint brush! The only paint brush you will need, is the one to apply the clear top coat. No spending hours touching up and applying perfect brush strokes. You are going to love how great this tutorial for refinishing bathroom cabinets is.
Previous to updating the bathroom, I completed a couple of bedroom projects. One of those being our headboard, as well as two end table lamps that I picked up from a thrift store. I used a chalky finish spray paint on the lamps. I was in love with how quickly it applied and there were no drips. Even coverage! This got me thinking, why couldn’t I do the same thing to my bathroom cabinet? So I went for it, and the results were great.
Here are the supplies you will need for refinishing bathroom cabinets:
- Hand held electric sander
- Sand Paper
- Tack cloth/ Microfiber cloth
- Chalky Finish Spray Paint
- Polyurethane clear top coat in Satin/Semi-gloss
- Good quality angled paint brush
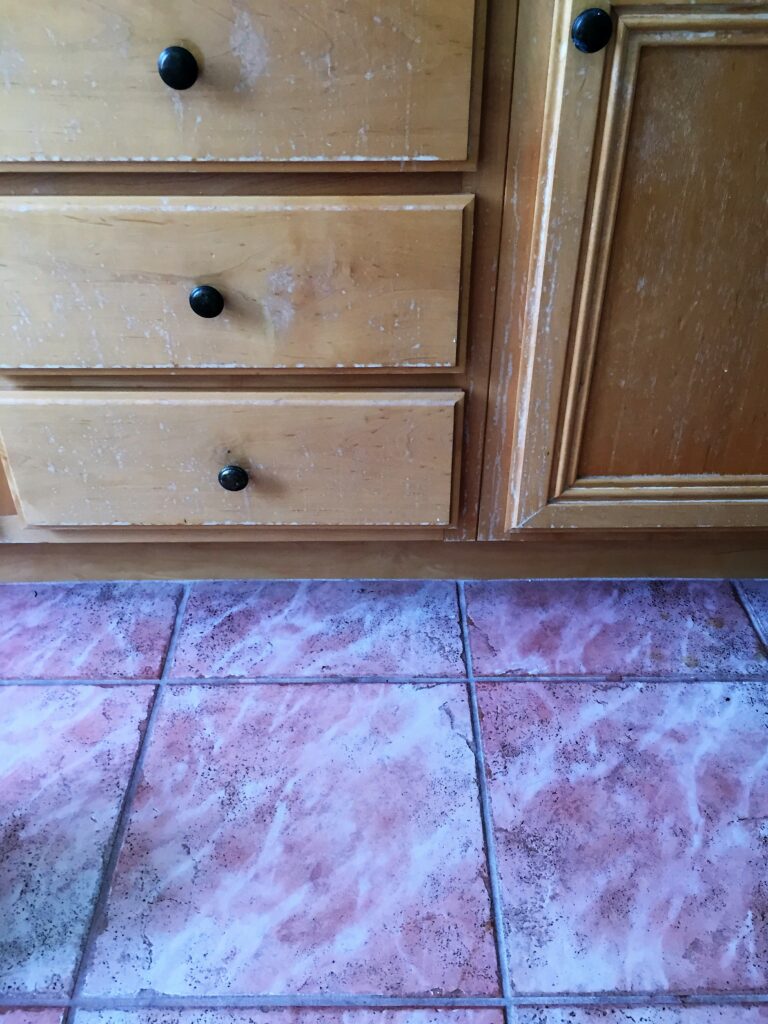
Our cabinet looked awful from years of use. Staring at it, it’s hard not to think of throwing it out and buying a new one. But it really is amazing what a good sanding can do to a piece of furniture. Yikes!! Pretty awful. I also, have a post on stenciling your bathroom floor– had to get rid of the pink tile as well.
Take all your drawers out and doors off, sand each one until all the funk is gone… and shiny finish is removed. I just left my door hinges on for the whole project. They actually matched with the knobs I had picked out, but you can also remove your hinges and knobs and spray paint them with another finish to give them a brand new look.
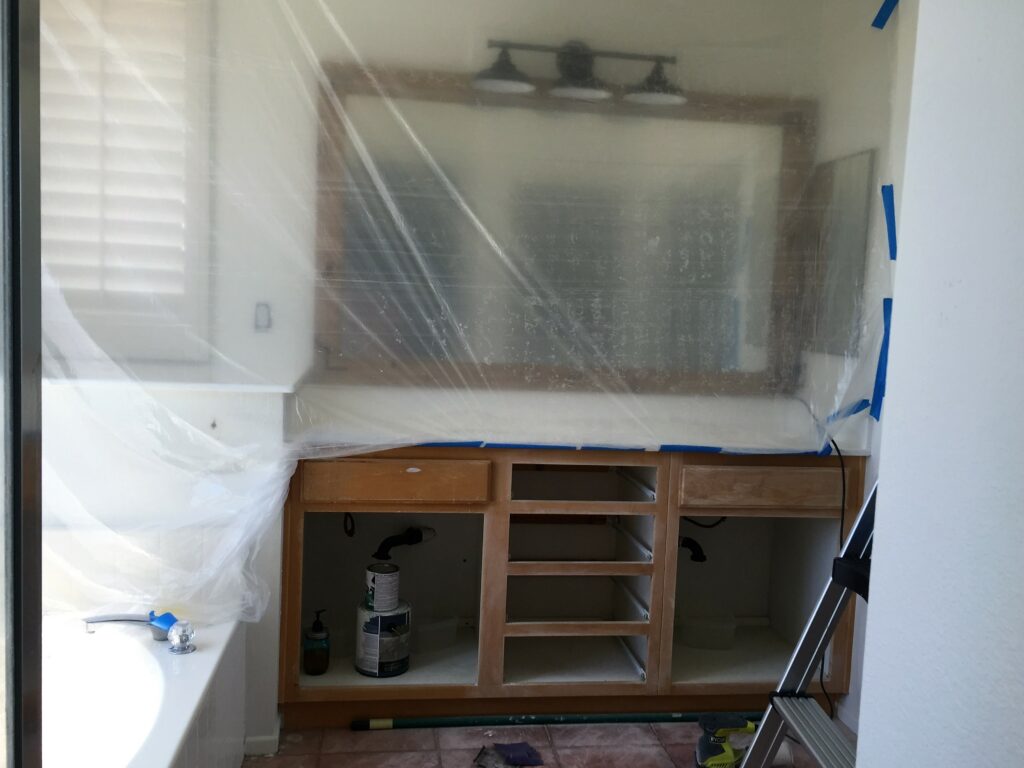
Once everything is sanded very well, use your trusty tack cloth (or a microfiber cloth works well too) to get all the dust off. Vacuum inside the bathroom. Dust getting stuck all in your paint isn’t too good. I tend to get impatient and will sometimes skip these boring prep-work type steps, and I ALWAYS end up regretting it. Prepping is lame. Oh my goodness, this reminds me of the prep work you will absolutely have to do before you spray your cabinet. You should cover the area with something protective. As you can see here, it looks like the scene from ET when they are going into their home to find the little guy. No? Well that is what I see when I look at this. Ha! I just happen to have a massive roll of plastic drop cloth, so I taped it up all over. Only took 10 mins. Still better than painting this with a paint brush, I’m telling you.
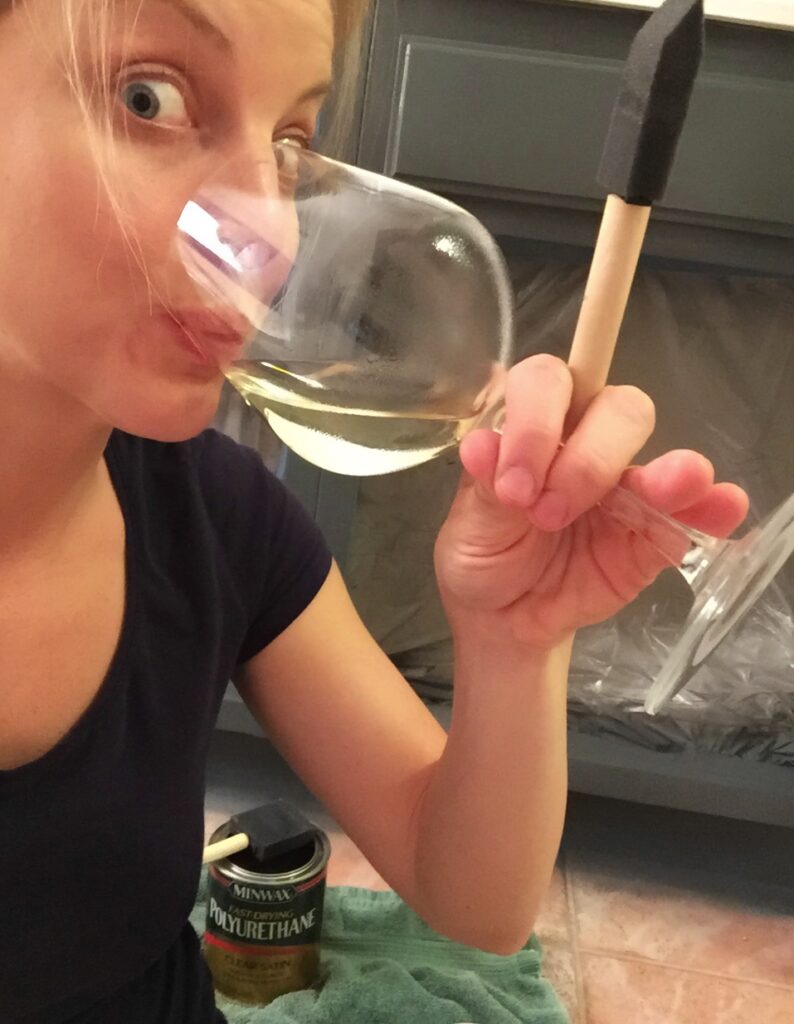
This is actually how I do my DIY projects. A little Saturday night excitement for you.
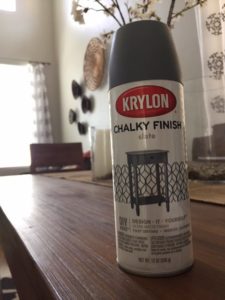
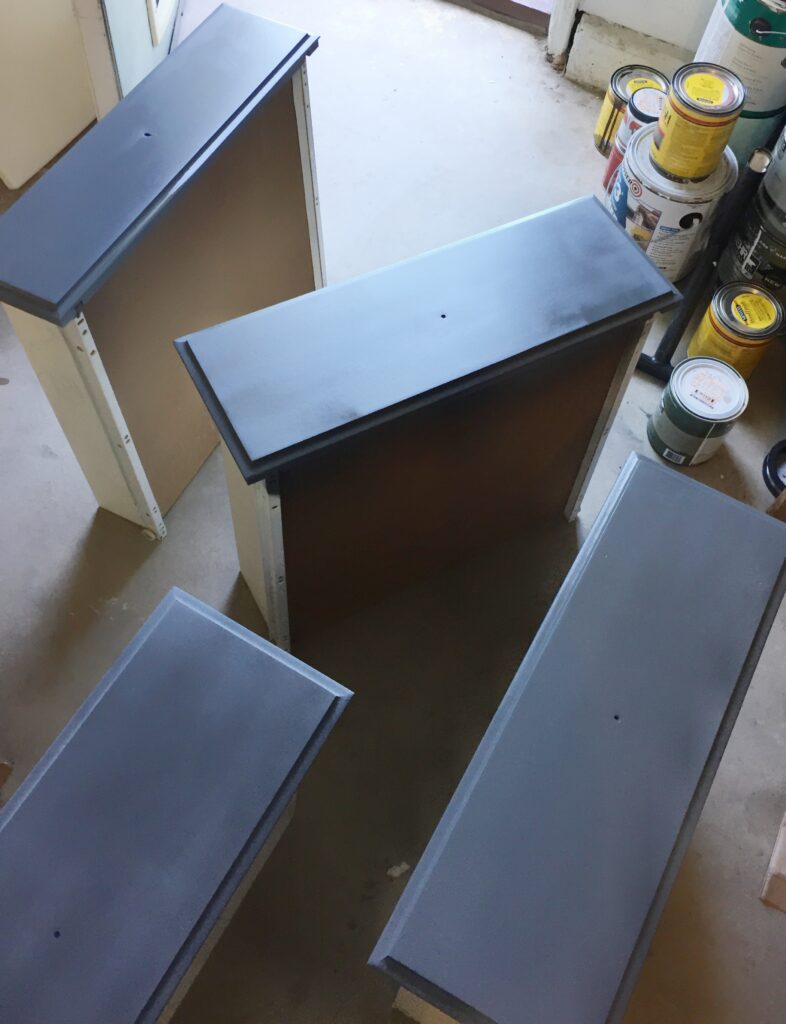
Apply your spray paint in even strokes on every piece. I gave it all a few hours and did a second coat. So smooth and pretty. What a difference, I couldn’t wait to get this all put back together. Once dry, get your can of poly and apply with a paint brush or foam brush (honestly, I used a little craft foam brush to apply this to my doors and drawers. I just like how it goes on smoothly). Wait and apply a second coat, if you choose. Up to you. I only did one coat, I felt like it was nicely covered. Here is a picture of the spray paint I used. The best price you will find is Hobby Lobby, and they have 30% off clearance often, bringing the price down to around $5. Unfortunately it’s not available online here.
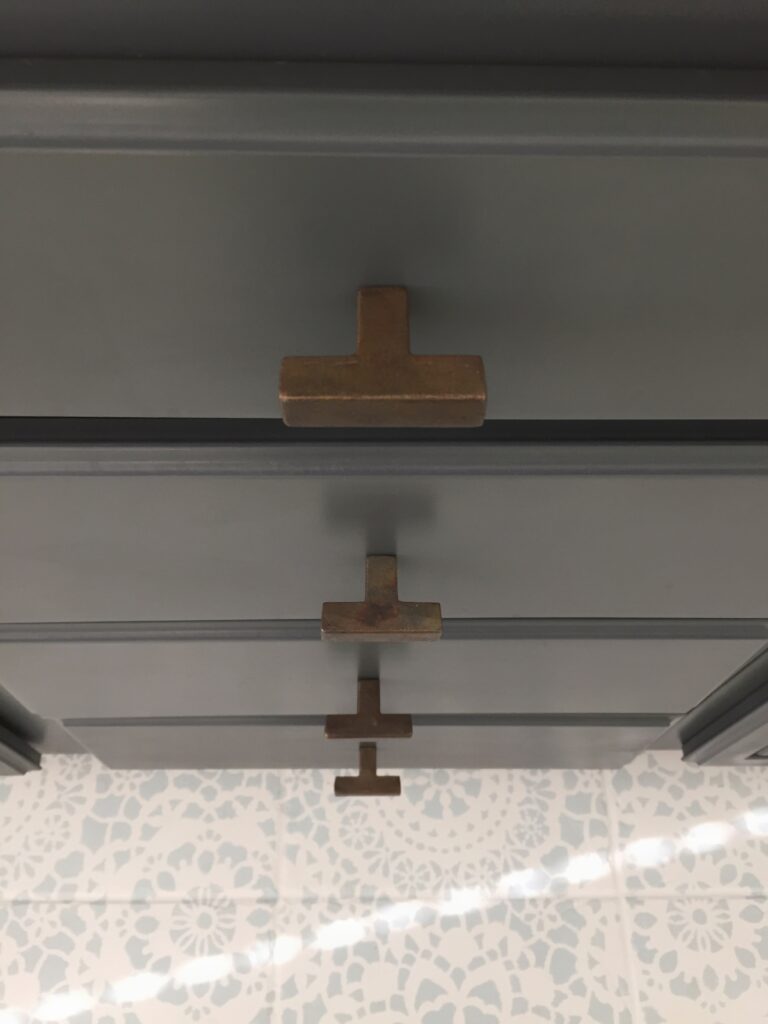
I found these pretty little knobs at hobby Lobby 50% off. I believe I ended up spending less than 20 bucks on all of them.
Put it back together, grab a chair and a cold beverage and sit and admire your work. It looks amazing and what? It only cost around… $40. I’m sorry what? Can you beat that when refinishing bathroom cabinets? No, you cannot my friend. Now you have extra money for the 5-cent wine sale at Bevmo.
Happy refinishing!
XOXO,
Kelly
Can you link the exact spray paint you used?
What is the exact spray paint you used?
Hi Lesley,
Krylon Chalky Finish Spray Paint in the color Slate. I added a photo above in the post for you also! I would suggest Hobby Lobby, they have the best price. It can be found on Amazon, but the price is outrageous on that site!
Did you refinish the vanity top or replace it?
Yes! I refinished it, here is the link for the countertop. https://domesticblonde.com/?s=countertop
Also, I recommend reading my updated post on how to refinish your cabinet and using that tutorial.
Kelly