How can some little boards from the lumber yard turn into something so pretty?? I always think that to myself when I finish a project. It can be so fun to see the result of your ideas when it finally comes to life. Especially when you’re doing a board and batten wall!
I know there are a million different styles of board and batten wall tutorials out there, so I am going to make this simple and to the point. This is exactly what you need to use and the steps to take to get my result. Have fun! Send questions if you have them.
Board and Batten Wall
Supplies needed for board & batten wall-
-1×2 inch boards for battens, I used Poplar wood
-1×8 in primed MDF board for baseboard trim
-.5mm underlayment plywood 4×8 ft sheets (should be smooth to touch) **This is for walls with texture. If your wall is flat already with no added texturing, then you don’t need this, and you are STOKED because this is the part that makes the project more time consuming.
-Oxford White paint by Benjamin Moore (or your choice of white, in a quality paint please…don’t by the cheap watery stuff. You want it to look good at the end, ok.)
-Liquid Nails (optional)
Steps to build!
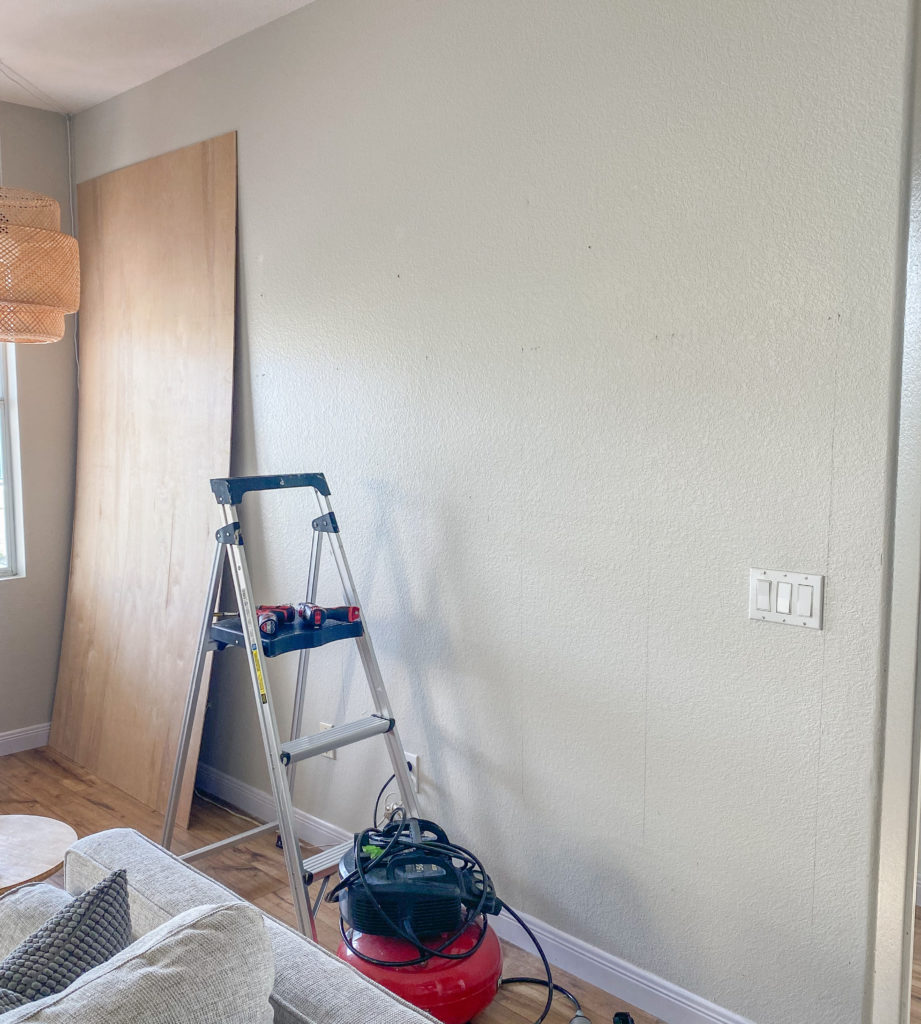
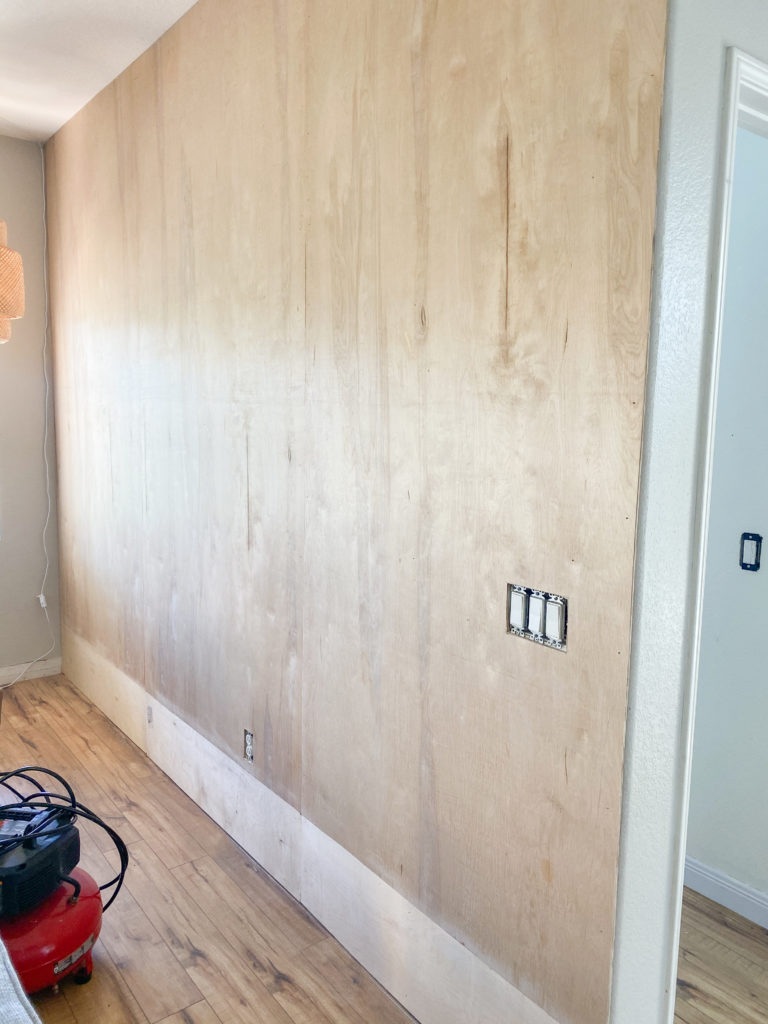
Step 1– If you have textured walls like me (ugh), you will need to cover them with the underlayment plywood to give a smooth and uniform look. (If your walls are flat, skip to step 2 and ignore plywood steps) Mark your wall where your studs are, and use those marks to nail your plywood to the wall. I used 3 4×8′ boards across the wall to cover, and then added an extra strip at the bottom to completely fill it, since my walls are 9′ tall.
Cut around any outlets/light panels with a multi-tool or jigsaw.
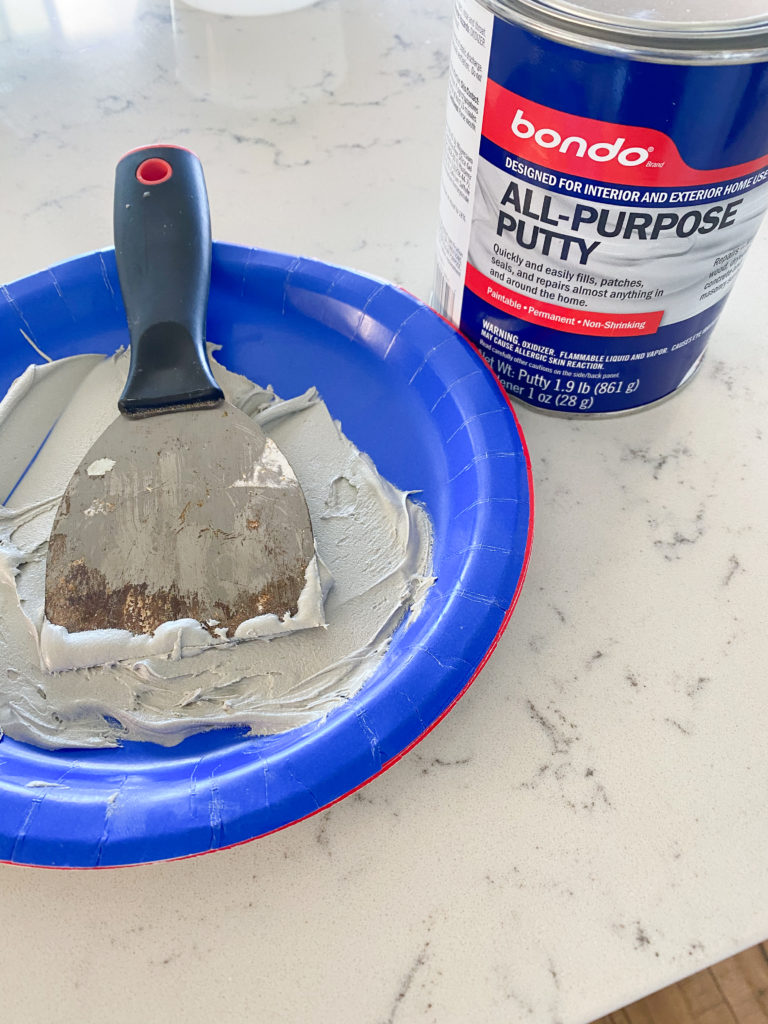
I used Bondo Wood Filler to cover the seam across the bottom. It works great! BUT you need to work fast when using it, as it dries super fast. You will mix it in small amounts and work your way across. It works much better than a regular wood filler to really cover the seam. Sand this smooth once done applying it.
Step 2- Prime and paint all of your boards before attaching to the wall (or don’t.. that’s up to you. I just feel like it makes painting at the end easier)
Step 3– Attach your bottom 1×8 trim with a brad nailer.
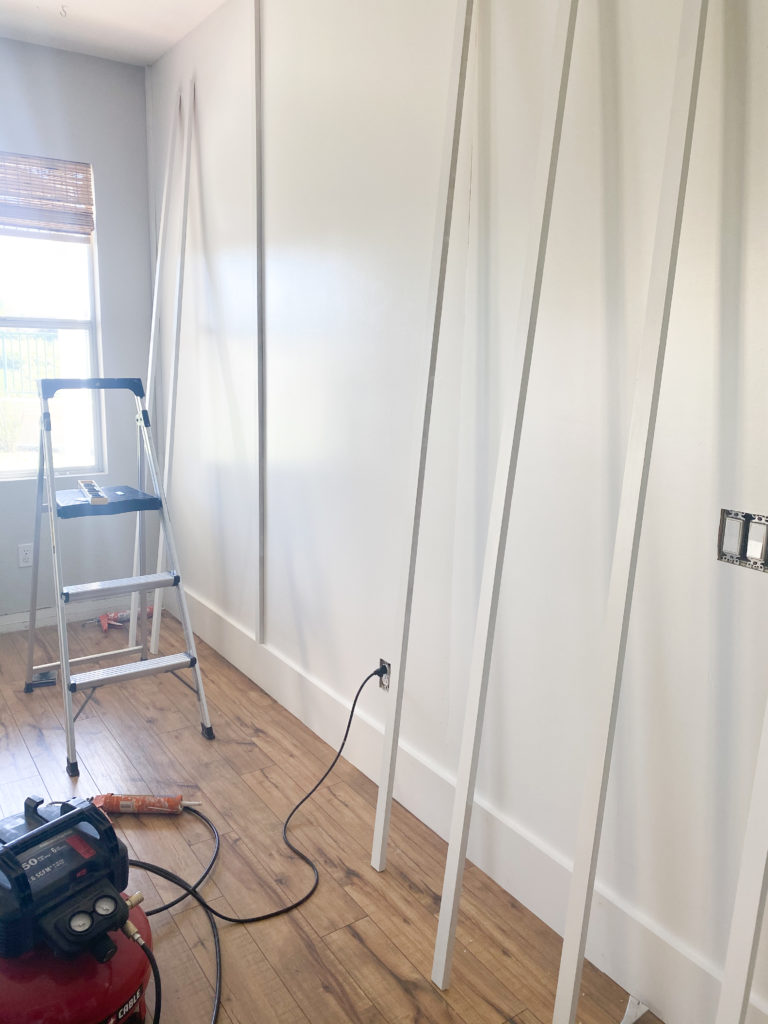
Step 4– You will have seams vertically between the plywood boards, and will attach your battens there to cover those. Then space the other battens out evenly in-between those boards. I used a total of 7 battens.
Step 5– Apply a bead of Liquid Nails to the batten and nail up with a brad nail gun along the seam of the plywood. Use a level to verify before attaching.
Step 6– Fill in all areas with caulk, along battens, the bottom trims, and the top edge along ceiling where the plywood and battens touch. This will make it look clean and solid. Fill in nail holes with the regular wood filler.
Step 7– Lightly sand over those areas once dry, to smooth.
Step 8– Prime and Paint!
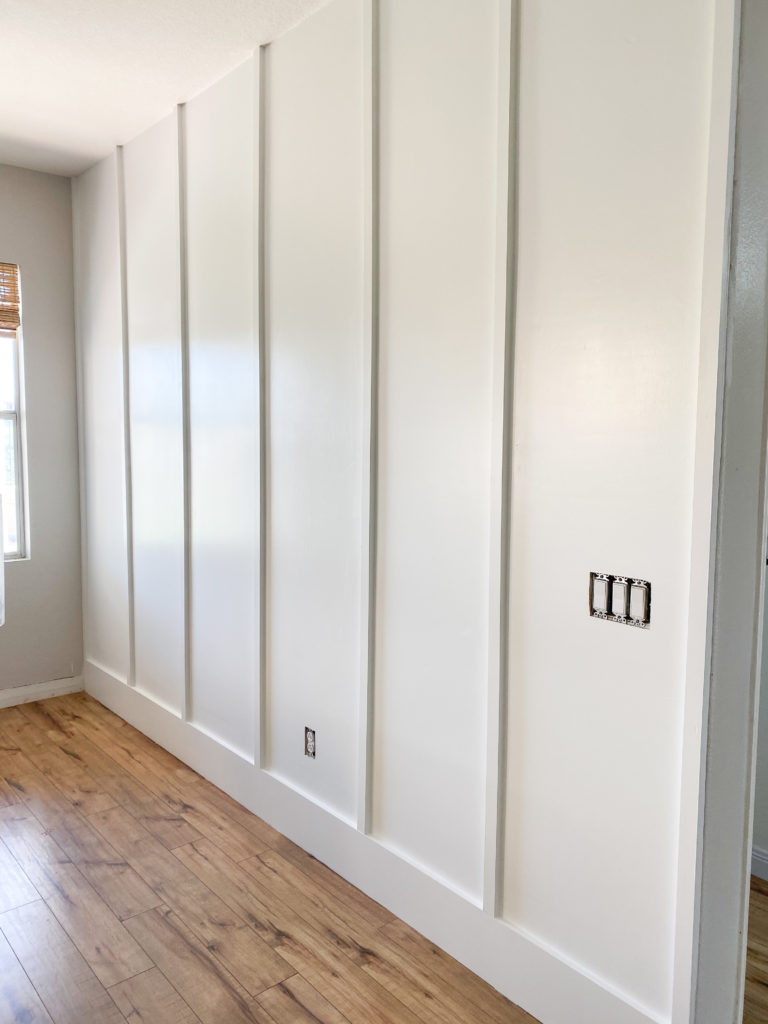
Step 9– Sit back and enjoy your new wall.
Phew! You did it, and what a fabulous change to your home. Who needs to hang art at this point? The wall is perfect all on its own.
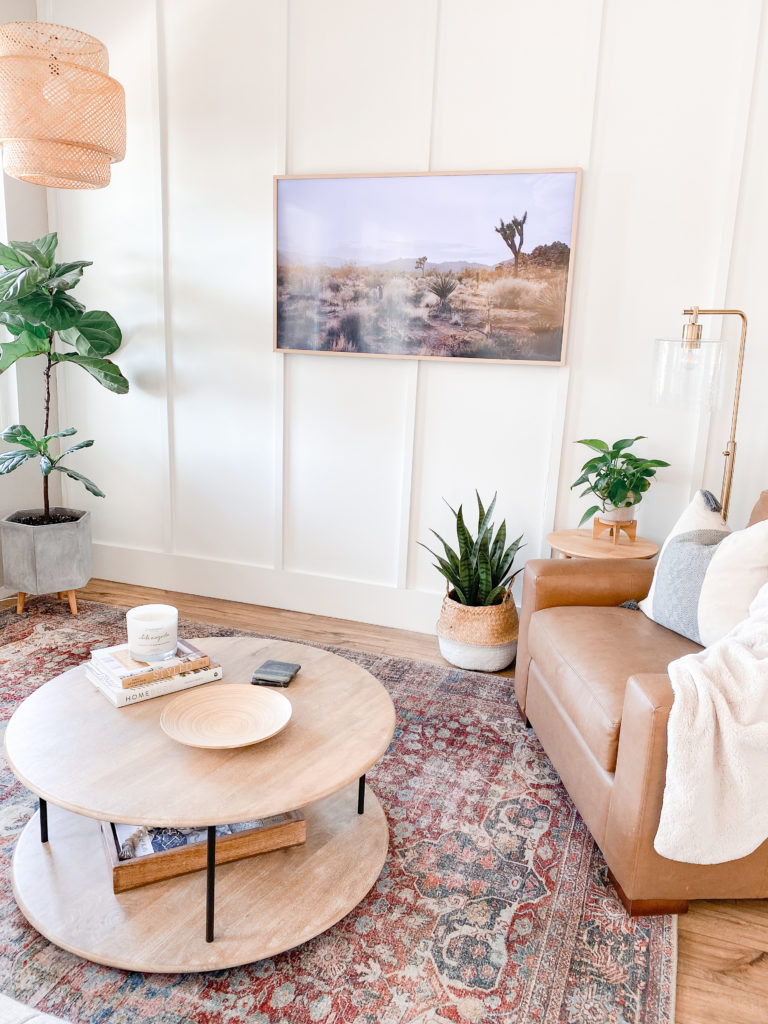
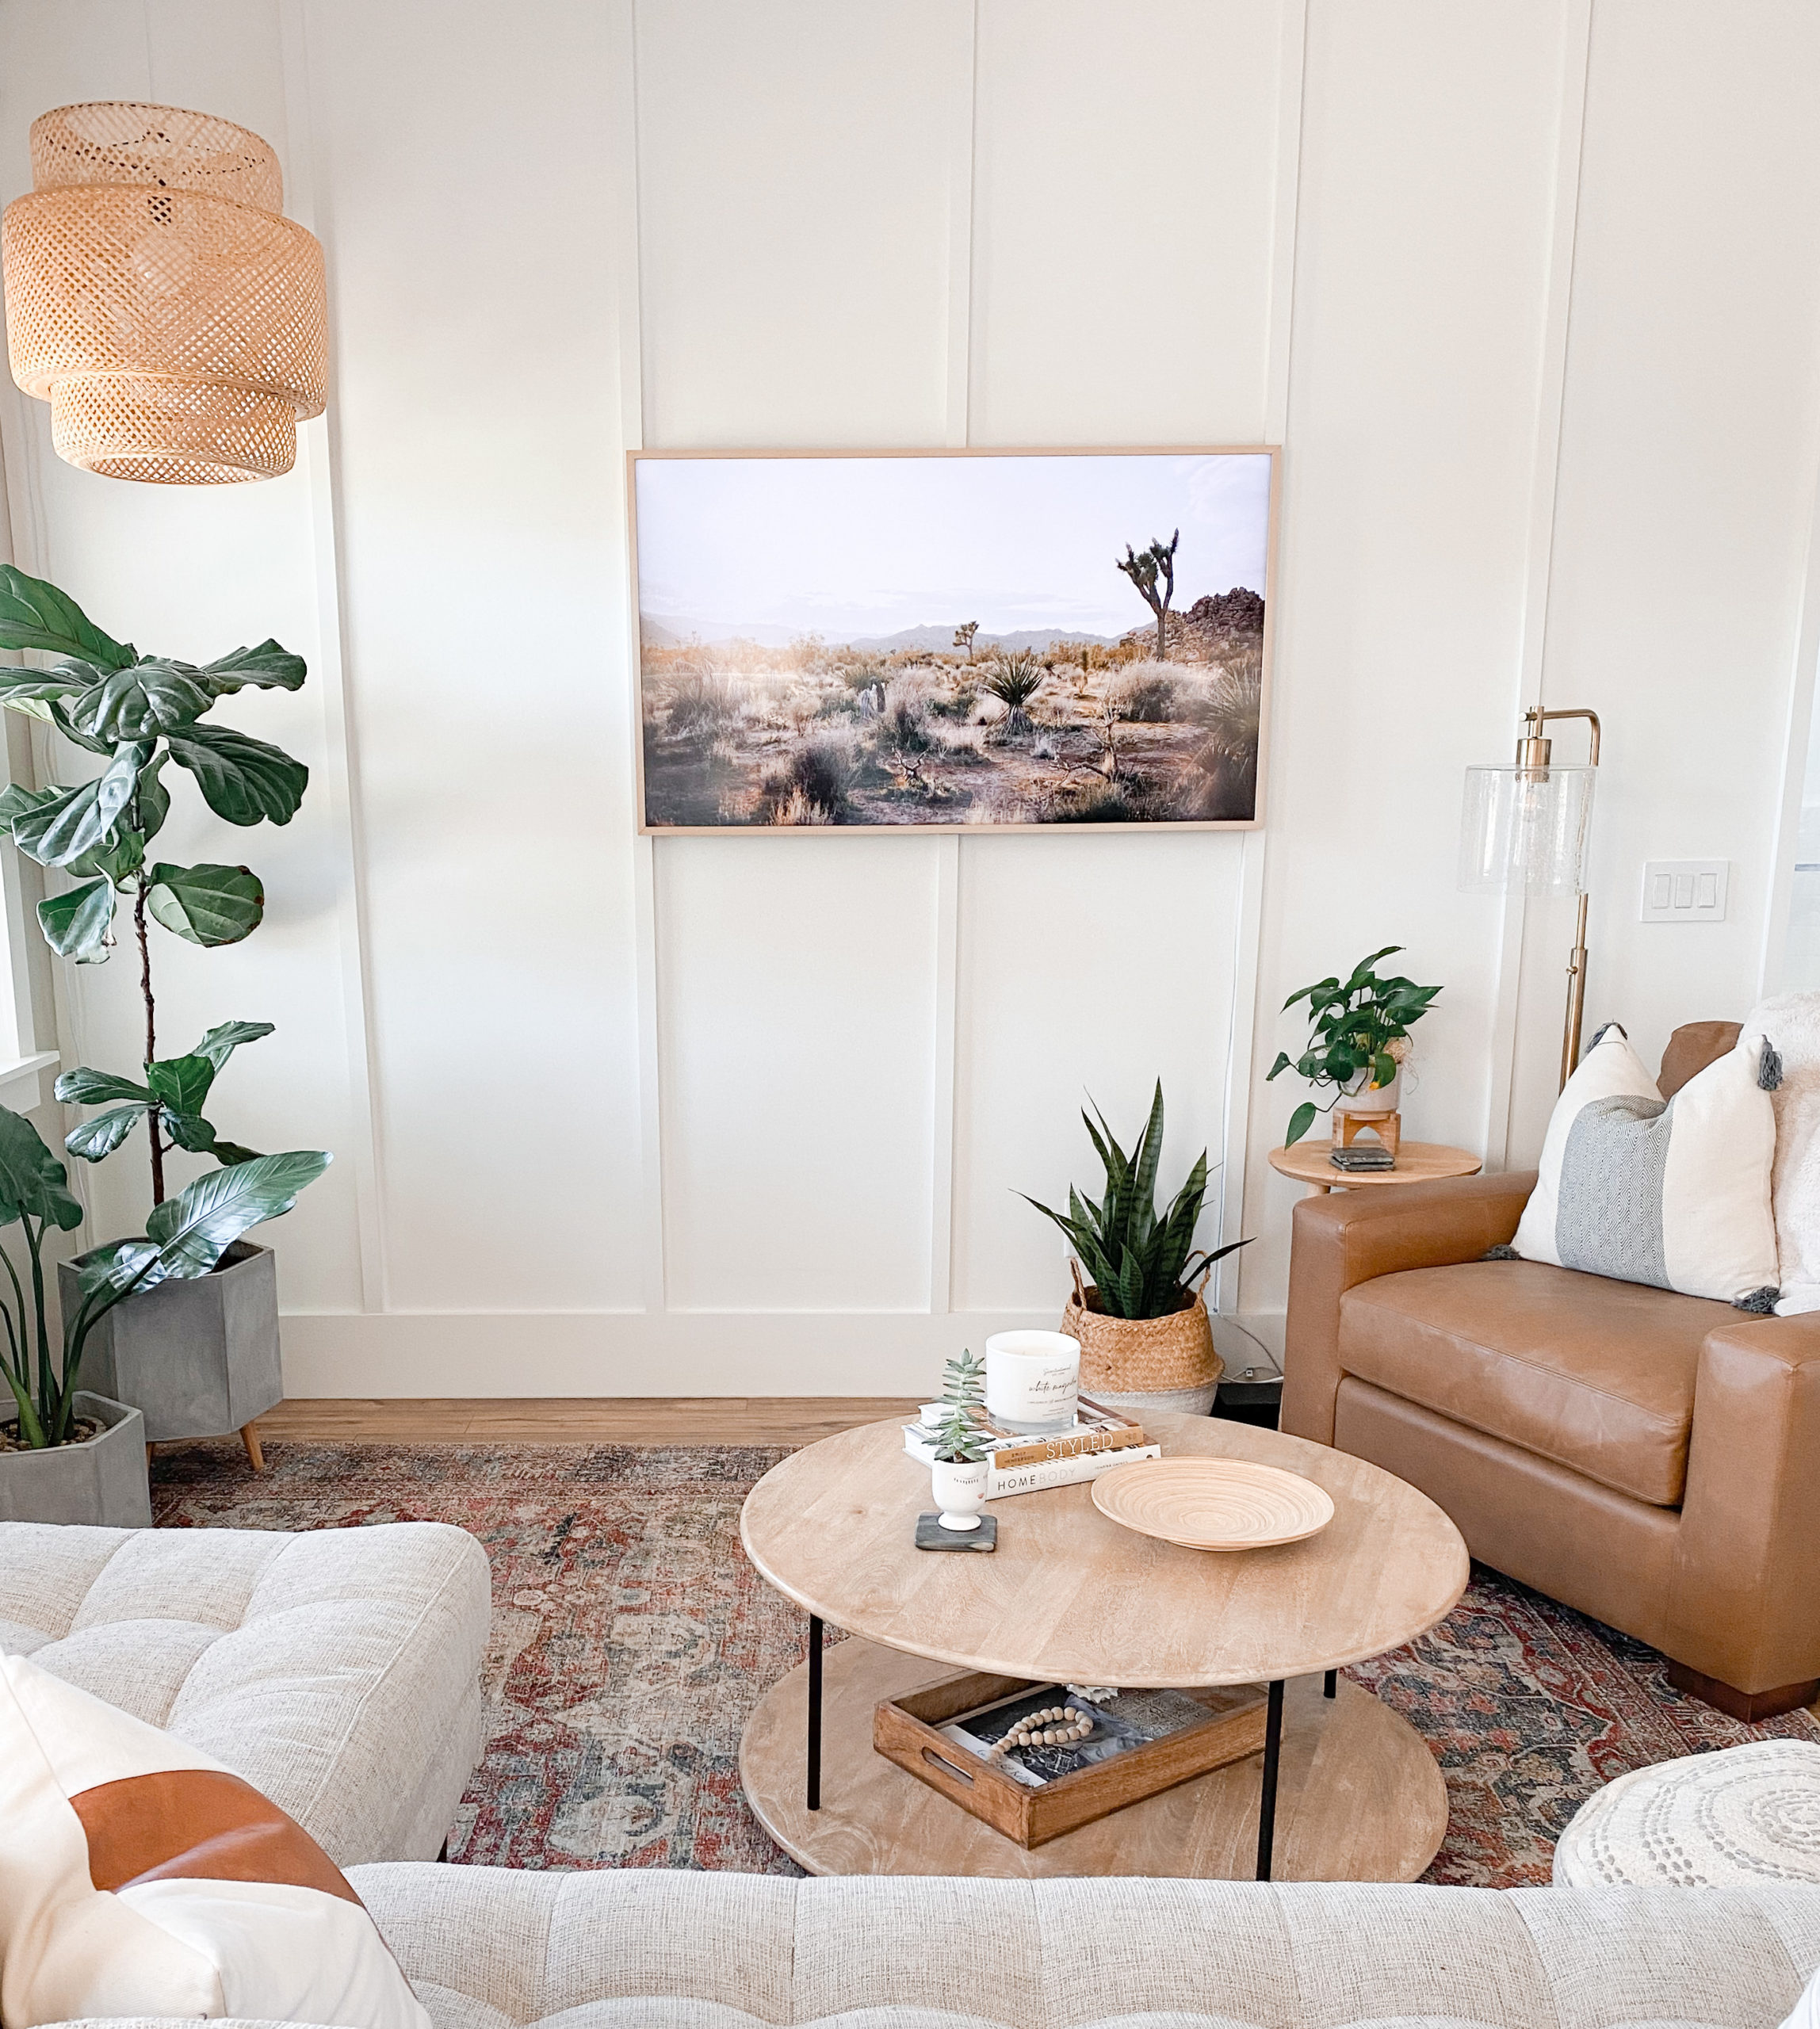
Check out a different style of Board & Batten I put in my front living room HERE.
Have you tried installing a board and batten wall before? Are there any tips you would recommend? Let me know in a comment below!
Shop this post below-
XOXO,



lovely guide, can I share it on my blog : http://www.boardandbattensiding.org
I will give your backlink and credits
Yes you can. Thank you for asking!
I love this! I recently completed mine and of all the walls I saw, yours was my absolute favorite. Nice job!!! 😍
PS, I would love to shout you out on my Instagram story as my main inspiration for our recently completed wall. If you are ok with that, I’ll share your blog 🙂
Of course! Can’t wait to see it
Thank you!!
Hi Kelly! I was wondering, did you leave the other walls baseboards intact? With this wall having a 1×8 trim board, I wasn’t sure if it made things look odd leaving the other baseboards as is!
Thank you! 🙂
Yes I did leave the rest of the baseboards different than this wall. The reason was that the baseboards had a detail on them that I didn’t want on this wall. I don’t think it looked strange, but it may depend on how your room is set up.
Hi Kelly! What is the spacing you did between each batten for this project?
I don’t remember I am so sorry. This was our previous home. I generally will space them out by finding the full length of the wall and dividing the spaces evenly across