

In this house we have a 3 year old who is quickly on her way to 18. She’s got the moves of Beyonce, a personality that lights up a room, and a taste for all things PINK and girly. I have been wanting to give her a room update for a while now. Her bedroom has been in baby girl/big girl limbo, and she needed her own little space as cute as she is.
When deciding on the DIY little girl headboard design, I want something big. A statement piece. Maybe that’s because I’m lazy and was using it as not only a headboard but also wall art. Possibly? Either way, I love big headboards! Her only request was that I used pink paint in some way.
Here is my little design for my big girl. It’s simple to make! All dimensions are based off of a twin size bed.
Materials Needed for your headboard:
- 4 x 8 MDF board 1/2″ thick — Cut to 43″x60″
- 3-6 Primed MDF boards .669 x 1.5 x 96″ (easily found in the common board section at Home Depot)
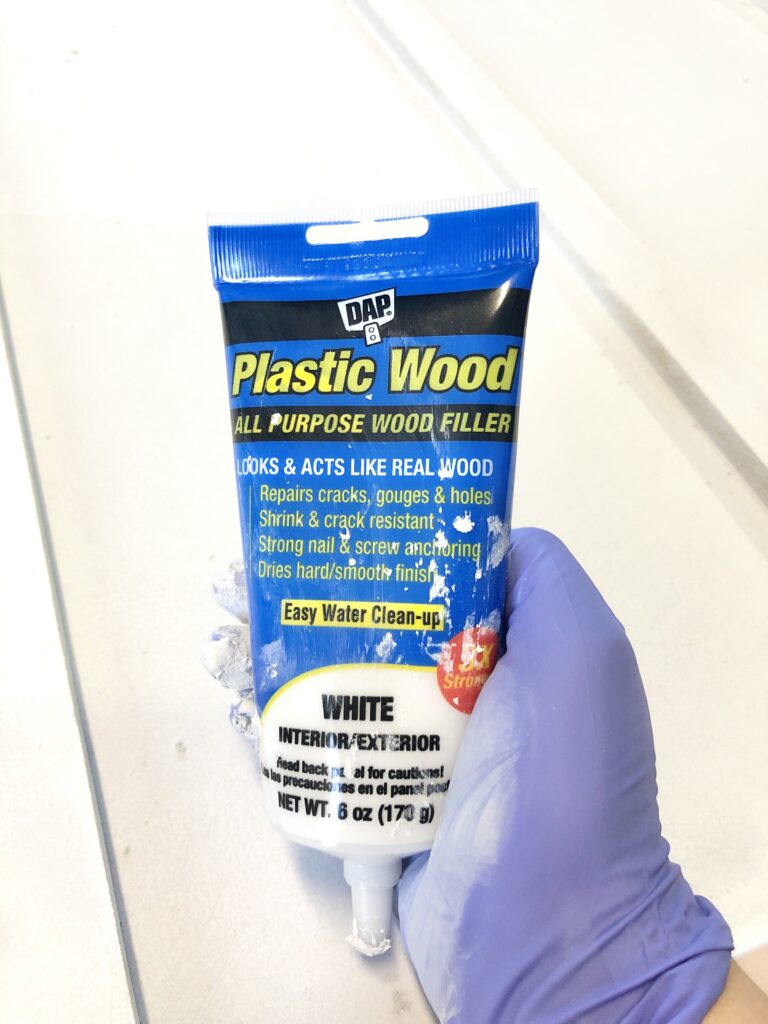
- Wood filler in White
- Hangman French Cleat
(to hang headboard on wall)
- Primer
- 1 quart- Benjamin Moore Love & Happiness paint (can be color matched with another brand)
- Nap roller
- Liquid Nails
- Sand paper 200-400 grit
Tools Needed for your headboard:
- 18 gauge finish nail gun with 1 1/4″ nails
- Level
- Tape Measure
- Chop Saw
- Power Drill
Let’s get started!
Steps to Make A Pretty in Pink- Girl’s Headboard:
I always say, if it’s possible to cut a large board while you’re at Home Depot, then do it! Getting the table saw out and set up is more work once you get home. So ask them to cut it for you. (as long as it’s a project that doesn’t depend on exactly perfect cuts) Sometimes they will cut slightly off from what you ask. Just FYI. In this case, it’s fine!
I chose MDF board for this because I wanted a solid painted surface, without wood grain showing through. Not totally necessary if you like the grain.
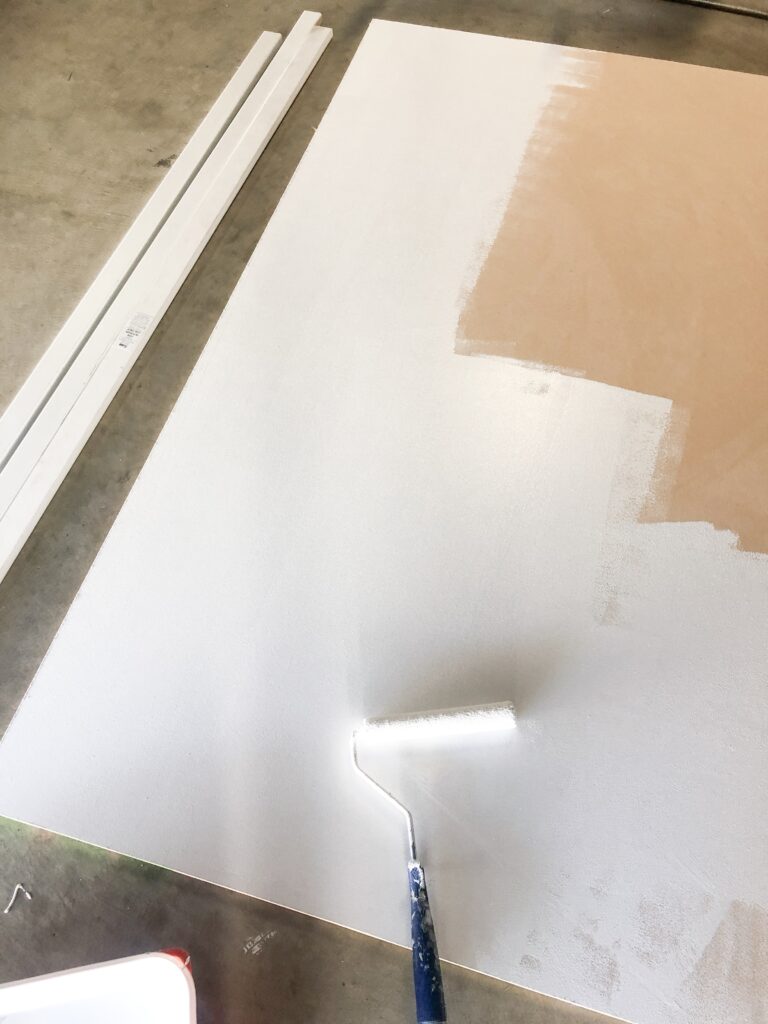
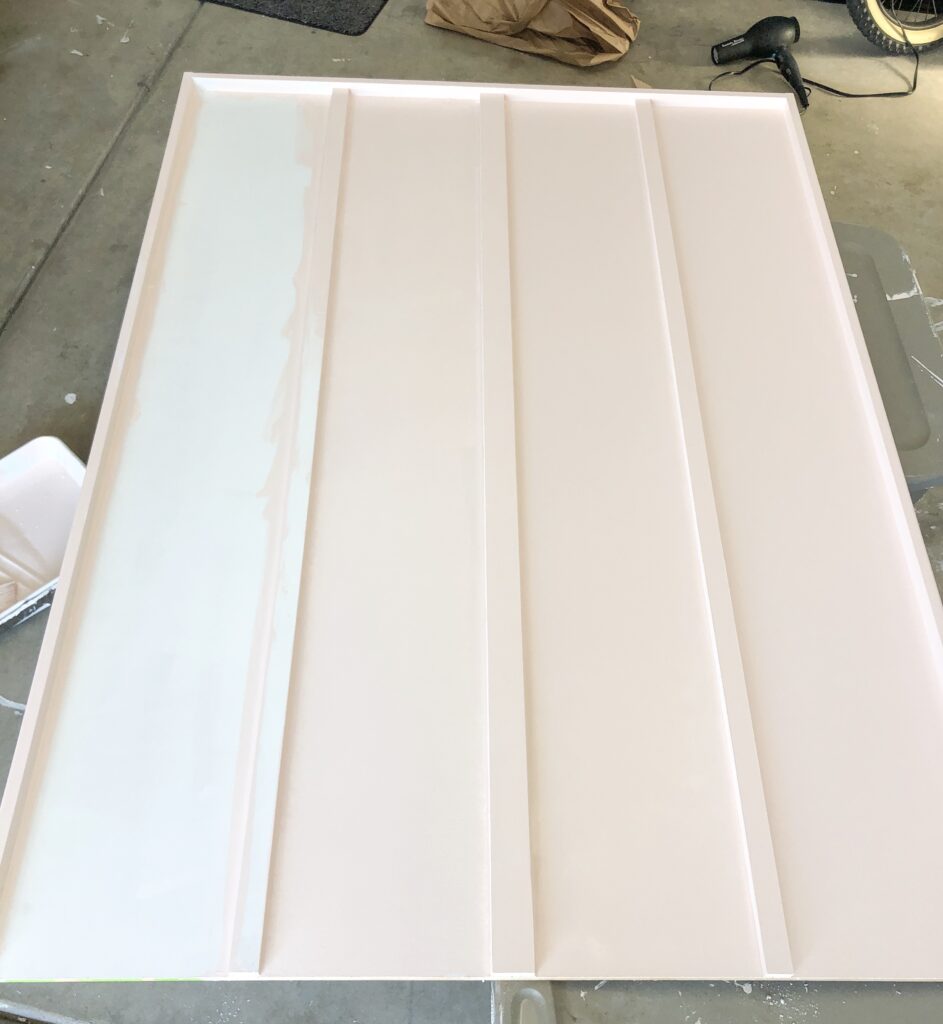
Lay your board down and put a coat of primer on it. Grab your primed MDF trim pieces, and measure each long side including the extra length for the top piece of trim.
Attach the long vertical frame pieces, first with a line of Liquid Nails and then adding a few finish nails. Once those are both in place, measure for your frame’s top small piece. Attach that the same way.
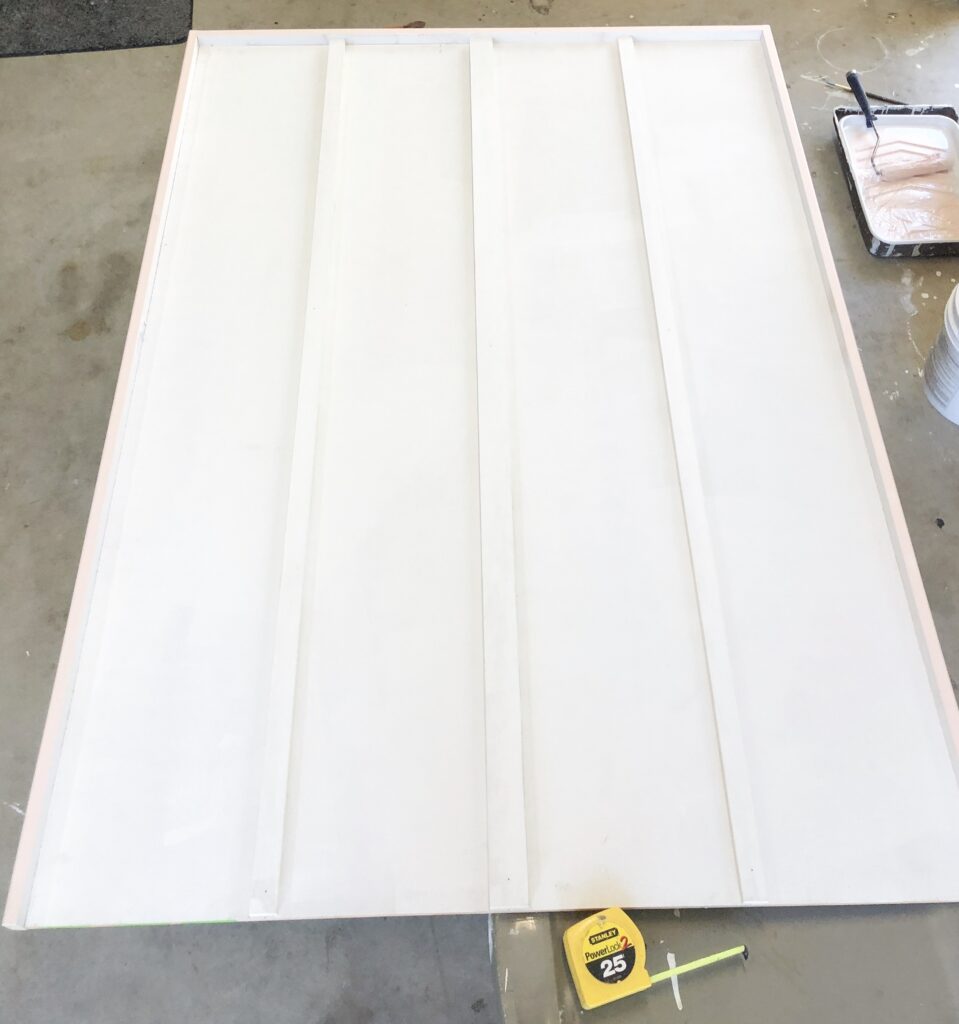
*The MDF primed boards have a slightly rounded edge, which I love for the frame of the head board, it gives a nice finished look. I chose to use the extra wood that was cut from the back board to cut the 3 center pieces in approx 1.5″ width. I liked the more squared appearance for those. You can do that, or use the rounded, primed MDF. But, you will need a table saw for this if you choose to cut these center pieces yourself. If this makes you scratch your head, send me a message for help!
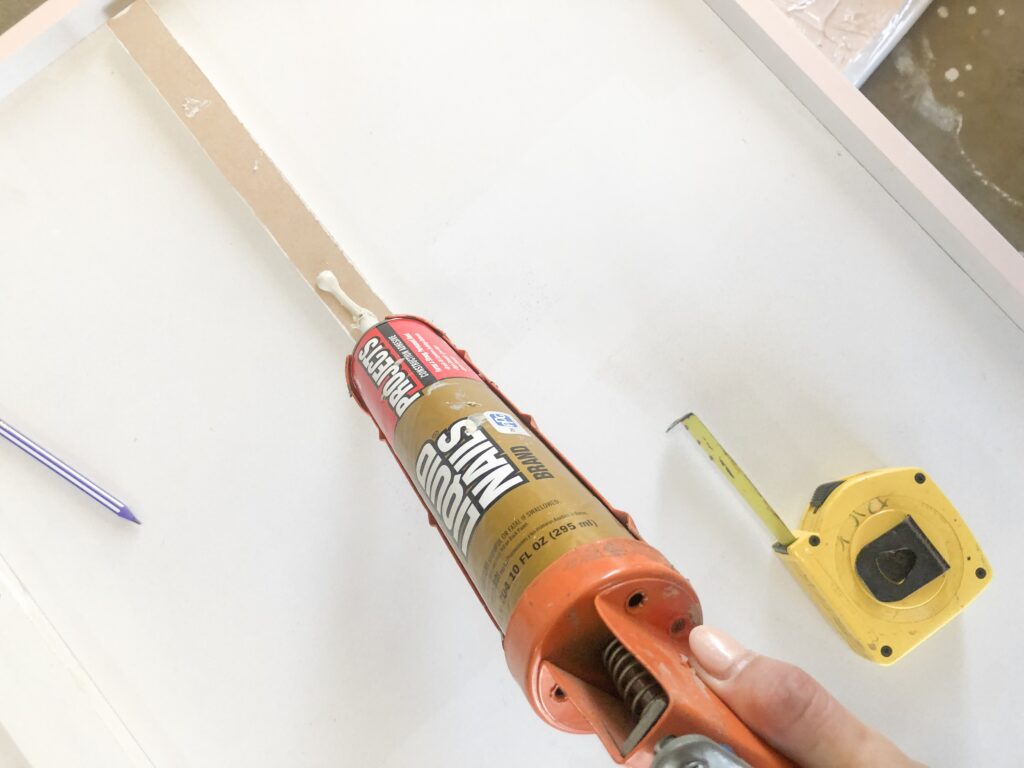
Attach your three center pieces by first applying liquid nails to the back of the trim and spacing the boards out evenly across the panel. Tack down with a few finish nails each to secure. (prime everything)
Use Wood Filler in white to fill in all the cracks where each board was attached. This shouldn’t be skipped, because it gives the look of a solid piece of furniture. Makes a massive difference for the result!
Lightly sand once dry, with a high grit sandpaper to make it super smooth around all the pieces. Kelly Tip–> Use a blowdryer to clean off all the annoying dust after sanding!
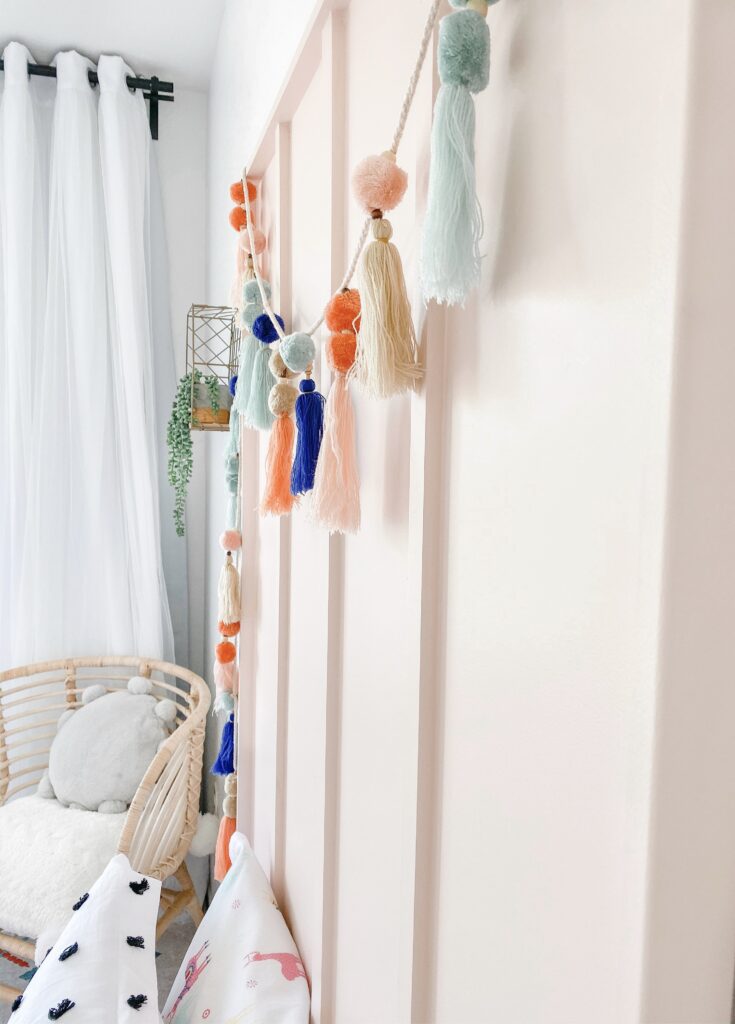
Paint it pretty PINK! The color I chose is called Love & Happiness by Benjamin Moore, and it’s a perfectly soft pink. (I want it in my room, but don’t think hubs would go for it)
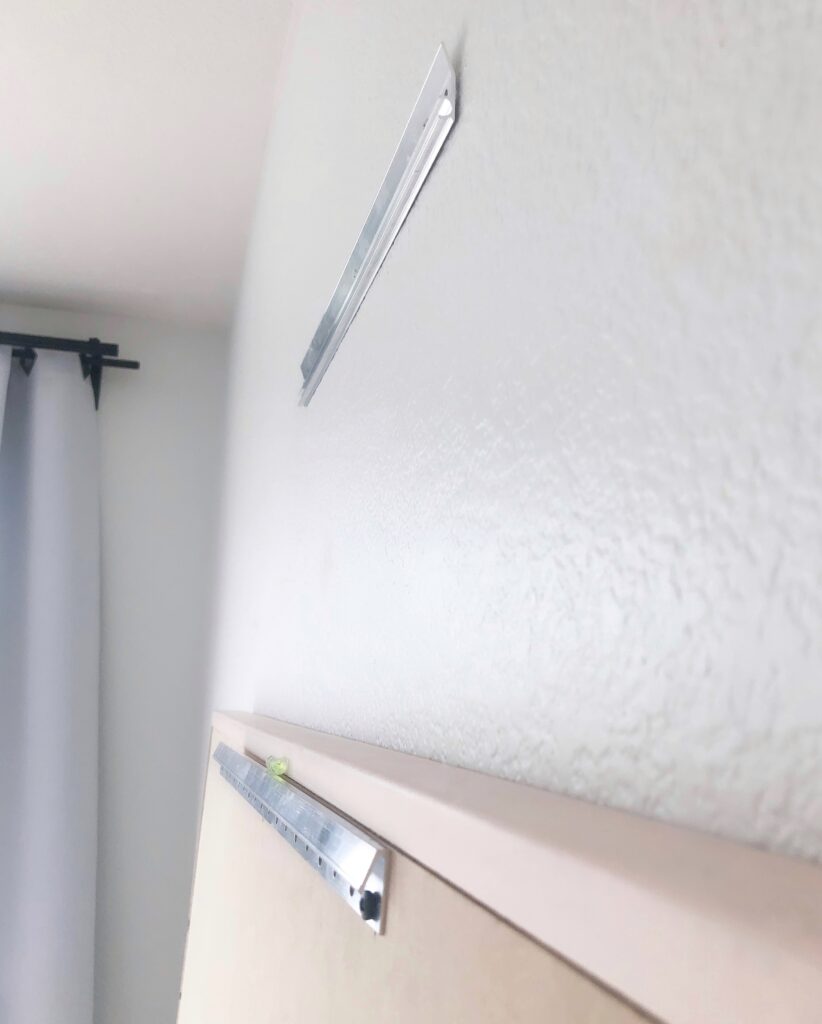
Hang it easily on your wall with the Hangman’s Cleat. I used the same exact one for the Headboard in our master and it works like a charm! The bottom of it is about 10″ off the ground. Which sits just right where you need it if you also make my DIY platform bed.
I PROMISE to have that tutorial out next week! Simple, solid and affordable platform bed frame you can make in a weekend. Also, shown in these photos.
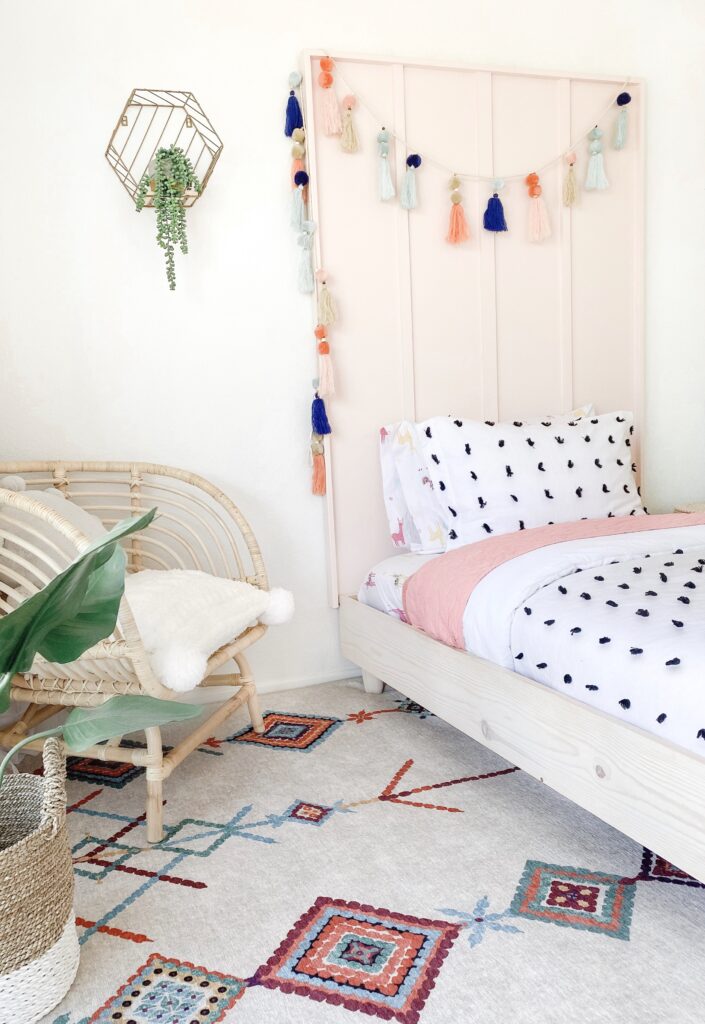

Safe to say she LOVES her new headboard. So do I! Blog post on making the platform bed frame, coming next week.
Shop items from the room below—->

Have Fun!
XOXO,

This room design just looks so amazing! I would have loved it a bunch when I was a princess. 😁Okay, I love it now as well. 😊