
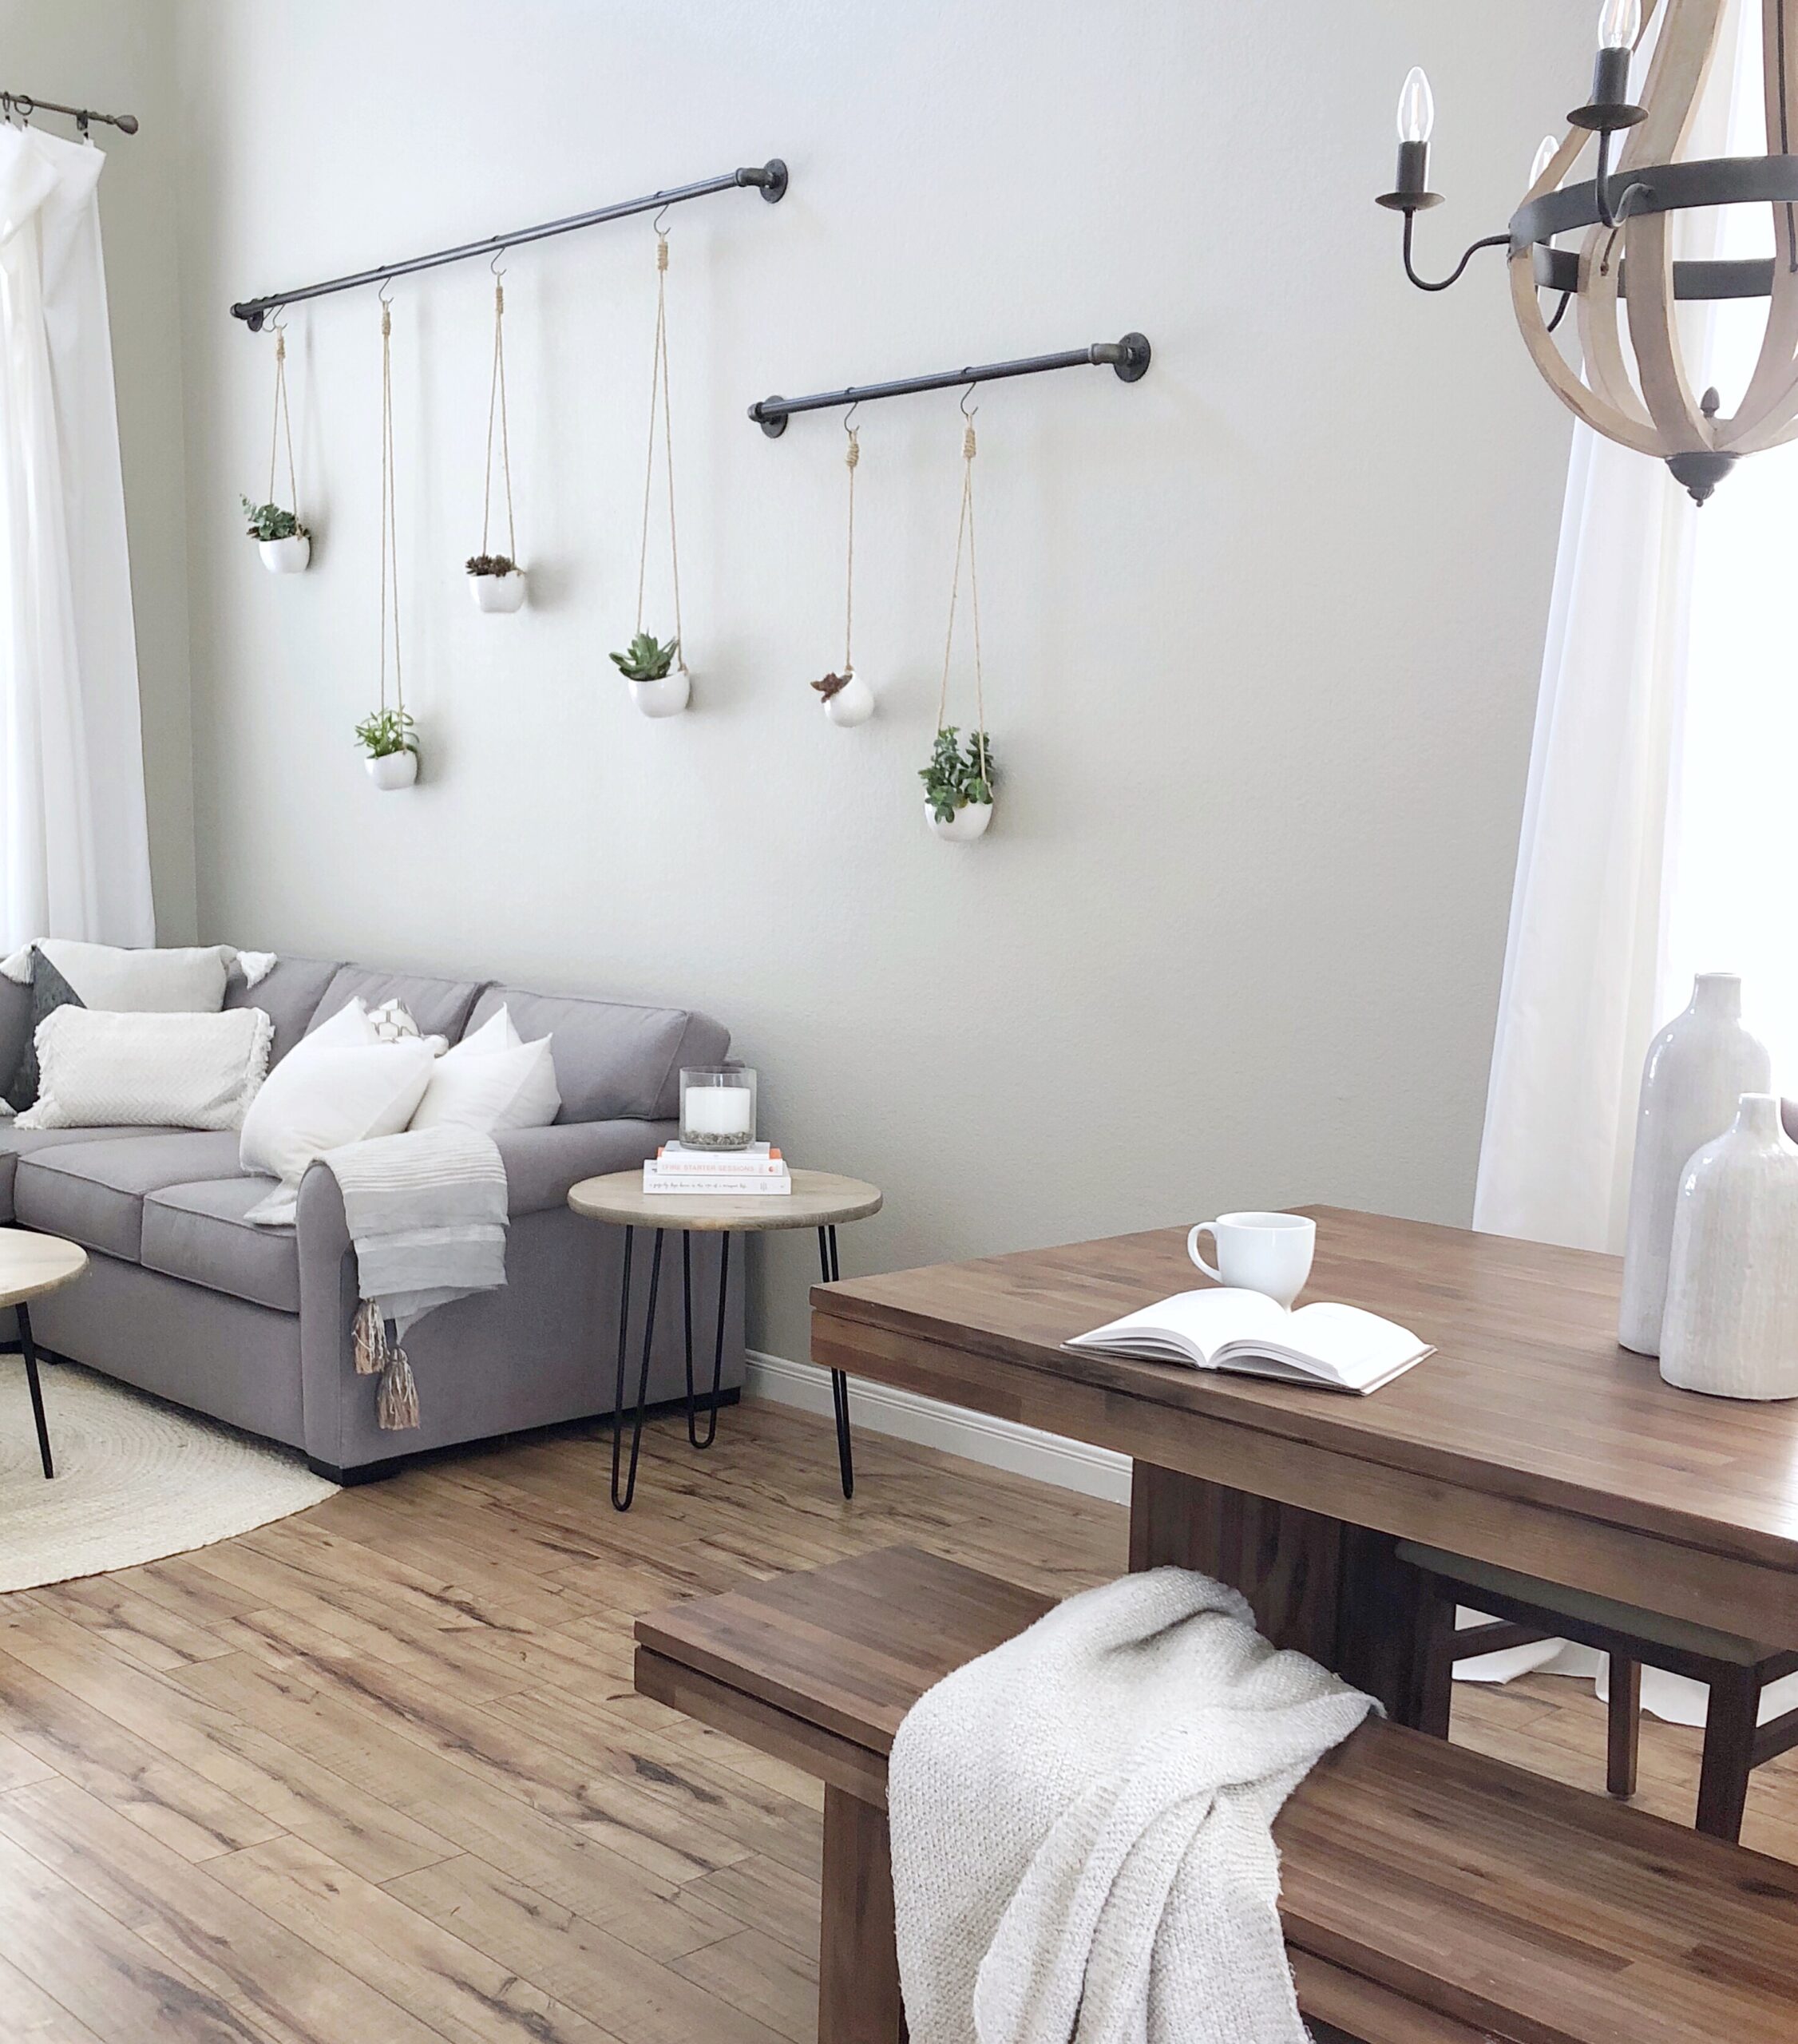
Large rooms- Great! High ceilings- love! The problem with having this in your home is, deciding how to decorate these huge walls. ??? How can you take advantage of the space, without—>
A. Adding something obnoxiously large just to fill space
B. Spending a huge load o’ cash
C. I do not have a C, actually…
It took me forever to decide what I wanted for this wall (I STILL have two other walls in this room that need my love). One day, while playing a 5th round of “get you, get you” with the little girl, it just came to me. Hanging succulents! I knew this would be perfect, since keeping plants on low spots in the home is still not possible with a two year old. This would give me the greens I want, as well as fill the space, and keep my viiiiiibe aliiiiive. You know? So let’s just get to it, shall we?
(This post contains affiliate links)
Items Needed for Hanging Succulents:
– (1) 10′ black pipe 3/4″, cut into two different lengths.
– (4) Black Iron Pipe Flanges 3/4″
– (4) Black Iron Pipe Elbows, 90-degree 3/4″
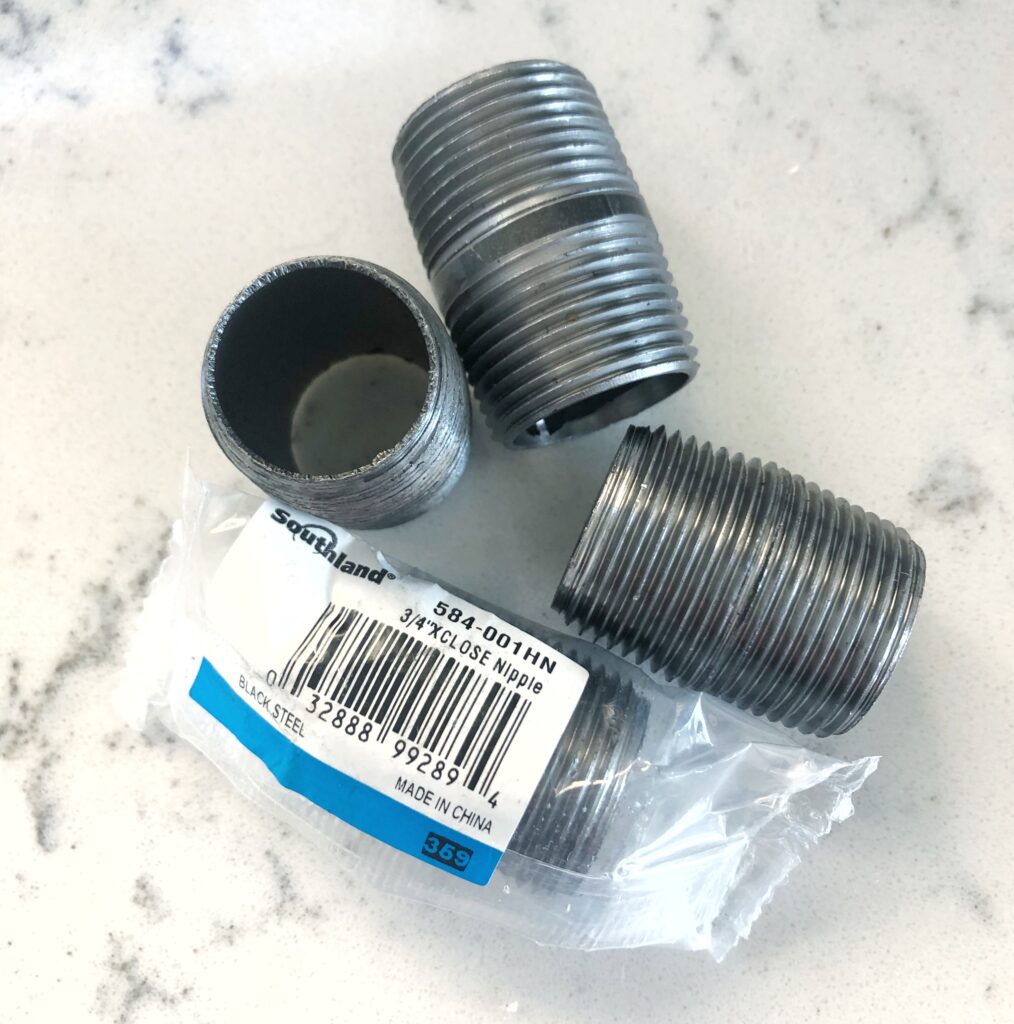
– (4) Pipe Nippples, 3/4″ x 0 (basically 0 means no length)
– Rust-Oleum Oil Rubbed Bronze Metallic Spray Paint
– 1/4″ Manila Rope- Natural Color
– Screws about 2″ long
– 4 Piece Ceramic Hanging Pots
– Hot Glue Gun
– S Hooks (to hang rope from)
– Succulents of choice
Sounds like a ton of stuff! It’s not really. You may already have some of these items at home. Here is what all the pipe pieces look like that you will need.
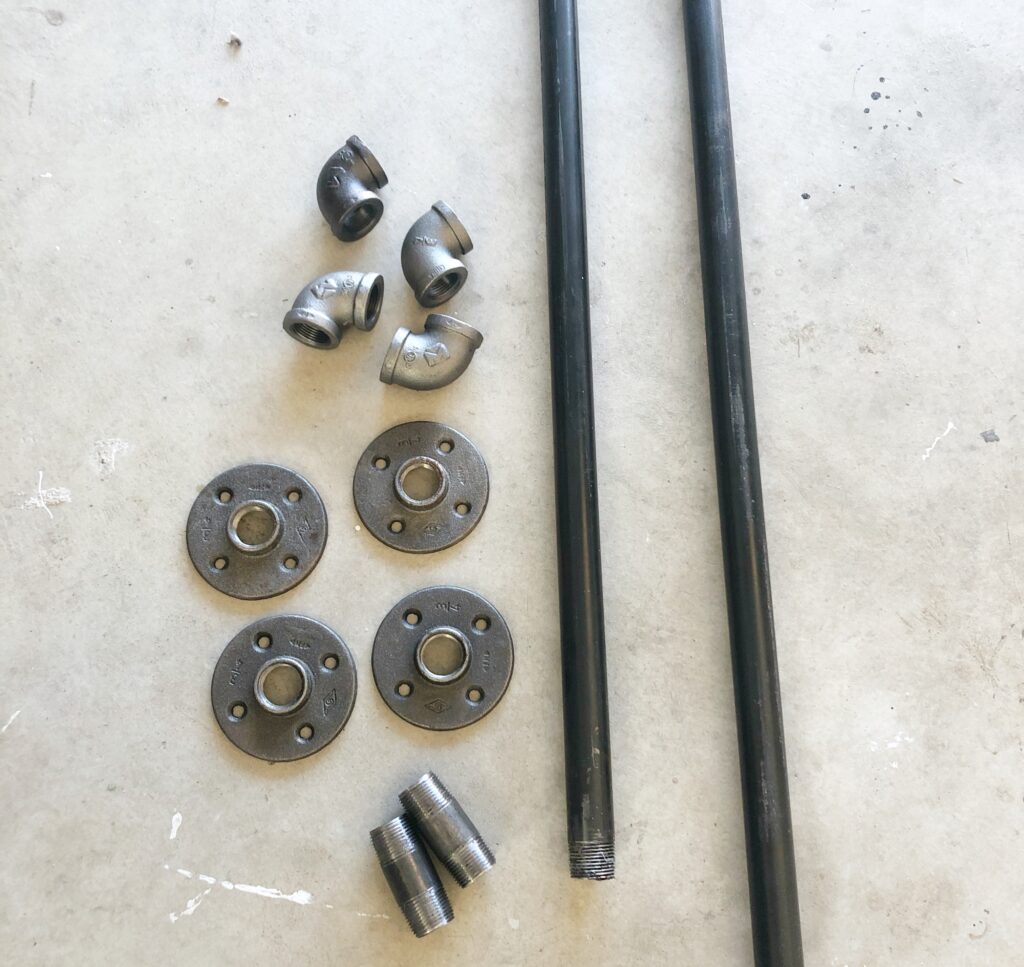
The nipples shown at the bottom of this photo, are longer than what I ended up using.. So be sure to go by the product list above. This is what the nipples should look like that you will buy, down below –>
Steps For Creating & Hanging Your Pipes
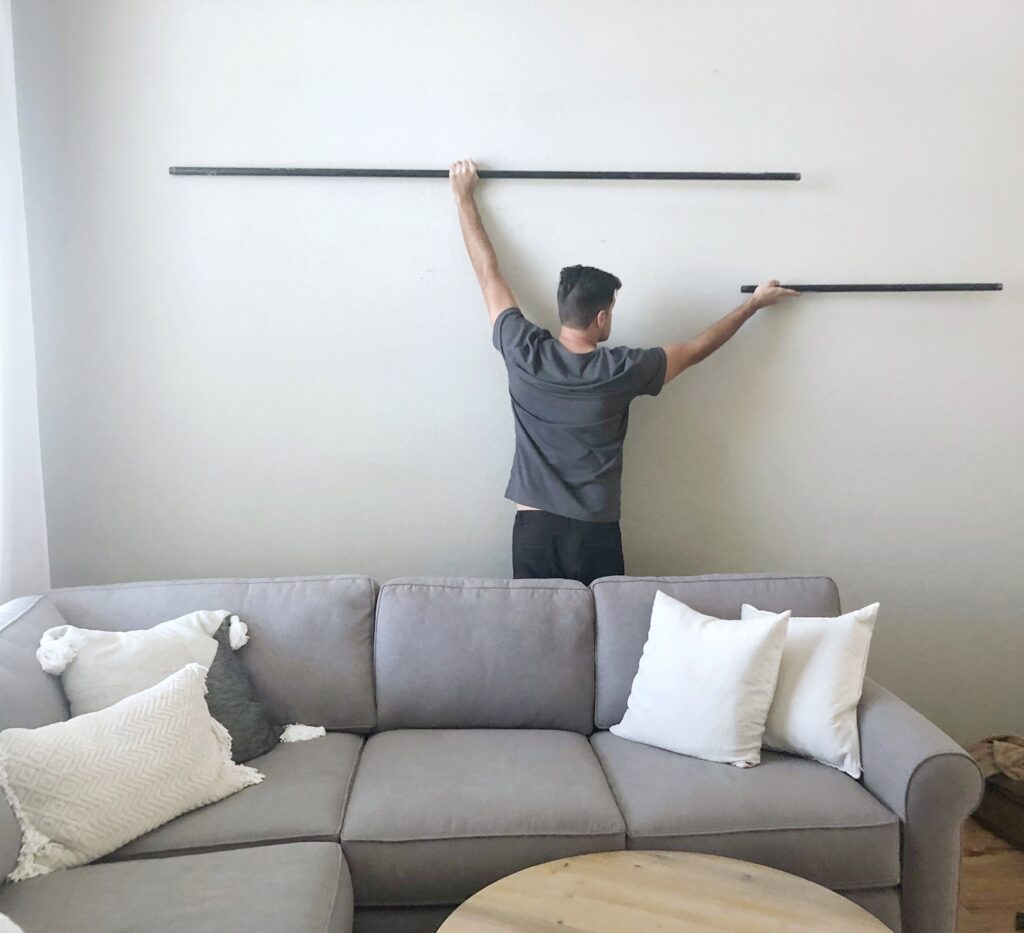
I grabbed a 10′ black pipe and asked the nice Home Depot man to cut and thread my pipe for me. They will gladly do this for you. I told him I wanted a 7′ piece. Once he cut my pipe, I was left with a 7 foot piece and a 3 foot piece. These would be the two I would use for my wall. (Choose the closest length to these, that will put your end piece into a stud. *Measure out your studs before you cut your pipe! You will need to drill at least a couple of the screws at each end, into a stud. You don’t want a heavy pipe landing on your head at some point. No bueno)
Once I grabbed all the pipe parts listed above. I spray painted everything with one coat to give a nice, clean look (including screw heads). Be sure to CLEAN off your pipes before doing this, they all have some kind of dark oil on them. Which makes for very messy hands. Yuck.
![]()
Once dry, I got my cute little “assistant for lifting heavy things and holding things so I can see how they will look”- to come and do just that for me. I made a little mark where I decided to put each pipe. Hey babe, a little higher. No, a little to the left. Now, shake your booty. Ha ha..
Mark where the studs are in your walls. Hold one of the flange end pieces up and drill screws into all of the holes around the circle. Ensuring that at LEAST one is in the stud. For the screws that didn’t make it into a stud, I used Screw & Anchor Screws, which can hold up to 50lbs in drywall. They really aren’t too necessary when other screws are in the stud…but just extra precaution. Then add your nipple piece and your elbow.
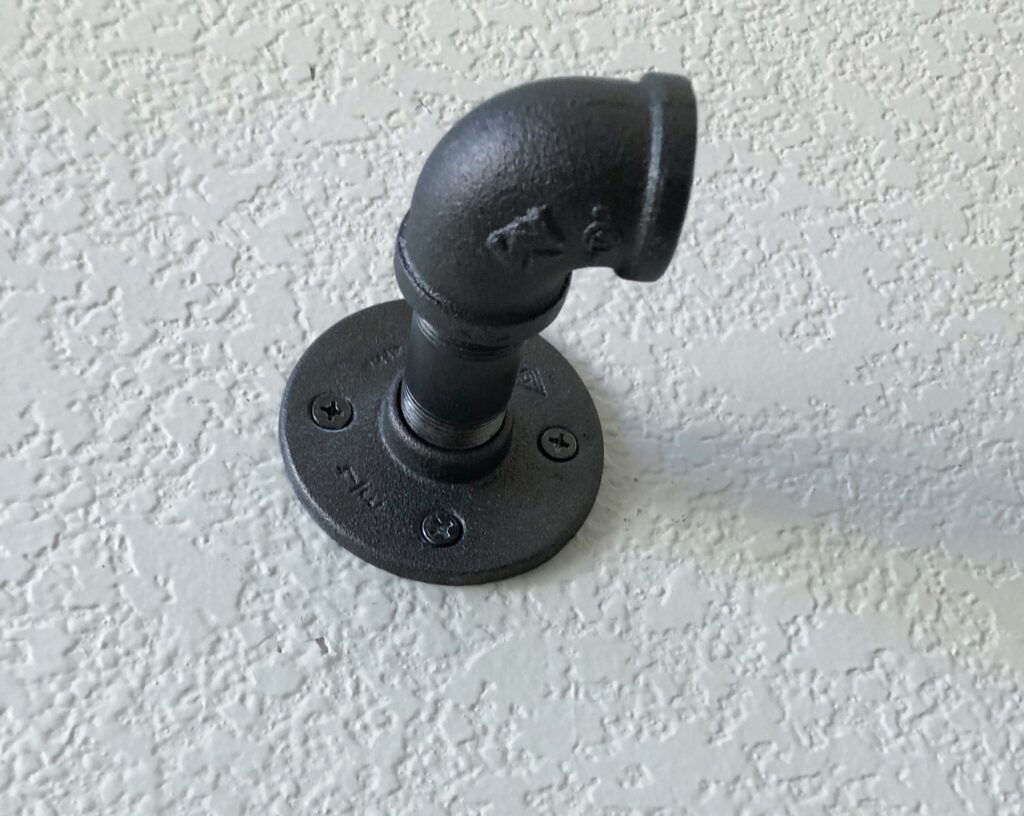
When all three pieces are up like this (above), you will take the rest of the pipe (already assembled with the nipple, elbow, and flange) and twist it into the end of this elbow.
While holding the other flange up against the wall (check to be sure it is level by setting a level on top) begin drilling screws into each opening on the circle.
I decided to explain all of that, because when I was doing this, it took me a minute to figure out the order of attaching the pipes to the walls. So, I HOPE that makes some sense! Or maybe you’re saying DUH, Kelly!
Repeat with your smaller pipe. And they’re up!! Yay! Not too difficult, right?
Steps For Hanging Succulents
Now, for the more fun part. Making your hanging planter. I cheated and ordered pots that already had holes in them. It made this project so much faster! So, you can’t beat that. HERE are the ones I ordered.
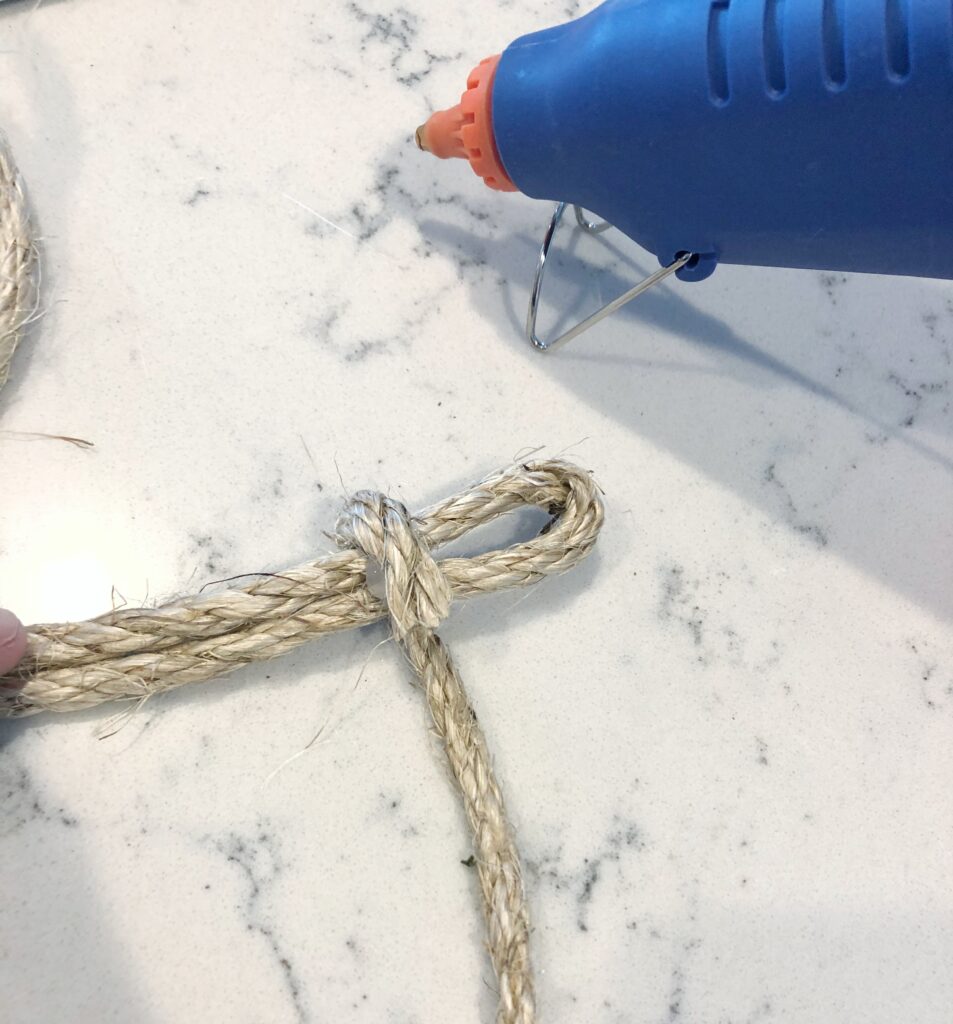
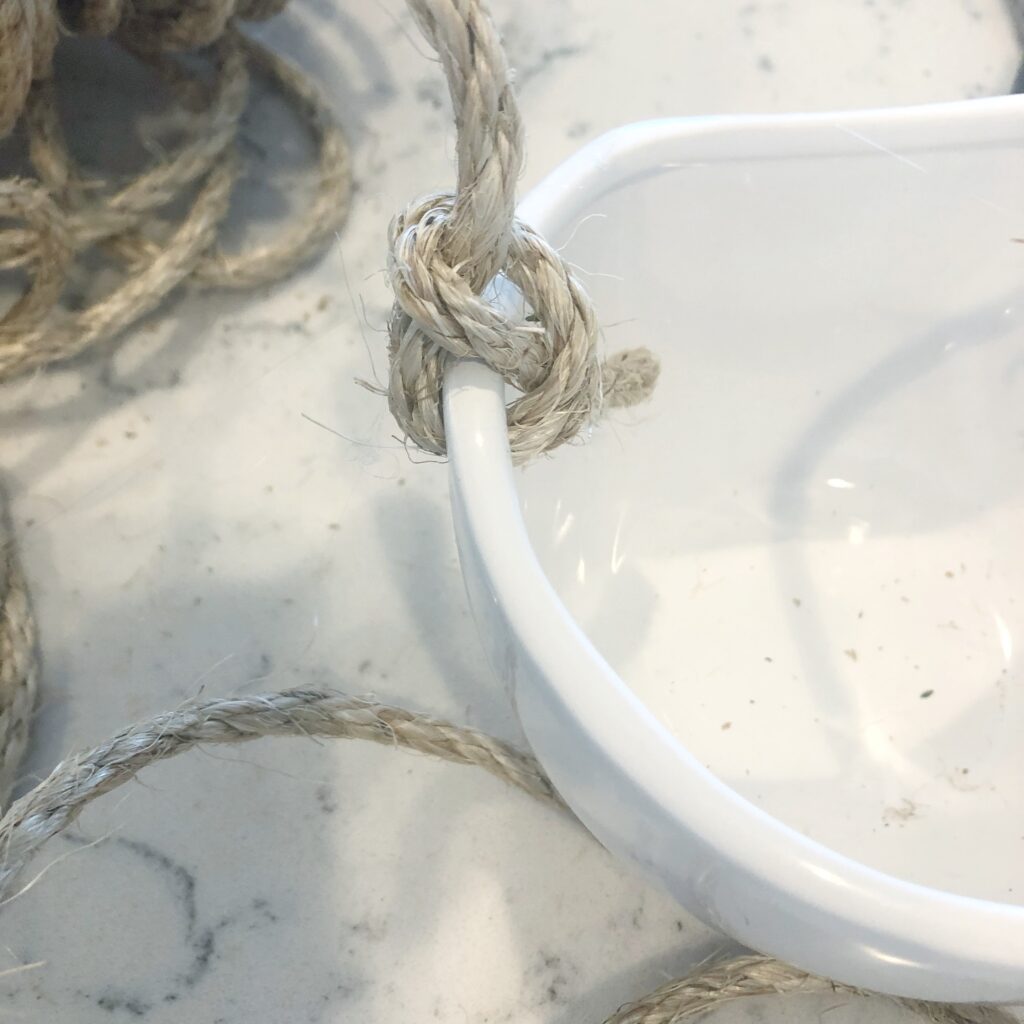
Decide how long you would like the rope for each plant. I just held the rope up and eyeballed about how long I wanted and cut the rope. (leave a little extra length for the knots at each side). Then I cut about a 12″ extra piece to wrap around the top. I just felt that it needed a little more texture and fun, so I added this element to it.
Fold rope in half and begin hot gluing your small section of rope all around the top, leaving a small opening for the S-hook. Try to start and end your rope on the same side, so it looks nicer.
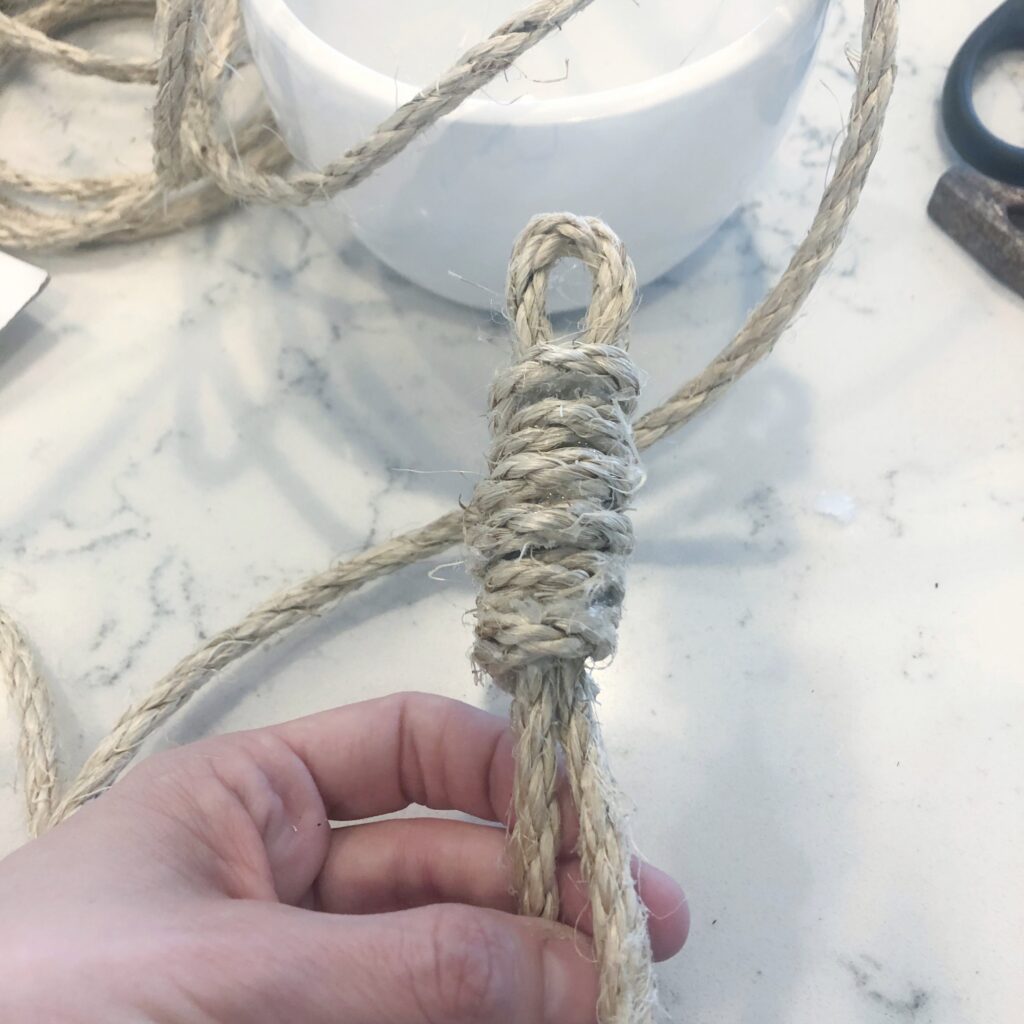
I chose to wrap around 6 times with each of my ropes. You’ll need a good amount of hot glue in between each layer, so don’t be stingy! I love the way this little added touch looks.
Next, take the white rope off that came with the pots. Stick the rope through the holes and make a simple knot. You can pull it pretty tight, but just add a few drops of hot glue to hold the knots in place.
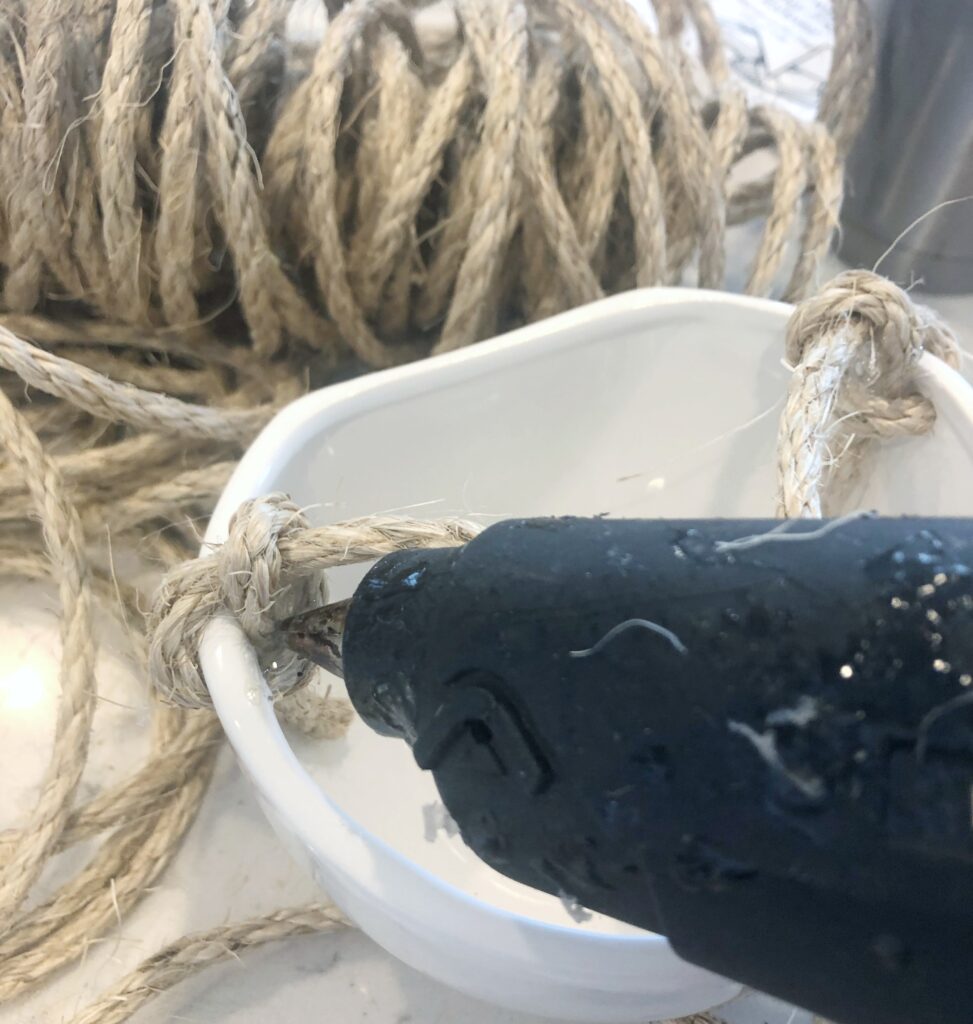
Grab an S-hook and hang your pot on the pipe to be sure it looks even and lays nicely against the wall. You may need to make little adjustments. Then, move on to your next pot. Make as many or as little as you like.
Plant all your pots with succulents. I chose succulents because they live SO long, and I can hardly ever kill those things. Somewhere I read, that you can water them by throwing a couple ice cubes in the soil instead of pouring water in. That is my plan with these ones, since they are hanging directly over my beautiful sofa. No mess/slow watering! Yasss!
I love how it tuned out! I also love that it’s wall art that incorporates living greens. Makes me feel alive! Hope you try this project for yourself.

![]()
Happy Potting!
PS: Loving this tutorial for hanging succulents in your home? Click here now for the step by step guide to make these hairpin tables!!
XOXO,

This is such a great idea! do you think it’s safe for cats?
I’m not sure! I have never owned a cat. I guess that would depend how adventurous your cat is! 🙂
If only I owned the place where I lived because I would totally put these up in my apartment. They are such great agent for your home.
I think this could be done in a rental! Only small screw holes would be left, and those can be filled with a little spackle! Unless there’s a no hanging things on the wall rule- then maybe not. LOL
I love the way it turned out and how you styled your room!
Thank you so much, Amber!
These are super cute and I sure love a good DIY project. I’ve always wanted a green wall, this is a cure way to display that. http://www.aniatravels.com
Thank you! I’m really loving having the greens on the wall, even more than I expected!
I love that. It somewhat rustic but looks great on the wall and super easy to do.
Thank you! I think a little goes a long way with decor
That’s a great idea…We’re going to try it here in our place! Thanks for sharing!
I know you’ll love it! A conversation starter for sure!
I’d love to have hanging succulent wall decor at home. It looks really great. Thanks for sharing the instruction how to do it at home! I hope mine will look the same beautiful:)
Thank you Natalia. I’m sure yours will turn out great!
Wow I can’t believe you can make these (and now I can too!). I think its such a fantastic idea to decorate your walls but also when you don’t have anywhere to put your plants (currently my situation) lol. Thank you for the lovely tip!!
Glad I could offer a fresh idea for your home!
I am obsessed with those planters, LOVE them! I will definitely make something like this in my home. I am redecorating so this comes ver handy =)
That’s great! Would love to see how yours turns out, have fun!
Yay another way to feed my (fake) succulent addition!
Everyone loves a succulent!
I like this idea. Very simple but it looks fantastic. I have something similar to this along the fence in the back yard.
Thank you! I love the idea of doing this outside as well- Maybe I will!
I love succulents and this is one of the best decor idea yet! It is so simple and easy to do and I have to try it one of these weekends!
~ xo Sheree
PoshClassyMom.com
Thank you, Sheree! I hope you do, I think you’ll love it.
Hi,
This is an excellent post you share here. I just love your wall decoration ideas. Thank you for sharing this post. Keep sharing new posts with us.
Love this look! I think I’m going to try to recreate it this weekend. I love your dining table too, where did you get it?