Hi ya’ll!! Happy Monday.
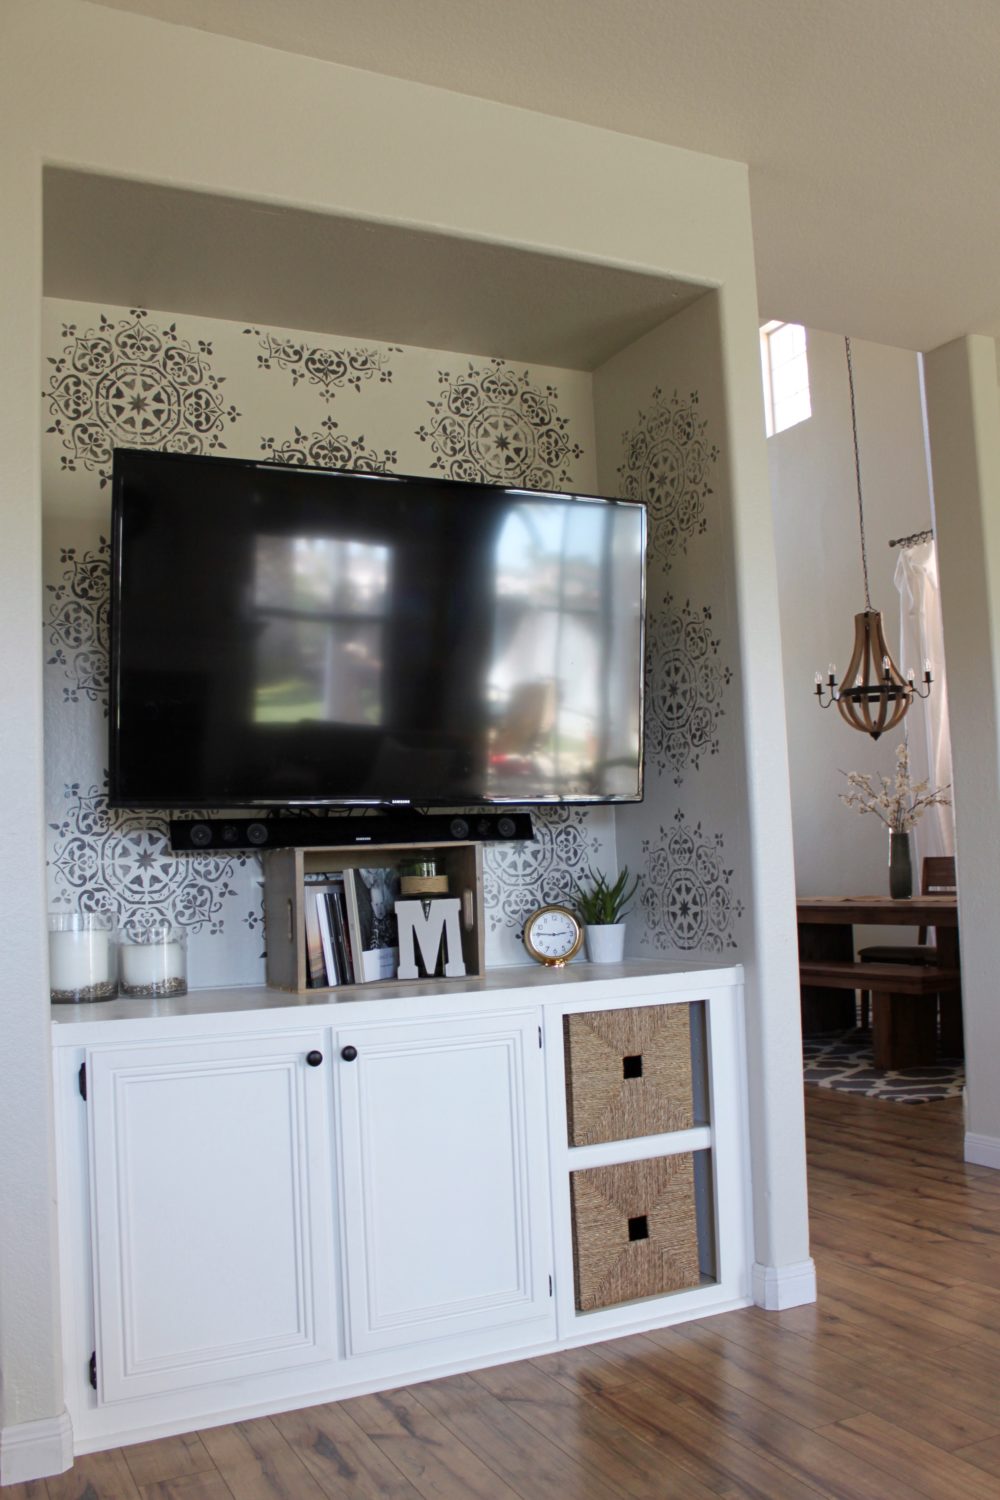
I wanted to do a little post about how to stencil a small wall, just like I painted behind my TV. When we moved in, there was one of those built-in units to put a big box television and all your other electronics. It was hideous. For a while I had no idea what to do with it. Such a wasted space! We finally decided to just demo the top half, and rip it out- and leave the bottom half. Then we could just hang our TV on the wall. Perfect! I guess it’s a little funky, but for us it works and I think it’s a cute little nook.
I have changed the wall behind the TV 3 different times since we did this. I had wallpaper there at first, and another stencil at one point. I just couldn’t make up my mind!! LOL. But, I guess that is what is SO great about paint, you can always just paint over for a fresh look. It’s an affordable and fun way to update a space.
So this time I went with a 20” medallion stencil and a dark gray paint. I actually used the left over paint from our island in the kitchen, which wasn’t a great idea because that paint is made for cabinets, so it was hard to work with… but, the color is Benjamin Moore Kendall Charcoal, for reference.
I ordered this stencil from an Etsy shop called StencilsLabNY. The good thing about this shop is the price, all the stencils are VERY affordable. Which is perfect for a small stencil project, where you don’t necessarily want to spend a fortune on a stencil. The only thing about these stencils are they are thin. I wouldn’t recommend thinner stencils like this for a larger project. You would probably want to go with a thicker more durable stencil. (click Royal Design Banner Above) Otherwise, this type of stencil is great for a little job, since you won’t have to reuse and reapply your stencil very many times.
I did a tutorial on stenciling my bathroom floor post, so there is further help on that post too. I just want to help those of you who want to do a smaller project like this.
Items you will need to stencil a small wall (affiliate links below):
-
-
- Stencil of choice
- Paint
- Painters or masking tape
- Stencil Paint Roller and Sponge Brush
- Paper towels
- Stencil Adhesive Spray
-
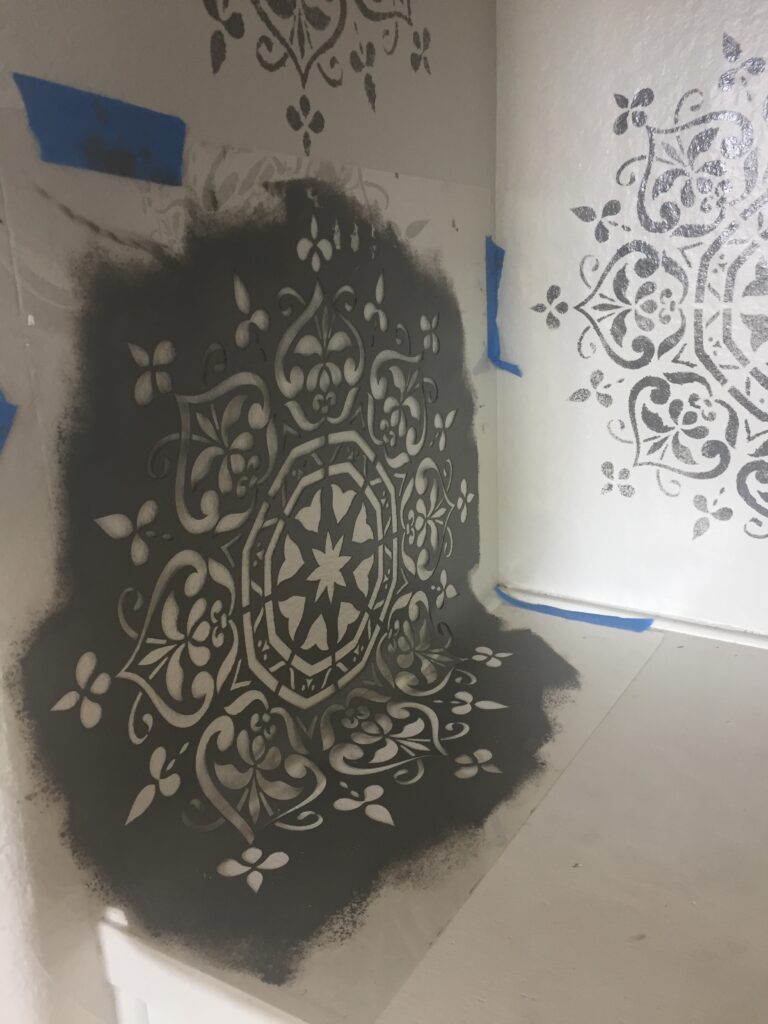
First look at the area you will be painting and measure out where you will be placing your stencil. I knew my design was 20” diameter and my center wall was 60”. This made it super simple for laying out my design. I could do 3 evenly across my wall. Take your stencil adhesive spray and evenly spray the back of your stencil. Apply it to the wall and secure corners with tape. The spray will do wonders for ensuring your paint doesn’t run underneath. I recommend starting in the middle and working your way out with your pattern.
Lightly press your stencil down all over to seal it to the wall. When your stencil has paint on it already and you can’t press with your hand, use your paint roller to lightly roll over the stencil to make it stick down. If you do this before adding more paint to your roller, it won’t make a mess. If this make sense..This trick helped me a lot!
Roll your stencil roller in your paint and then roll on the paper towels to get all the excess paint off of your roller. You want your paint to go on very lightly. If you have to do a few coats to get to the shade you want, that’s ok. Trying to rush and cover the stencil with paint, will only make you cry when you have a globby mess. I actually did this in one area and was super peeved because I literally had to wash the paint off the dang wall and start over on that spot. Annoying. I was rushing this whole project actually, because the baby woke up and I didn’t want to put all my stuff away! So I finished. She was my assistant… which let’s just say, she needs to be fired. Not the best assistant. But anyway, you will continue around your wall with even spaces between each stencil.
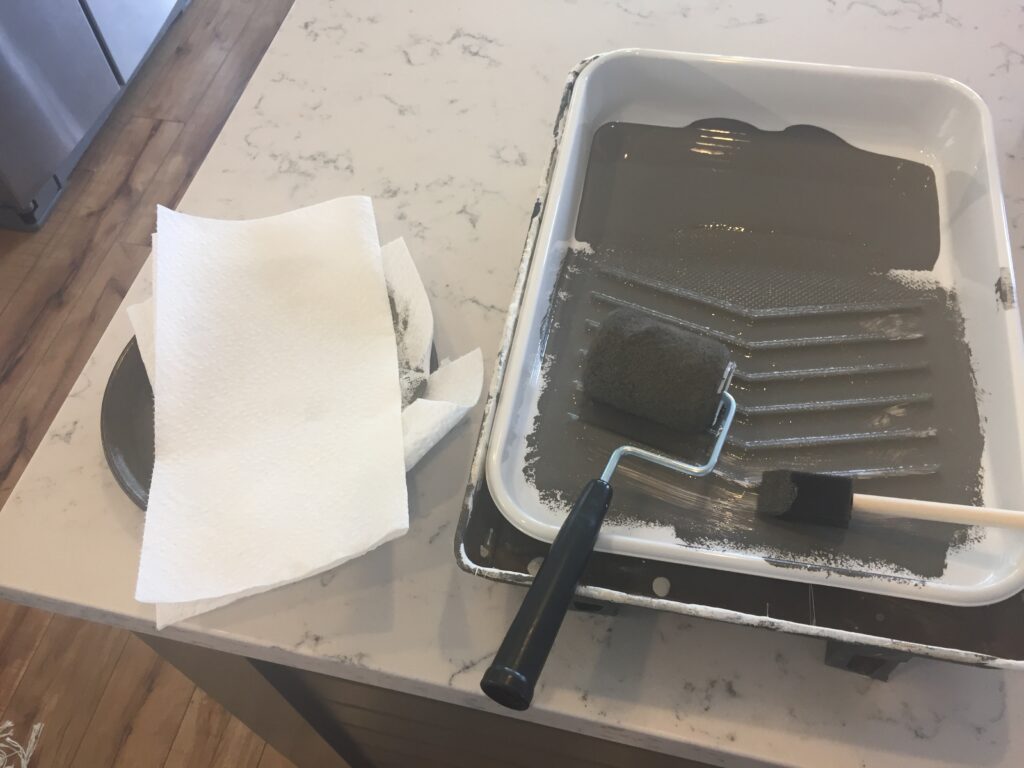
I chose to paint mine with a faded look. I didn’t want my paint to be solid gray. I was going for a more vintage, imperfect type feel. So I used minimal paint.
Your stencils can bend and be positioned in areas that you only need half painted, or around a corner. Just tape it where you need it, and only spray that area with the adhesive.
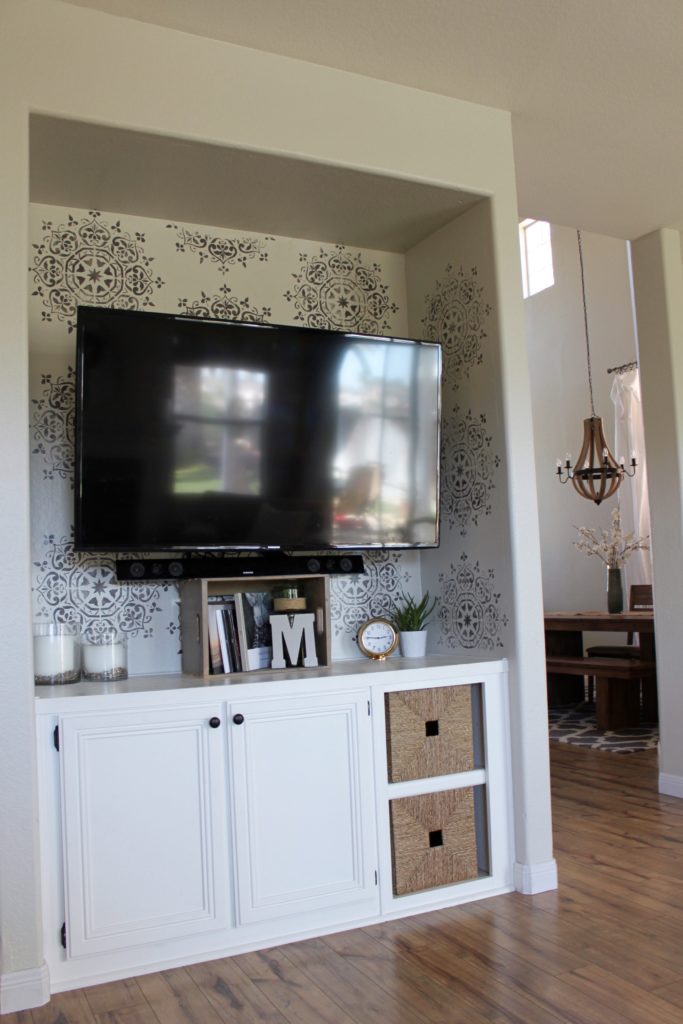
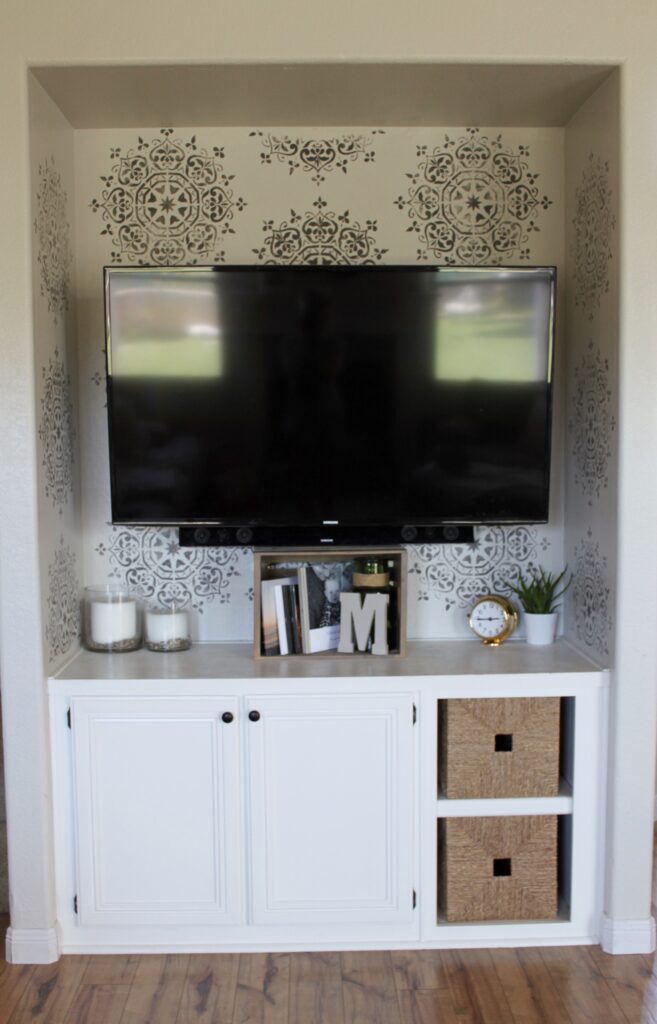
Have fun with your stenciling and let me know if you have any questions!
XOXO,


This looks so nice! I’m always full of ideas that fall down on execution — so, thank you for the step by step! I’m guessing this would be a messy DIY for me, but maybe someday I’ll try it. It looks great!
Thank you! I’m sure you could do it perfectly!
Looks gorgeous! And does make a huge statement!
Thank you, Erin!
I love how this looks! It would be really fun to do as an accent wall in a bedroom or something too.
Yes! Possibly behind your bed. Thank you
This is so fun! It looks fabulous!
@at_home_with_kids
Thanks so much!
Love that stencil! Such a create way to spice up a space (which works perfectly for your TV).
looks amazing!! Such a smart idea!
Hey Kelly! Do you mind sharing where you purchased your chandelier? Thanks so much!
Hi Amy,
Isn’t it gorgeous?? I found it at Wayfair. HERE is the link.
It is beautiful! Thanks for sharing :D.